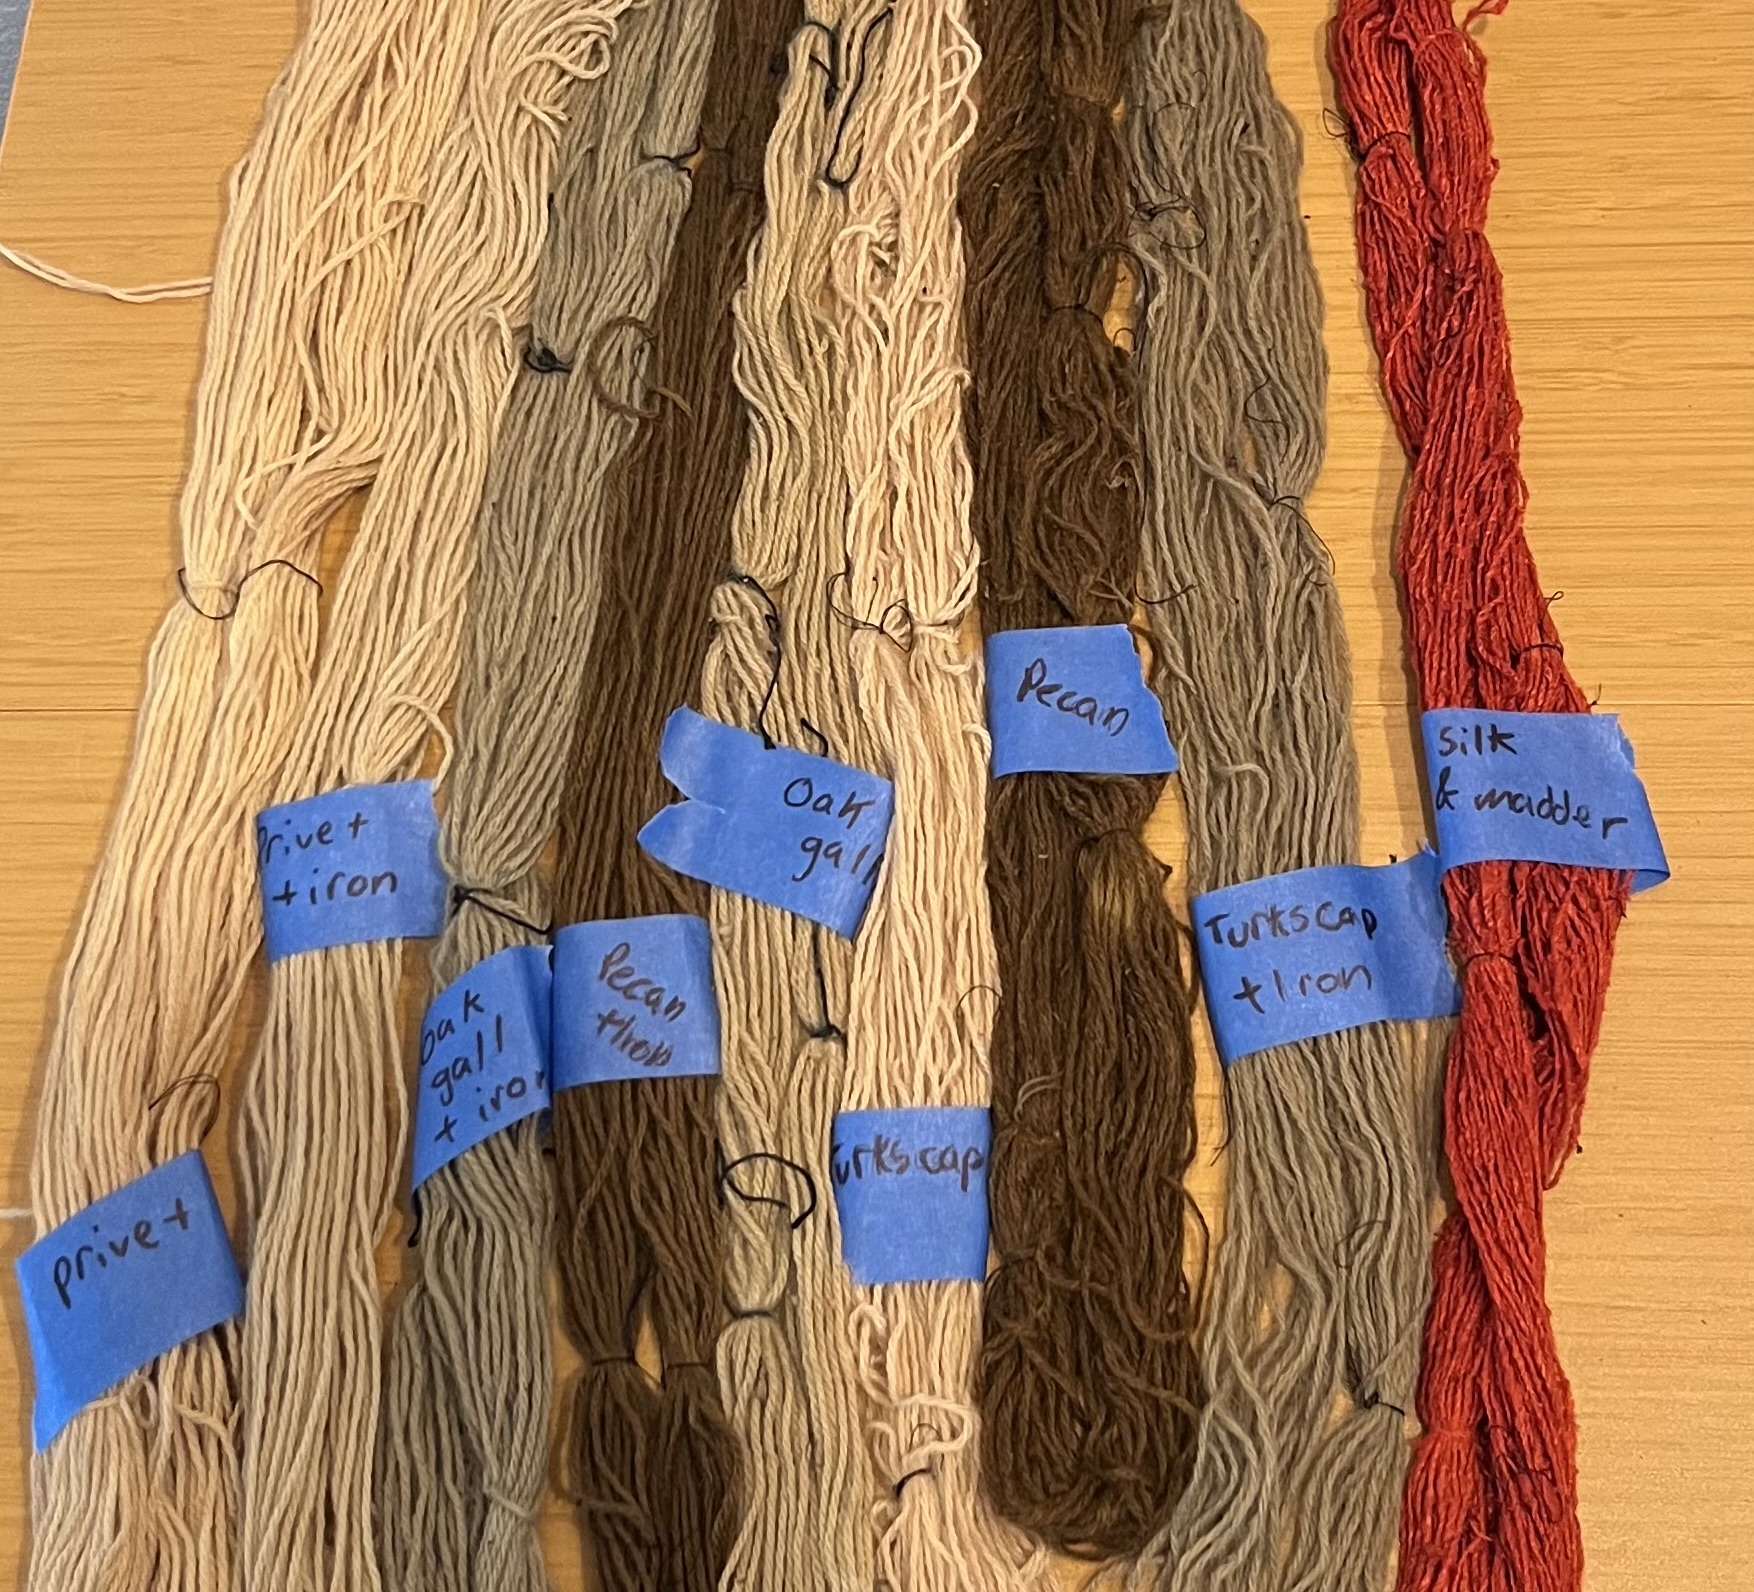
<?xml version="1.0" encoding="utf-8"?><feed xmlns="http://www.w3.org/2005/Atom" ><generator uri="https://jekyllrb.com/" version="3.10.0">Jekyll</generator><link href="https://rhisfiberart.com/feed.xml" rel="self" type="application/atom+xml" /><link href="https://rhisfiberart.com/" rel="alternate" type="text/html" /><updated>2026-09-25T15:55:28+00:00</updated><id>https://rhisfiberart.com/feed.xml</id><title type="html">Rhi’s Fiber Art</title><subtitle>All things fiber art!</subtitle><author><name>Rhianna Lucas</name></author><entry><title type="html">Sample Book</title><link href="https://rhisfiberart.com/blog/2026/09/24/Sample-Book/" rel="alternate" type="text/html" title="Sample Book" /><published>2026-09-24T00:00:00+00:00</published><updated>2026-09-24T00:00:00+00:00</updated><id>https://rhisfiberart.com/blog/2026/09/24/Sample-Book</id><content type="html" xml:base="https://rhisfiberart.com/blog/2026/09/24/Sample-Book/"><![CDATA[<p>In my opinion, the hardest part of anything is record keeping, and it’s a very important part of natural dyeing if you want any idea how you did something after the fact. I recently did a bunch of experimental dyeing for a native and invasive species project. Looking at all of those yarns and the few not very helpful notes I had taken, I realized I needed a better system moving forward.</p>
<p><img src="/assets/images/IMG_3104.jpeg" alt="Photo of a lineup of naturally dyed yarn, mostly neutrals with one bright red." /></p>

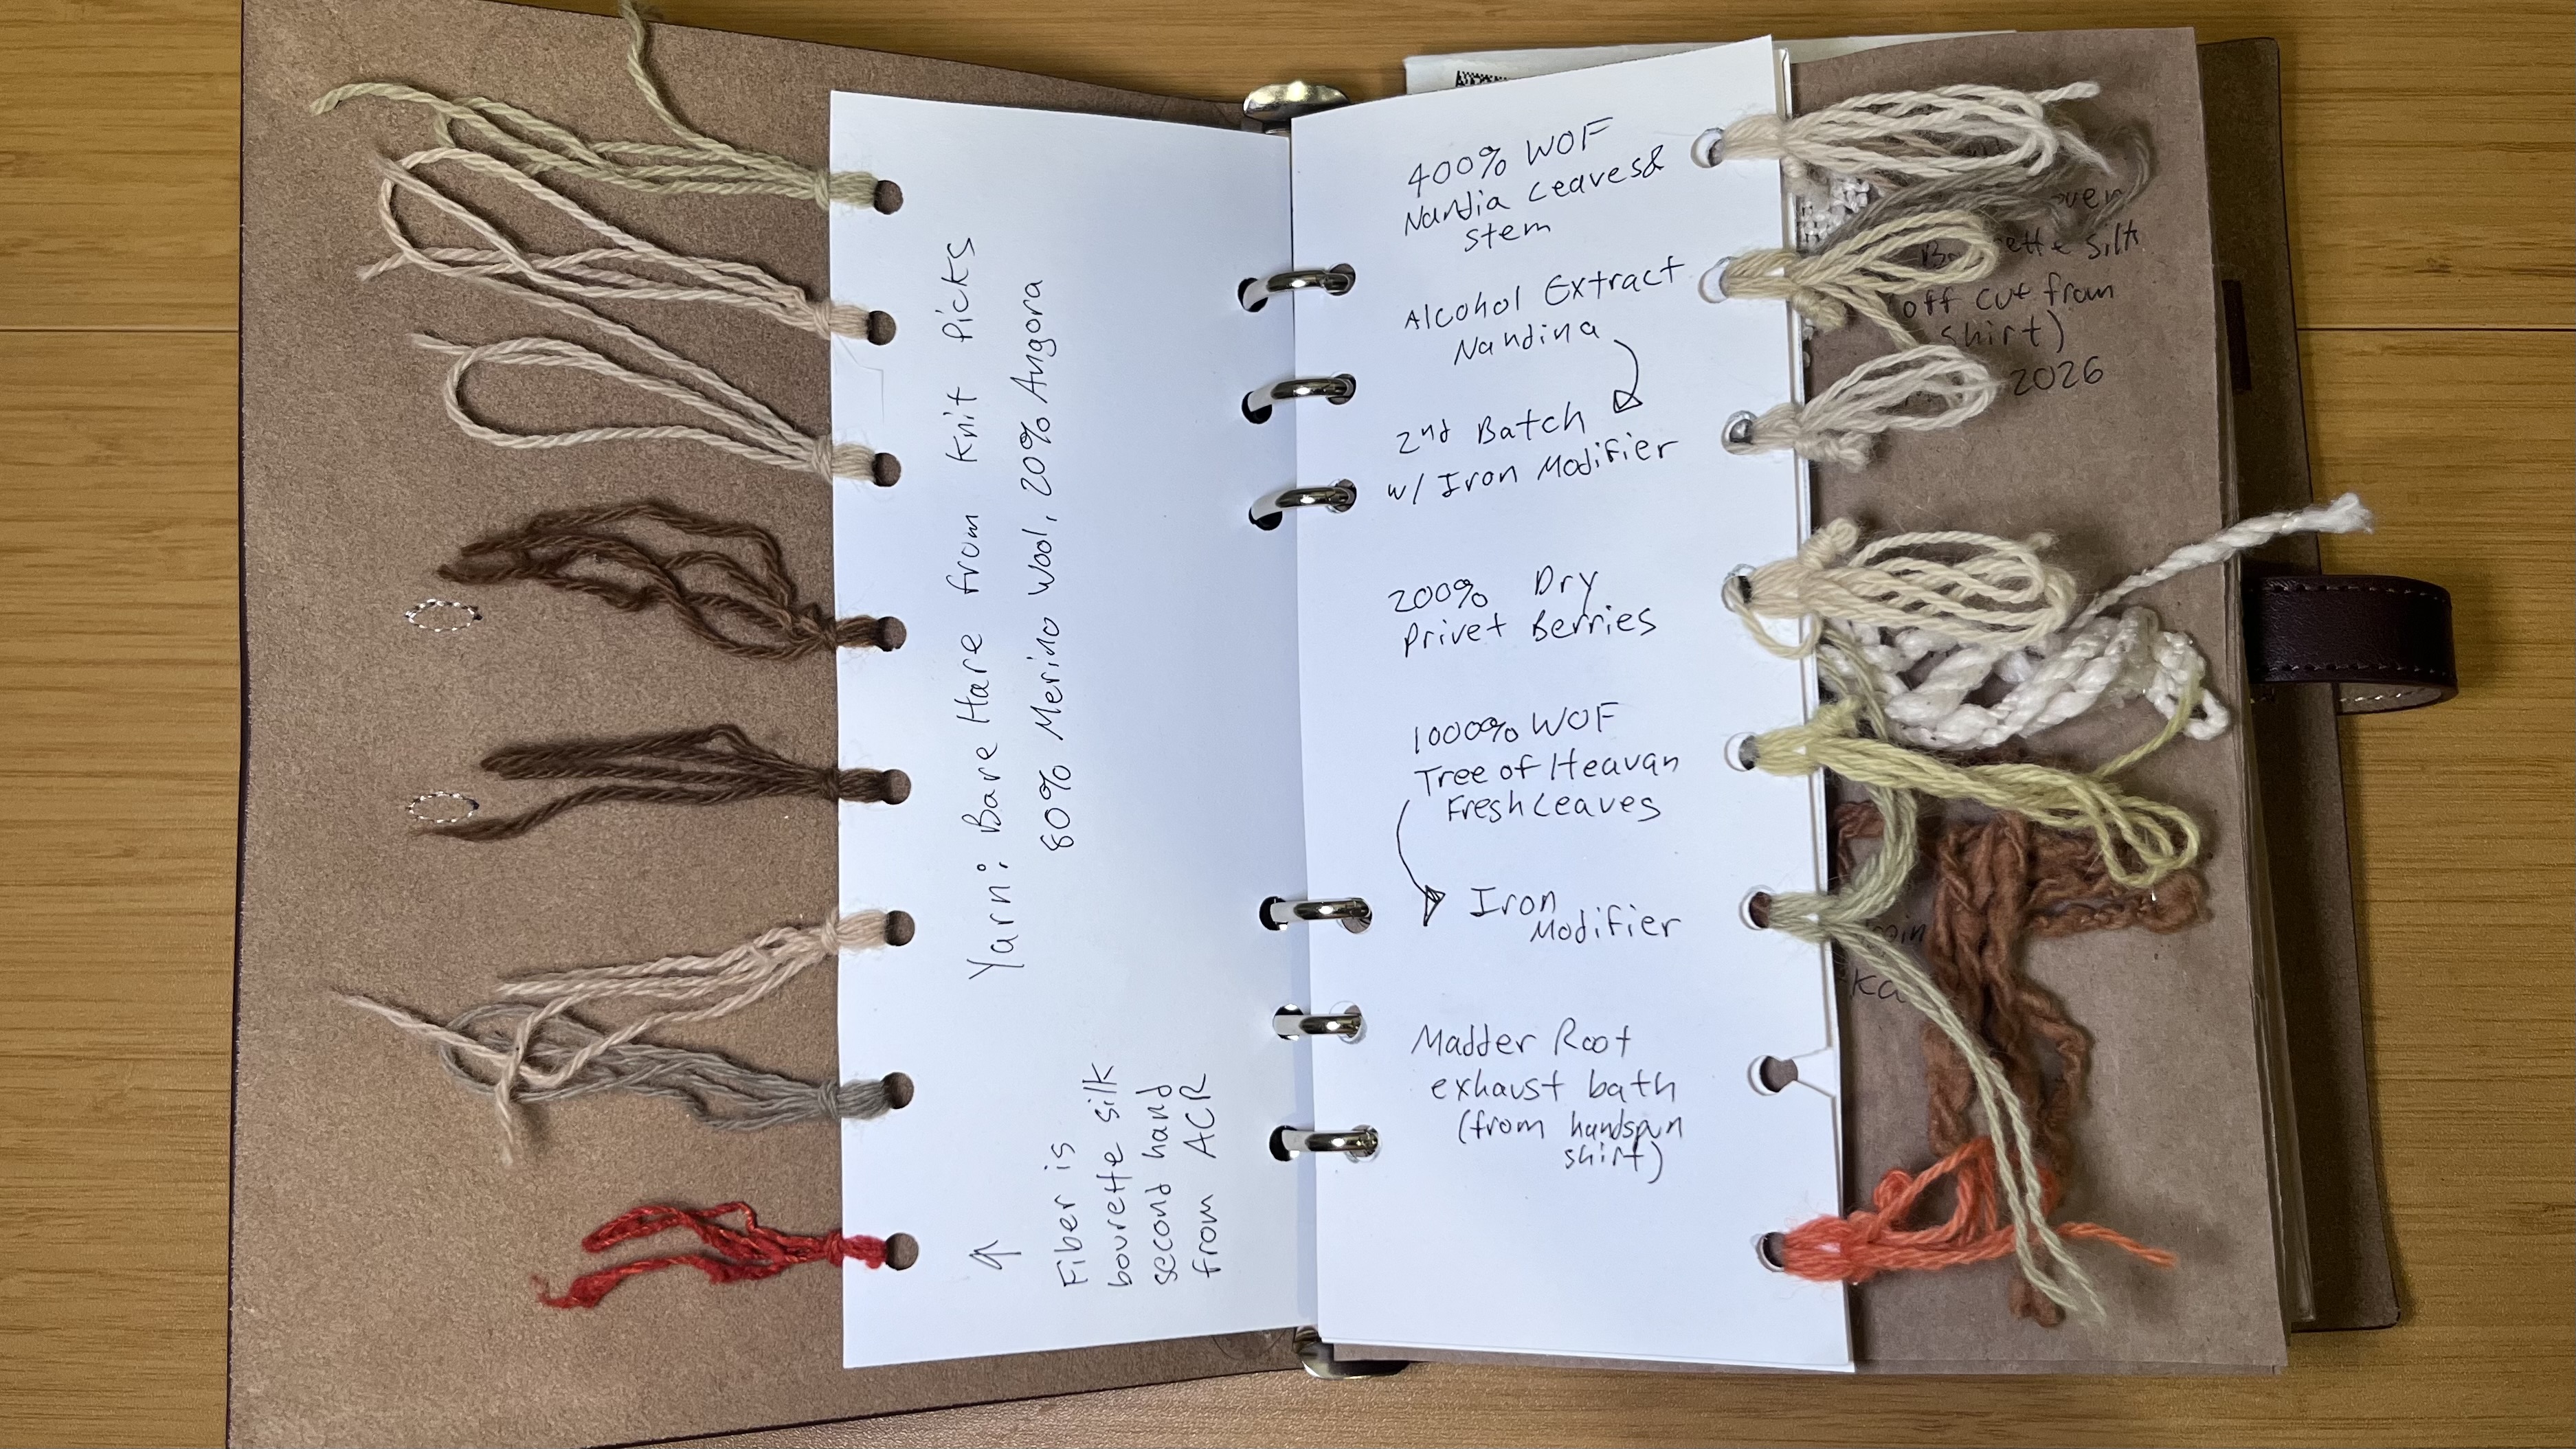
<p>The first thing I needed to do was take much better notes on the weight of my fiber, the weight of my dye material, times, temperatures, pH, and the concentration of any after-treatments. As for the samples and notes I did have, I needed a better way to store and keep track of them. I decided to make binder pages with holes punched in the side to thread the yarn through. This works well for storing dyed yarns and leaves room for my notes.</p>

<p><img src="/assets/images/IMG_3166.jpeg" alt="Photo of an open binder page with notes and yarn samples." /></p>

<p>I think this is a good start for improving my organization and note-taking systems. Now I just need to keep up with it!</p>

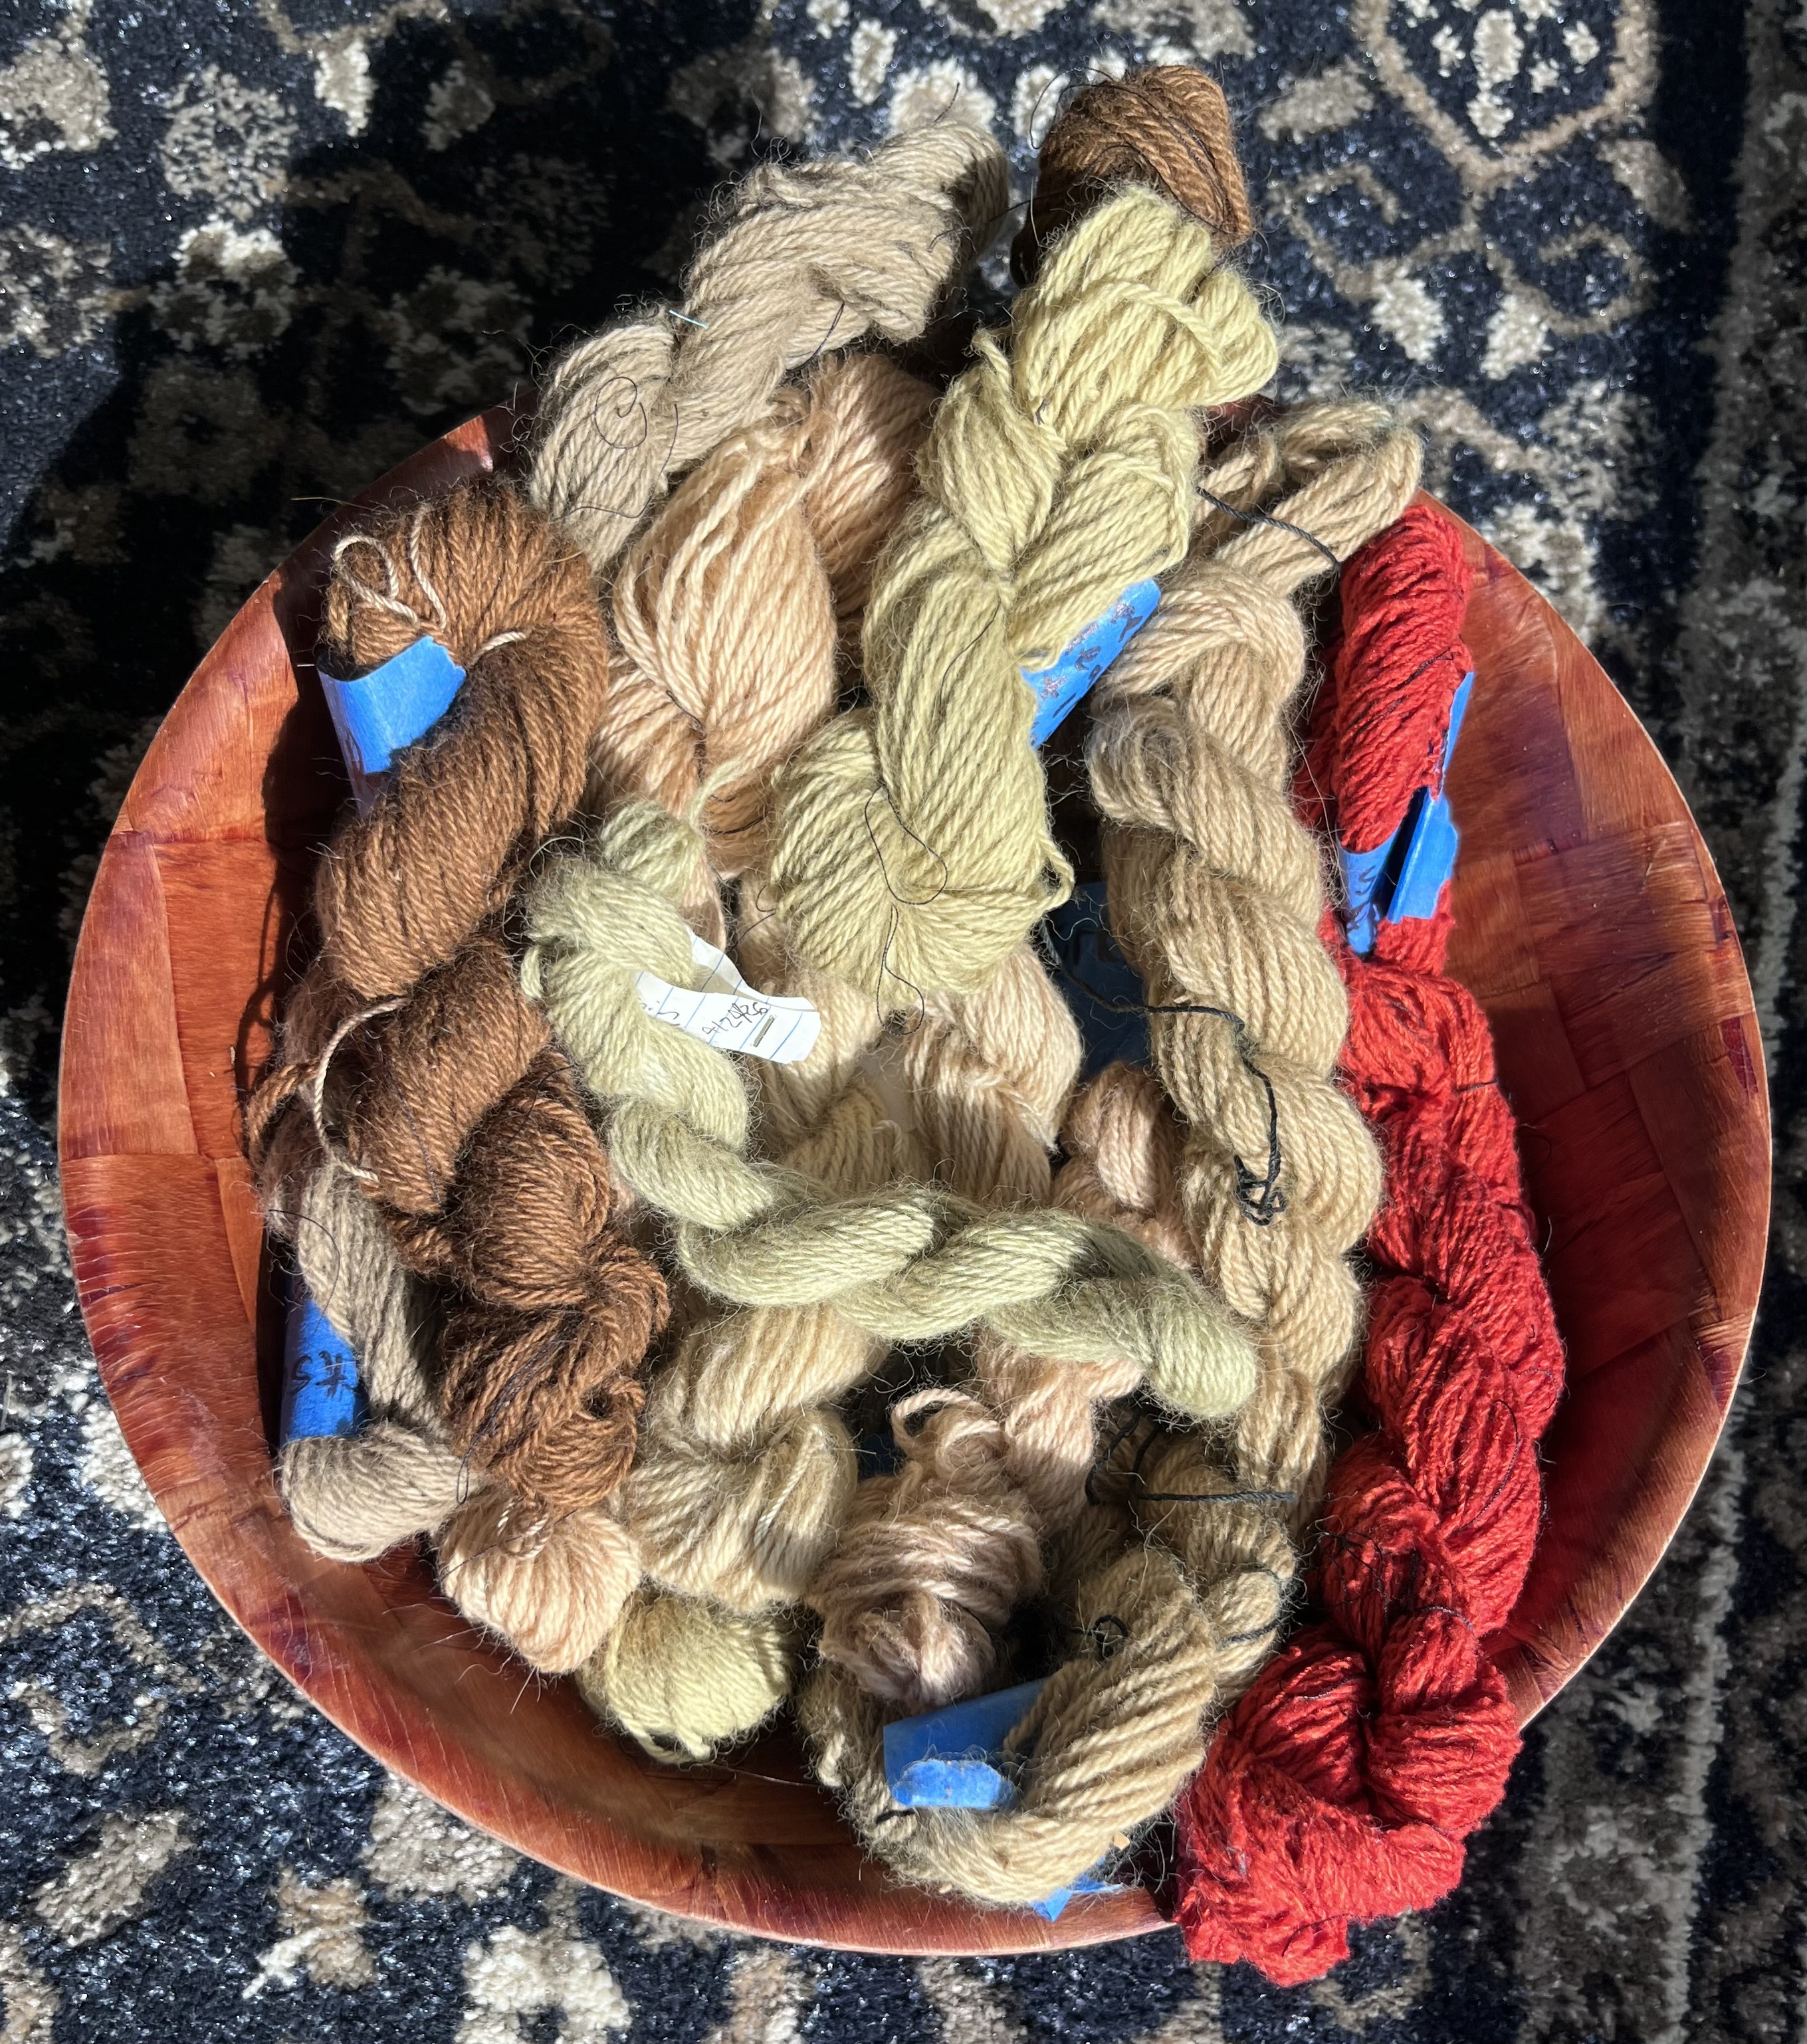
<p><img src="/assets/images/IMG_3148.jpeg" alt="Photo of a bowl of yarn skeins." /></p>]]></content><author><name>Rhianna Lucas</name></author><category term="Dyeing" /><summary type="html"><![CDATA[In my opinion, the hardest part of anything is record keeping, and it’s a very important part of natural dyeing if you want any idea how you did something after the fact. I recently did a bunch of experimental dyeing for a native and invasive species project. Looking at all of those yarns and the few not very helpful notes I had taken, I realized I needed a better system moving forward.]]></summary></entry><entry><title type="html">A New Loom</title><link href="https://rhisfiberart.com/blog/2026/08/15/A-New-Loom/" rel="alternate" type="text/html" title="A New Loom" /><published>2026-08-15T00:00:00+00:00</published><updated>2026-08-15T00:00:00+00:00</updated><id>https://rhisfiberart.com/blog/2026/08/15/A-New-Loom</id><content type="html" xml:base="https://rhisfiberart.com/blog/2026/08/15/A-New-Loom/"><![CDATA[<p>I bought my first loom about a year and a half ago. It is a 24in Ashford Ridged Heddle Loom, and you have seen it many times before on this blog. I bought it simply because it was the one they had in the class I was introduced to weaving through, at the Dougherty Center here in Austin. It is a great loom and as affordable as a new loom can get for a beginner. However, while learning how to weave on it there were a few things that began to bother me, all of these are simply personal preference and by no means are actual flaws with the loom.</p>

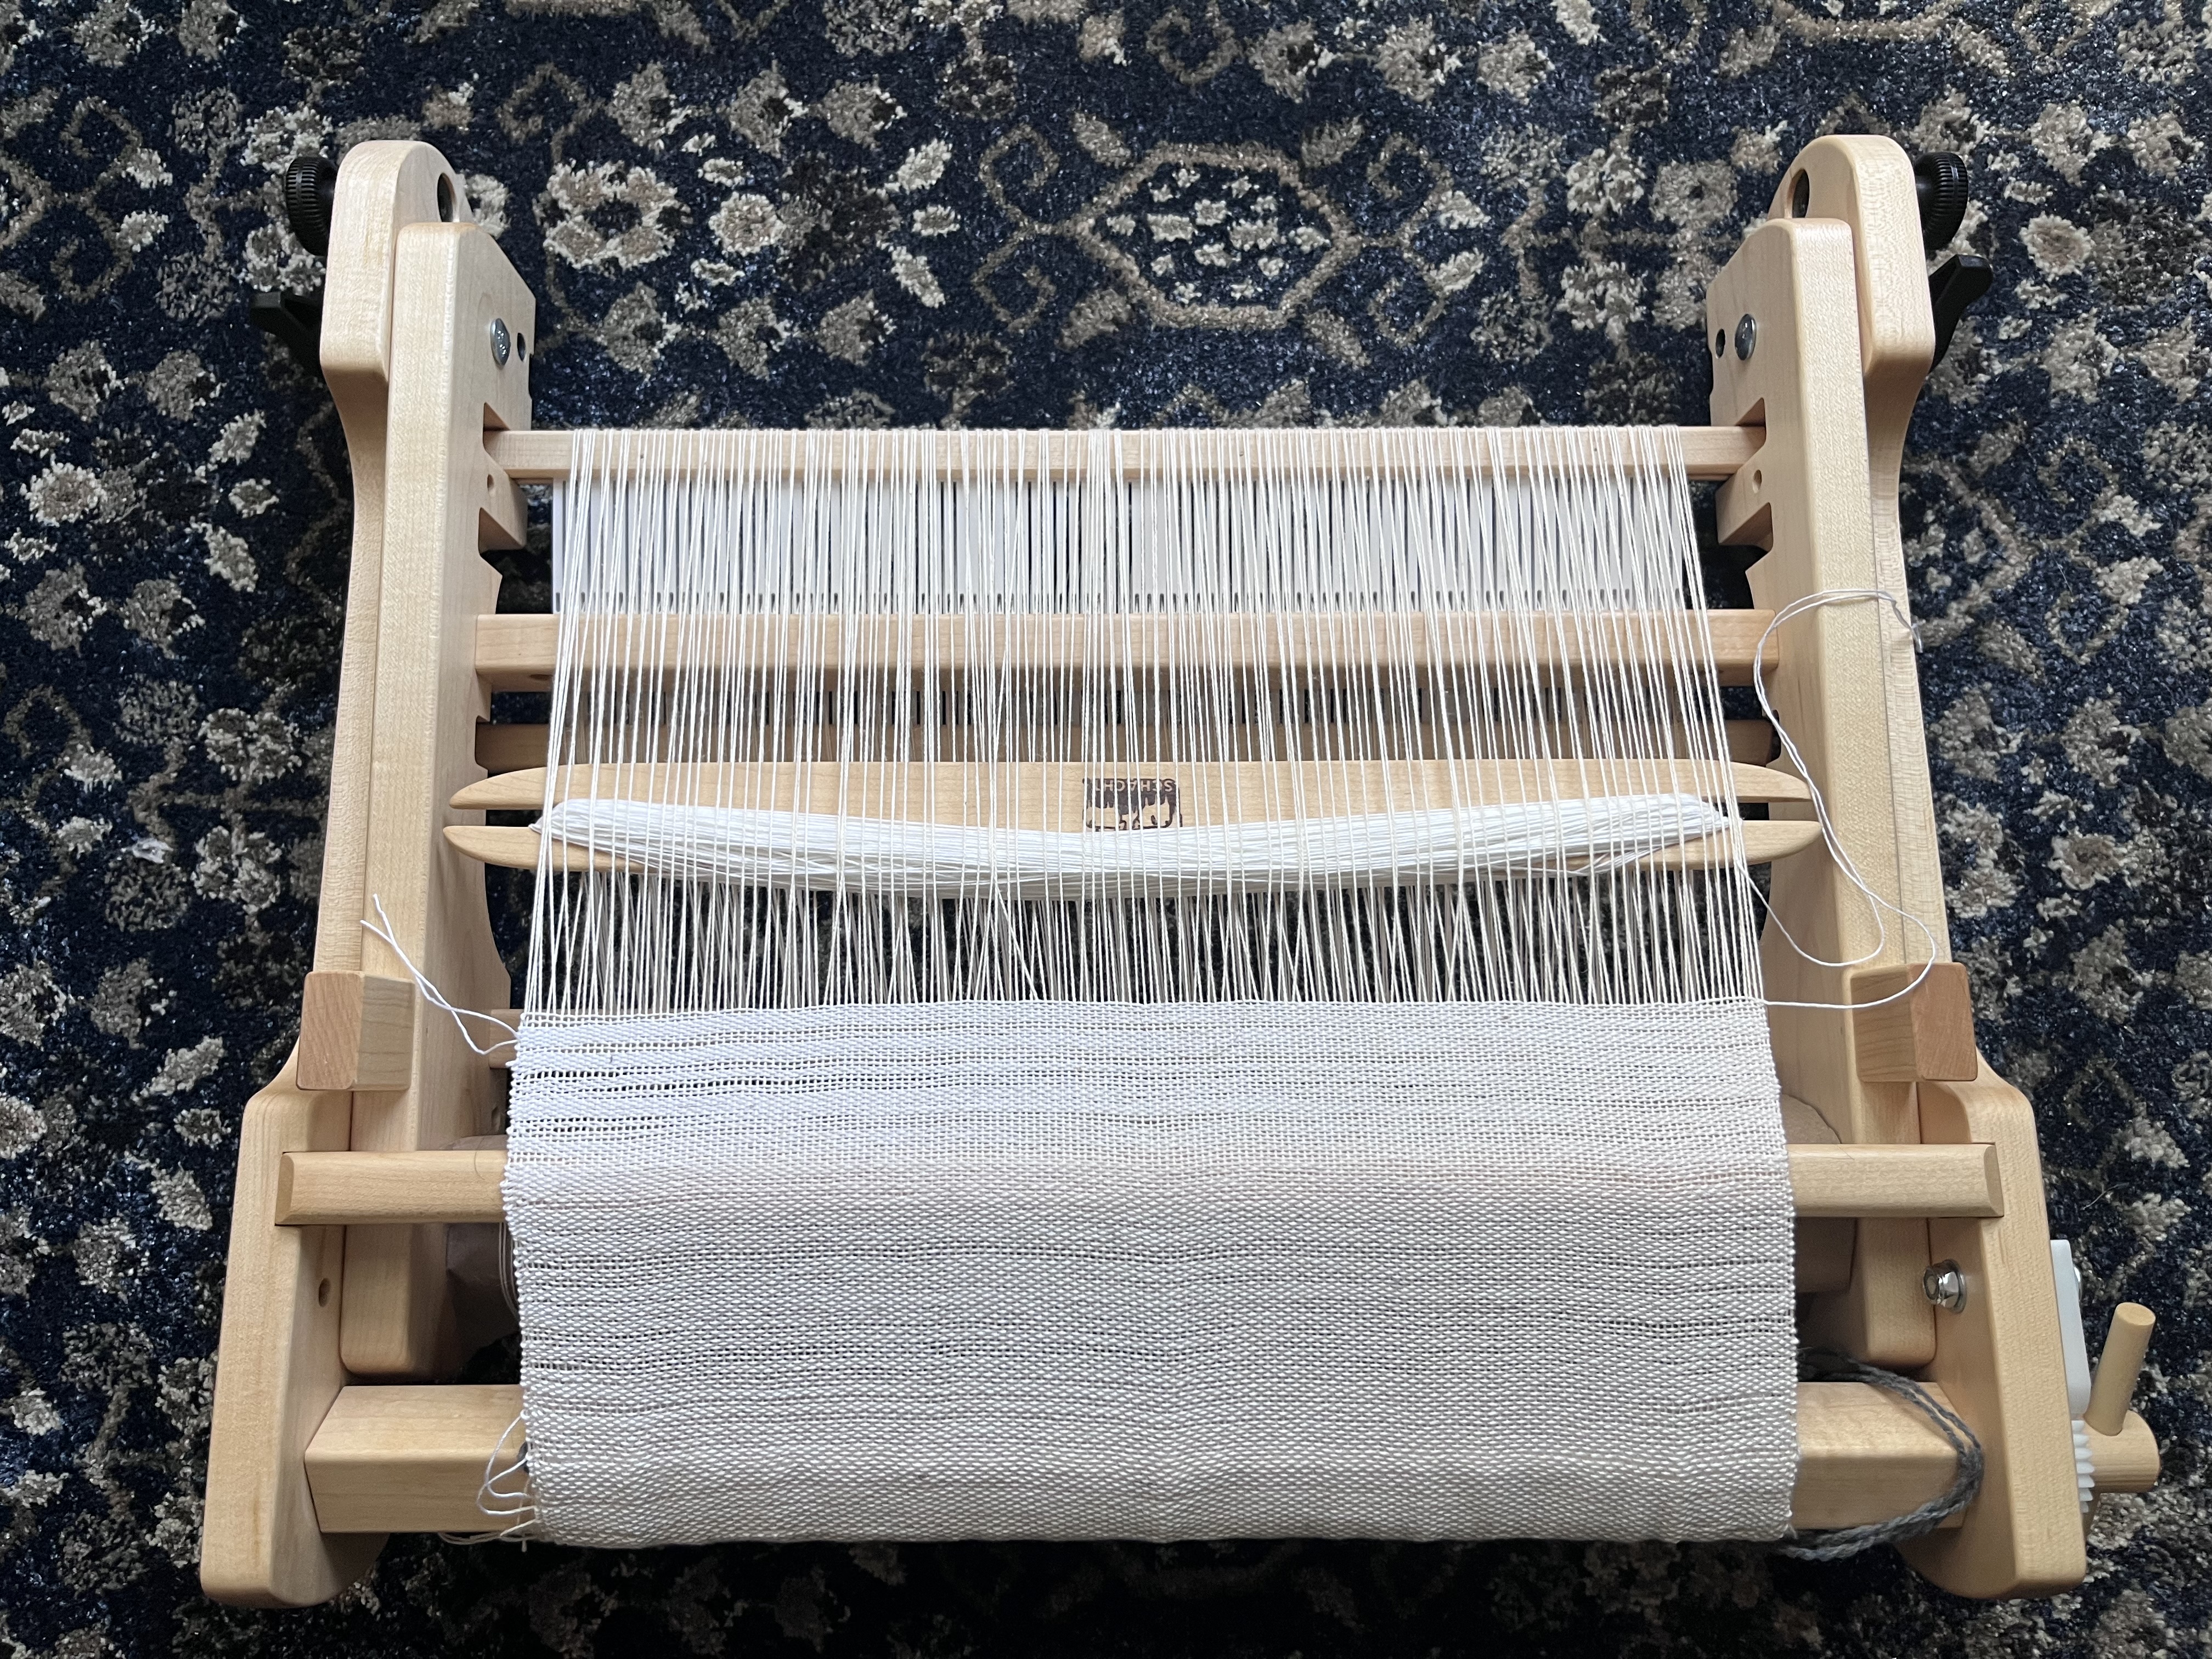
<p>The first thing was simply the width of the loom. I purchased the 24in because I wanted to maximize my weaving width for the end result, but I am a small person with a short wingspan, which made actually weaving on this size loom uncomfortable and much less enjoyable. Additionally, the size and solid frame made storing it in a small space difficult, especially while it was warped and mid-project. These two challenges were ultimately what led me to purchase the 15” Schacht Flip.</p>

<p>While working my first project on the Flip, however, I found that with all the small differences between Ashford and Schacht looms I much preferred the Schacht. Starting with the apron bar tie-ons: the Ashford plastic tabs are stiffer, and I found them challenging to work with during that initial wind-on stage, whereas the Schacht string tie-ons are flexible and easy to adjust. I have seen complaints about the apron bar slipping out on the Schacht, but I did not have problems while warping, and found it an excellent feature when taking my work off the loom. Then there is the simple fact that the Flip comes finished, whereas the Ashford needed assembling, some light sanding, and oiling. While this is a plus for the Schacht loom, it is a big part of how Ashford keeps the cost of their looms lower, so it is a fair trade-off if you’re on a budget.</p>

<p>The feature that ended up surprising me the most was the gear mechanism for progressing the warp. I didn’t realize until I experienced weaving on the Flip how much I disliked the gears on the Ashford. Outside of the aesthetic complaints you’ve probably seen elsewhere about the Ashford gears being big hunks of plastic, for me it was the sound that made the difference. When you advance the warp, the gears make a horrible, very loud clicking, and the lock pins can often be difficult to unlock. While I was weaving I found myself pushing the weft closer to the heddle than was reasonable, because I was dreading having to unlock the gears and wind the warp forward. On the Schacht it is an entirely different experience: you simply tighten the bar a little more to take the pressure off the teeth and flip up the latch. No struggling with the locking mechanism, no horrible clicking noise!</p>

<p>So obviously I am happy with my purchase, and in the question of Ashford or Schacht, I have become a Schacht supporter — but what’s the catch? The biggest drawback of the Flip is that there is no slot for the down shed, and this could easily be a dealbreaker for you. I was worried I would struggle with this but ultimately did not have an issue while weaving. If at all possible, see if you can borrow or try one out to gauge whether passing the shuttle while holding the heddle down will be comfortable for you. Additionally, the base model Flip doesn’t come with the slots for a second heddle, but one can be purchased separately and installed, which I will likely do down the road.</p>

<p>All together, I am happy I made the switch from an Ashford to the Schacht Flip because it has made the process of weaving more comfortable and enjoyable for me. Both are solid looms — try to get your hands on each before you decide what suits you and your body best.</p>

<p><img src="/assets/images/IMG_3126.jpeg" alt="Photo of loom warped and folded closed for storage." /></p>]]></content><author><name>Rhianna Lucas</name></author><category term="weaving" /><summary type="html"><![CDATA[I bought my first loom about a year and a half ago. It is a 24in Ashford Ridged Heddle Loom, and you have seen it many times before on this blog. I bought it simply because it was the one they had in the class I was introduced to weaving through, at the Dougherty Center here in Austin. It is a great loom and as affordable as a new loom can get for a beginner. However, while learning how to weave on it there were a few things that began to bother me, all of these are simply personal preference and by no means are actual flaws with the loom.]]></summary></entry><entry><title type="html">Cloth Bags</title><link href="https://rhisfiberart.com/blog/2026/07/31/Cloth-Bags/" rel="alternate" type="text/html" title="Cloth Bags" /><published>2026-07-31T00:00:00+00:00</published><updated>2026-07-31T00:00:00+00:00</updated><id>https://rhisfiberart.com/blog/2026/07/31/Cloth-Bags</id><content type="html" xml:base="https://rhisfiberart.com/blog/2026/07/31/Cloth-Bags/"><![CDATA[<p>I was going through my craft supplies and realized I need a little more organization that I had, which is a perfect opportunity for one of my favorite little projects: cloth bags!</p>

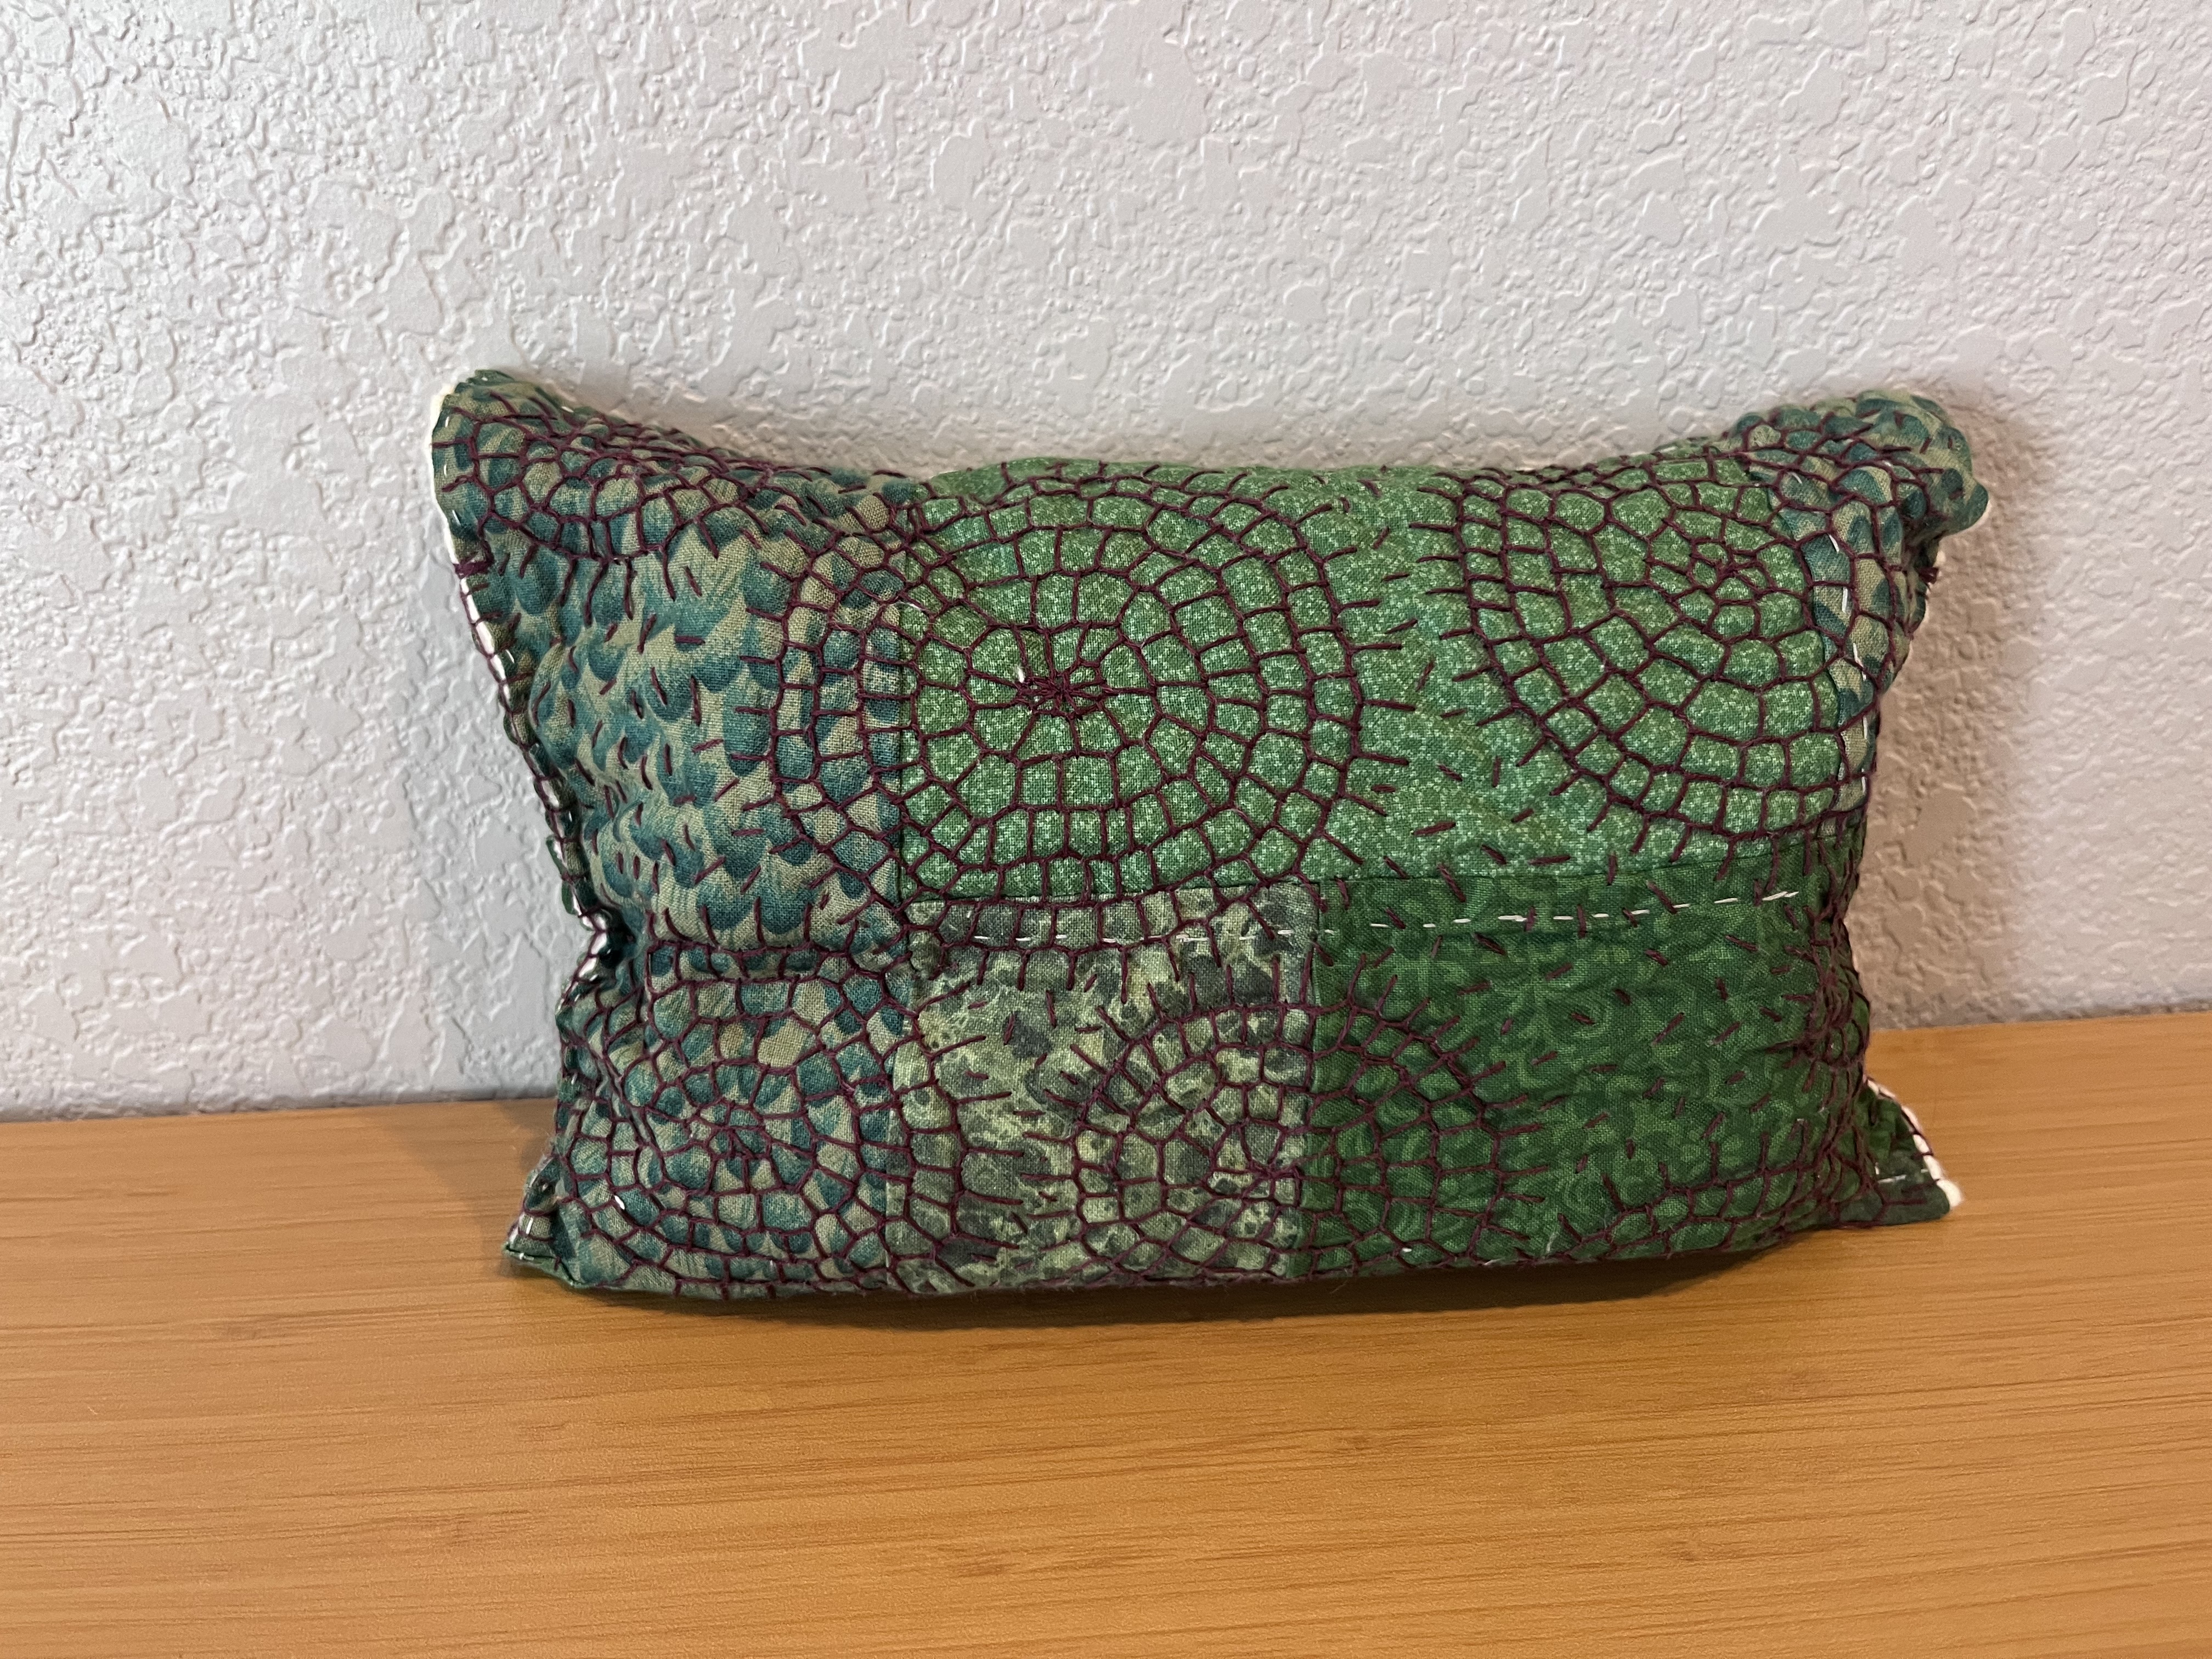
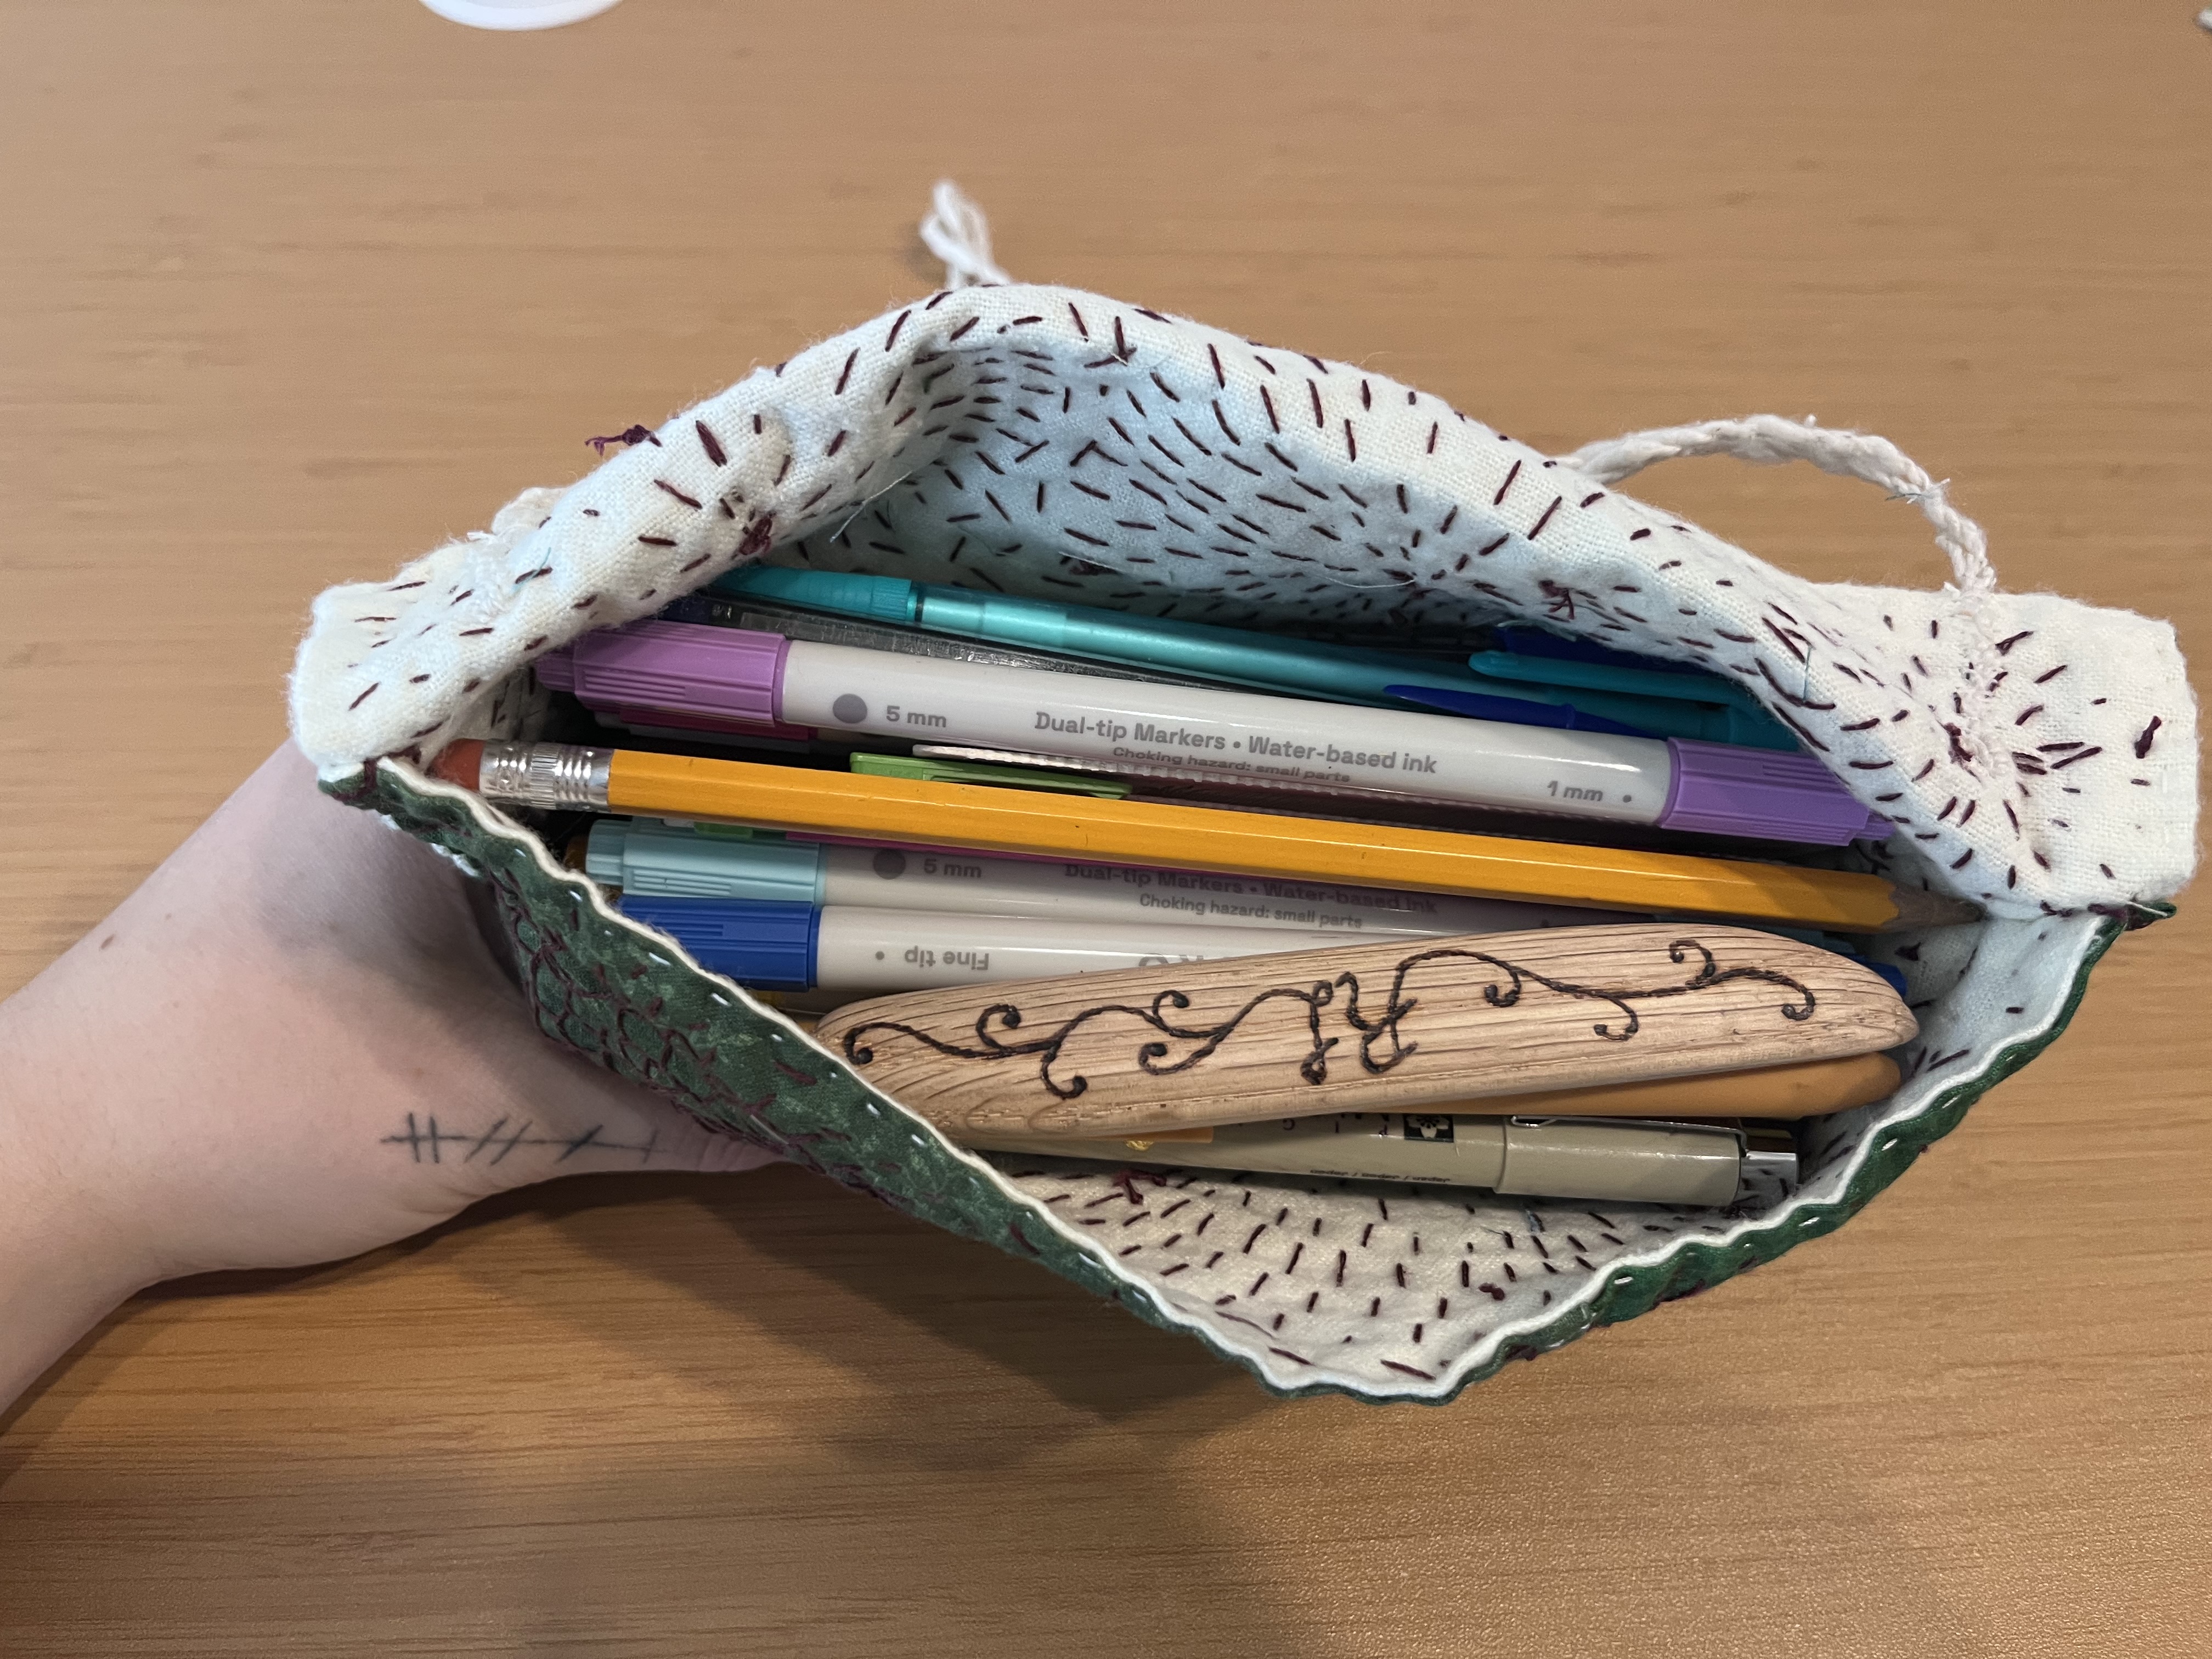
<p>The first bag I made is a small envelope style pouch. This was originally going to be for thread scraps, but it did not turn out large enough for that purpose. Fortunately it is the perfect size to store my writing utensils. The base of the bag is made of a patchwork fabric I had already put together for another project I didn’t end up completing. I cut out a rectangle and closed up all the sides so there wasn’t any exposed seams, then got started on the fun part! For the decorative stitching I used a dark maroon embroidery floss and did a bunch of various sized circle of scotch darning. I recently did scotch darning for the first time and fell in love with it, hence the amount of it on this project. Once no more circles could fit I filled in the blank areas with seeds stitching. For the closure I just attached two lengths of hand-spun bourette silk, I am not completely satisfied with this closure and will likely change it at some point. Overall very happy with the stitching  and I have a nice bag to replace the broken plastic pencil box I was using.</p>

<p><img src="/assets/images/IMG_2963.jpeg" alt="Photo of green patchwork envelope bag with decorative stitching covering the surface." />
<img src="/assets/images/IMG_2964.jpeg" alt="Photo of green patchwork envelope bag with decorative stitching covering the surface." /></p>

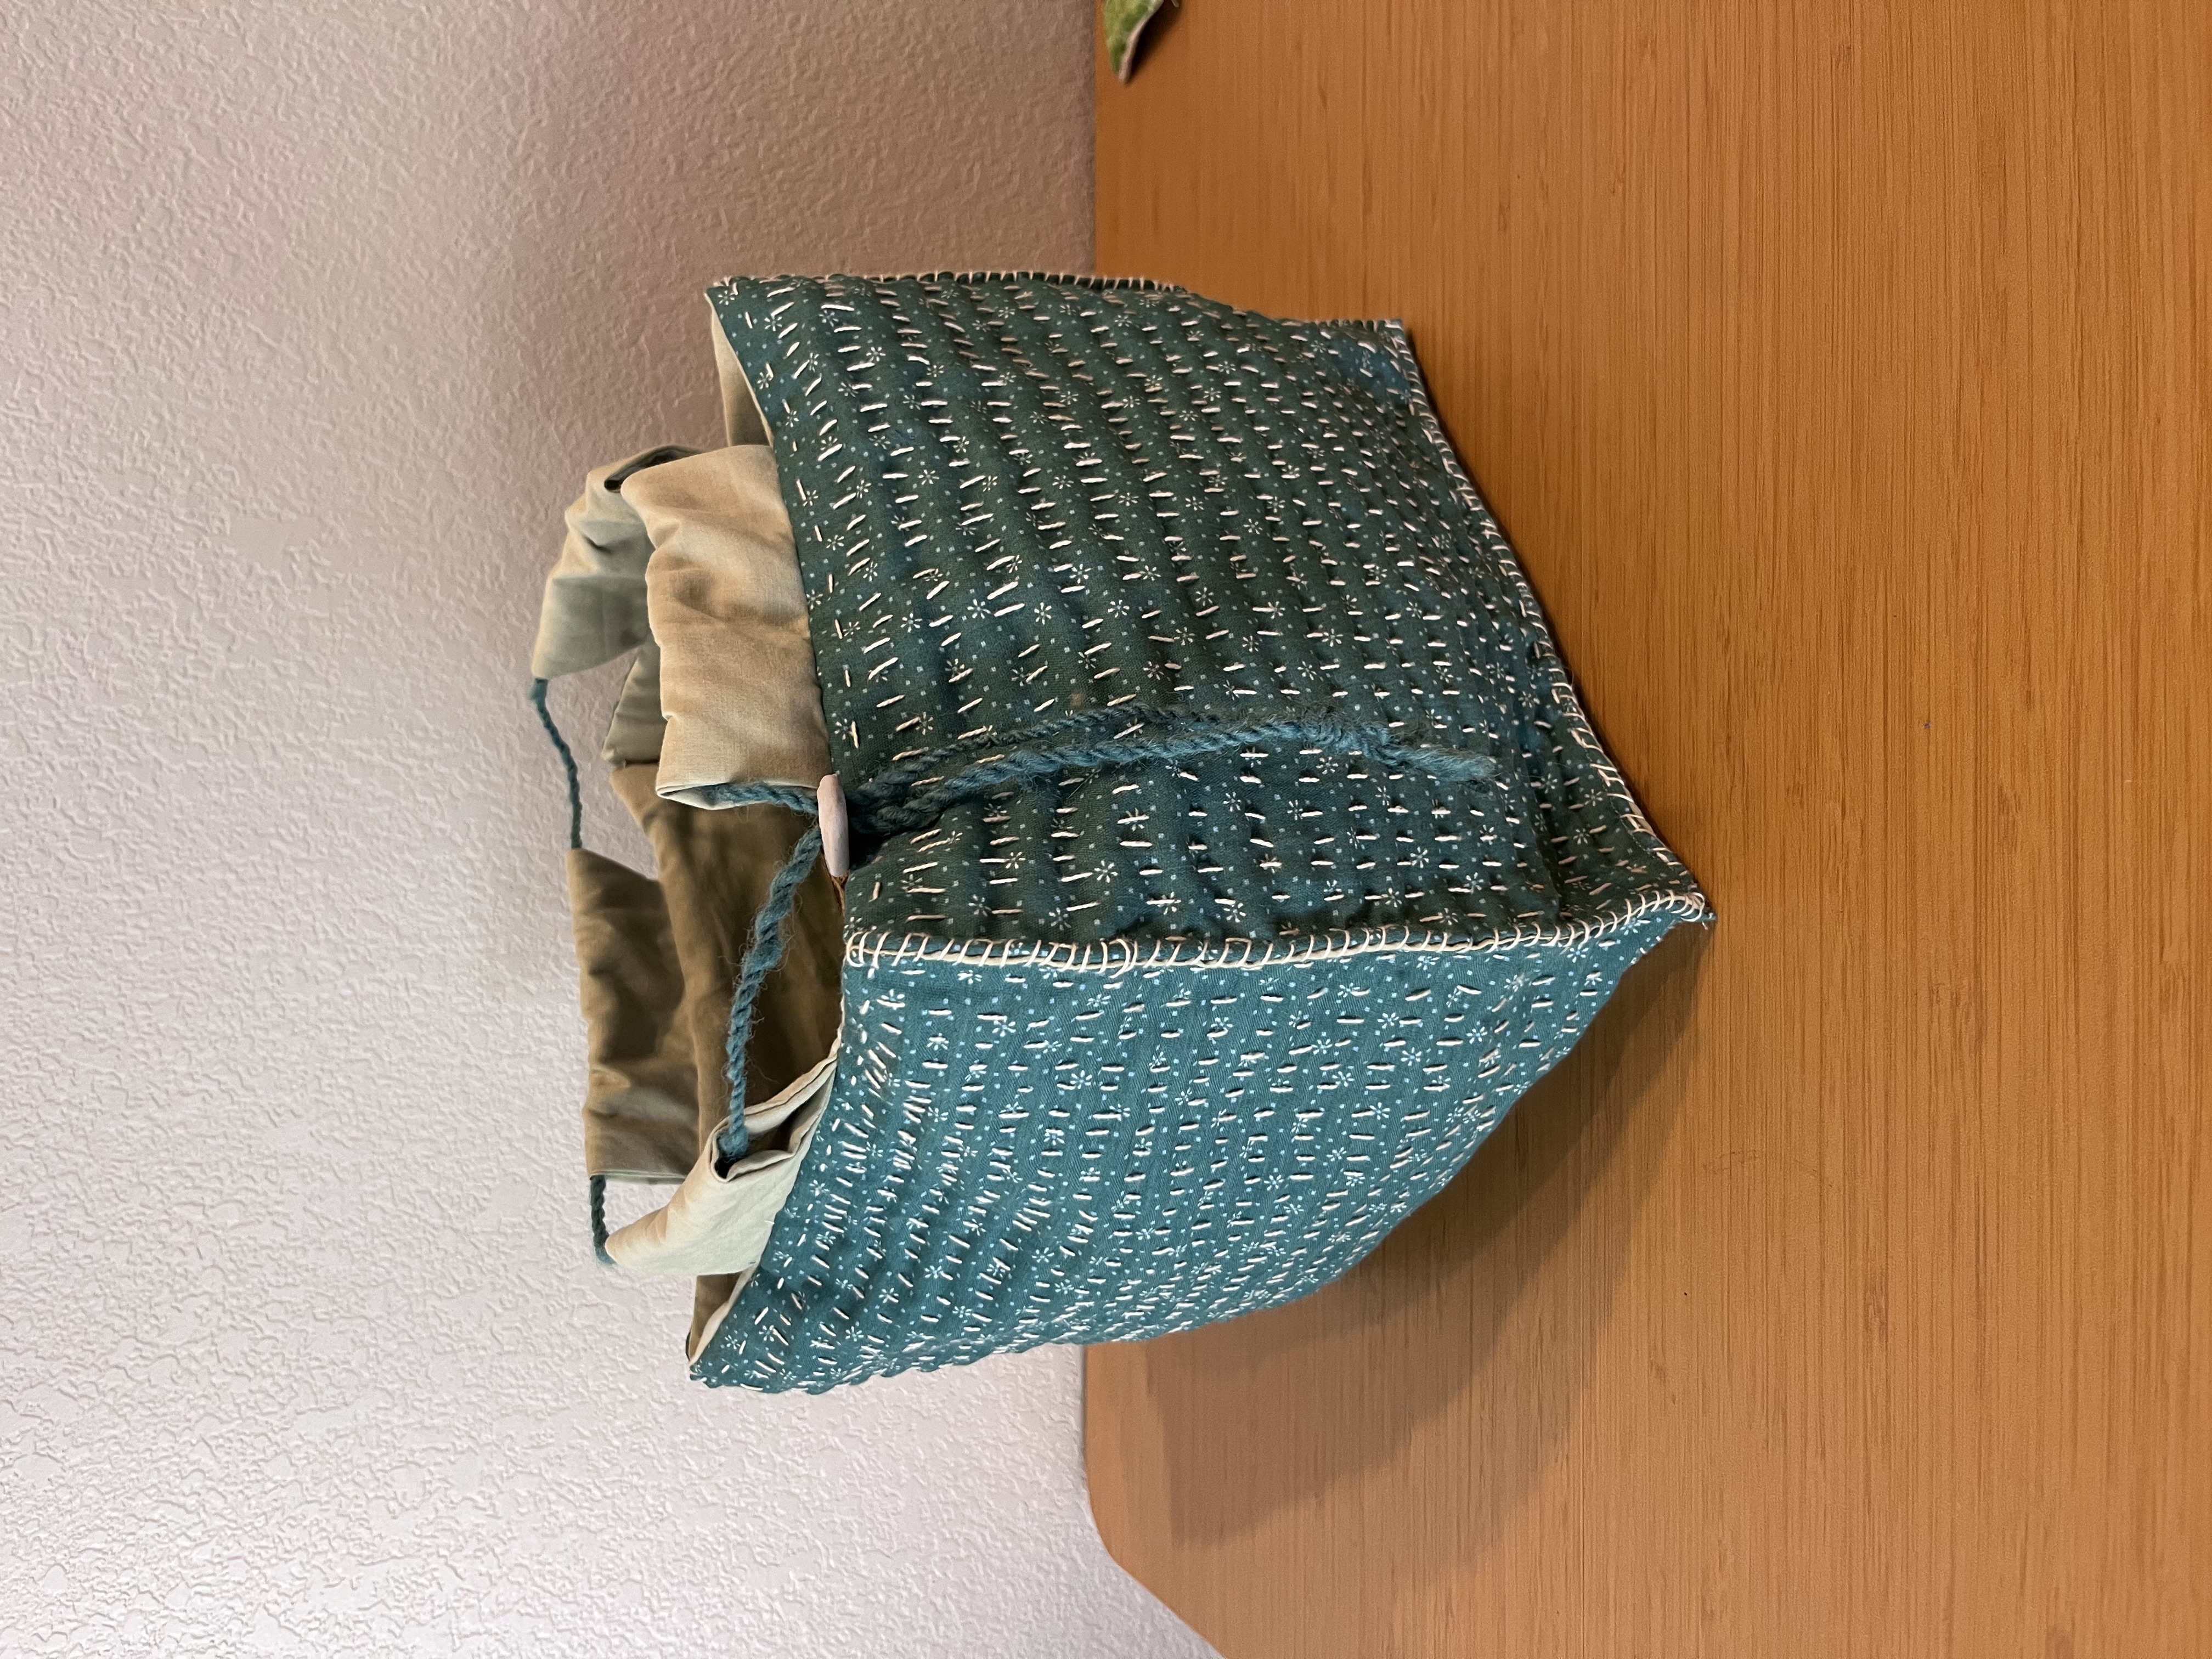
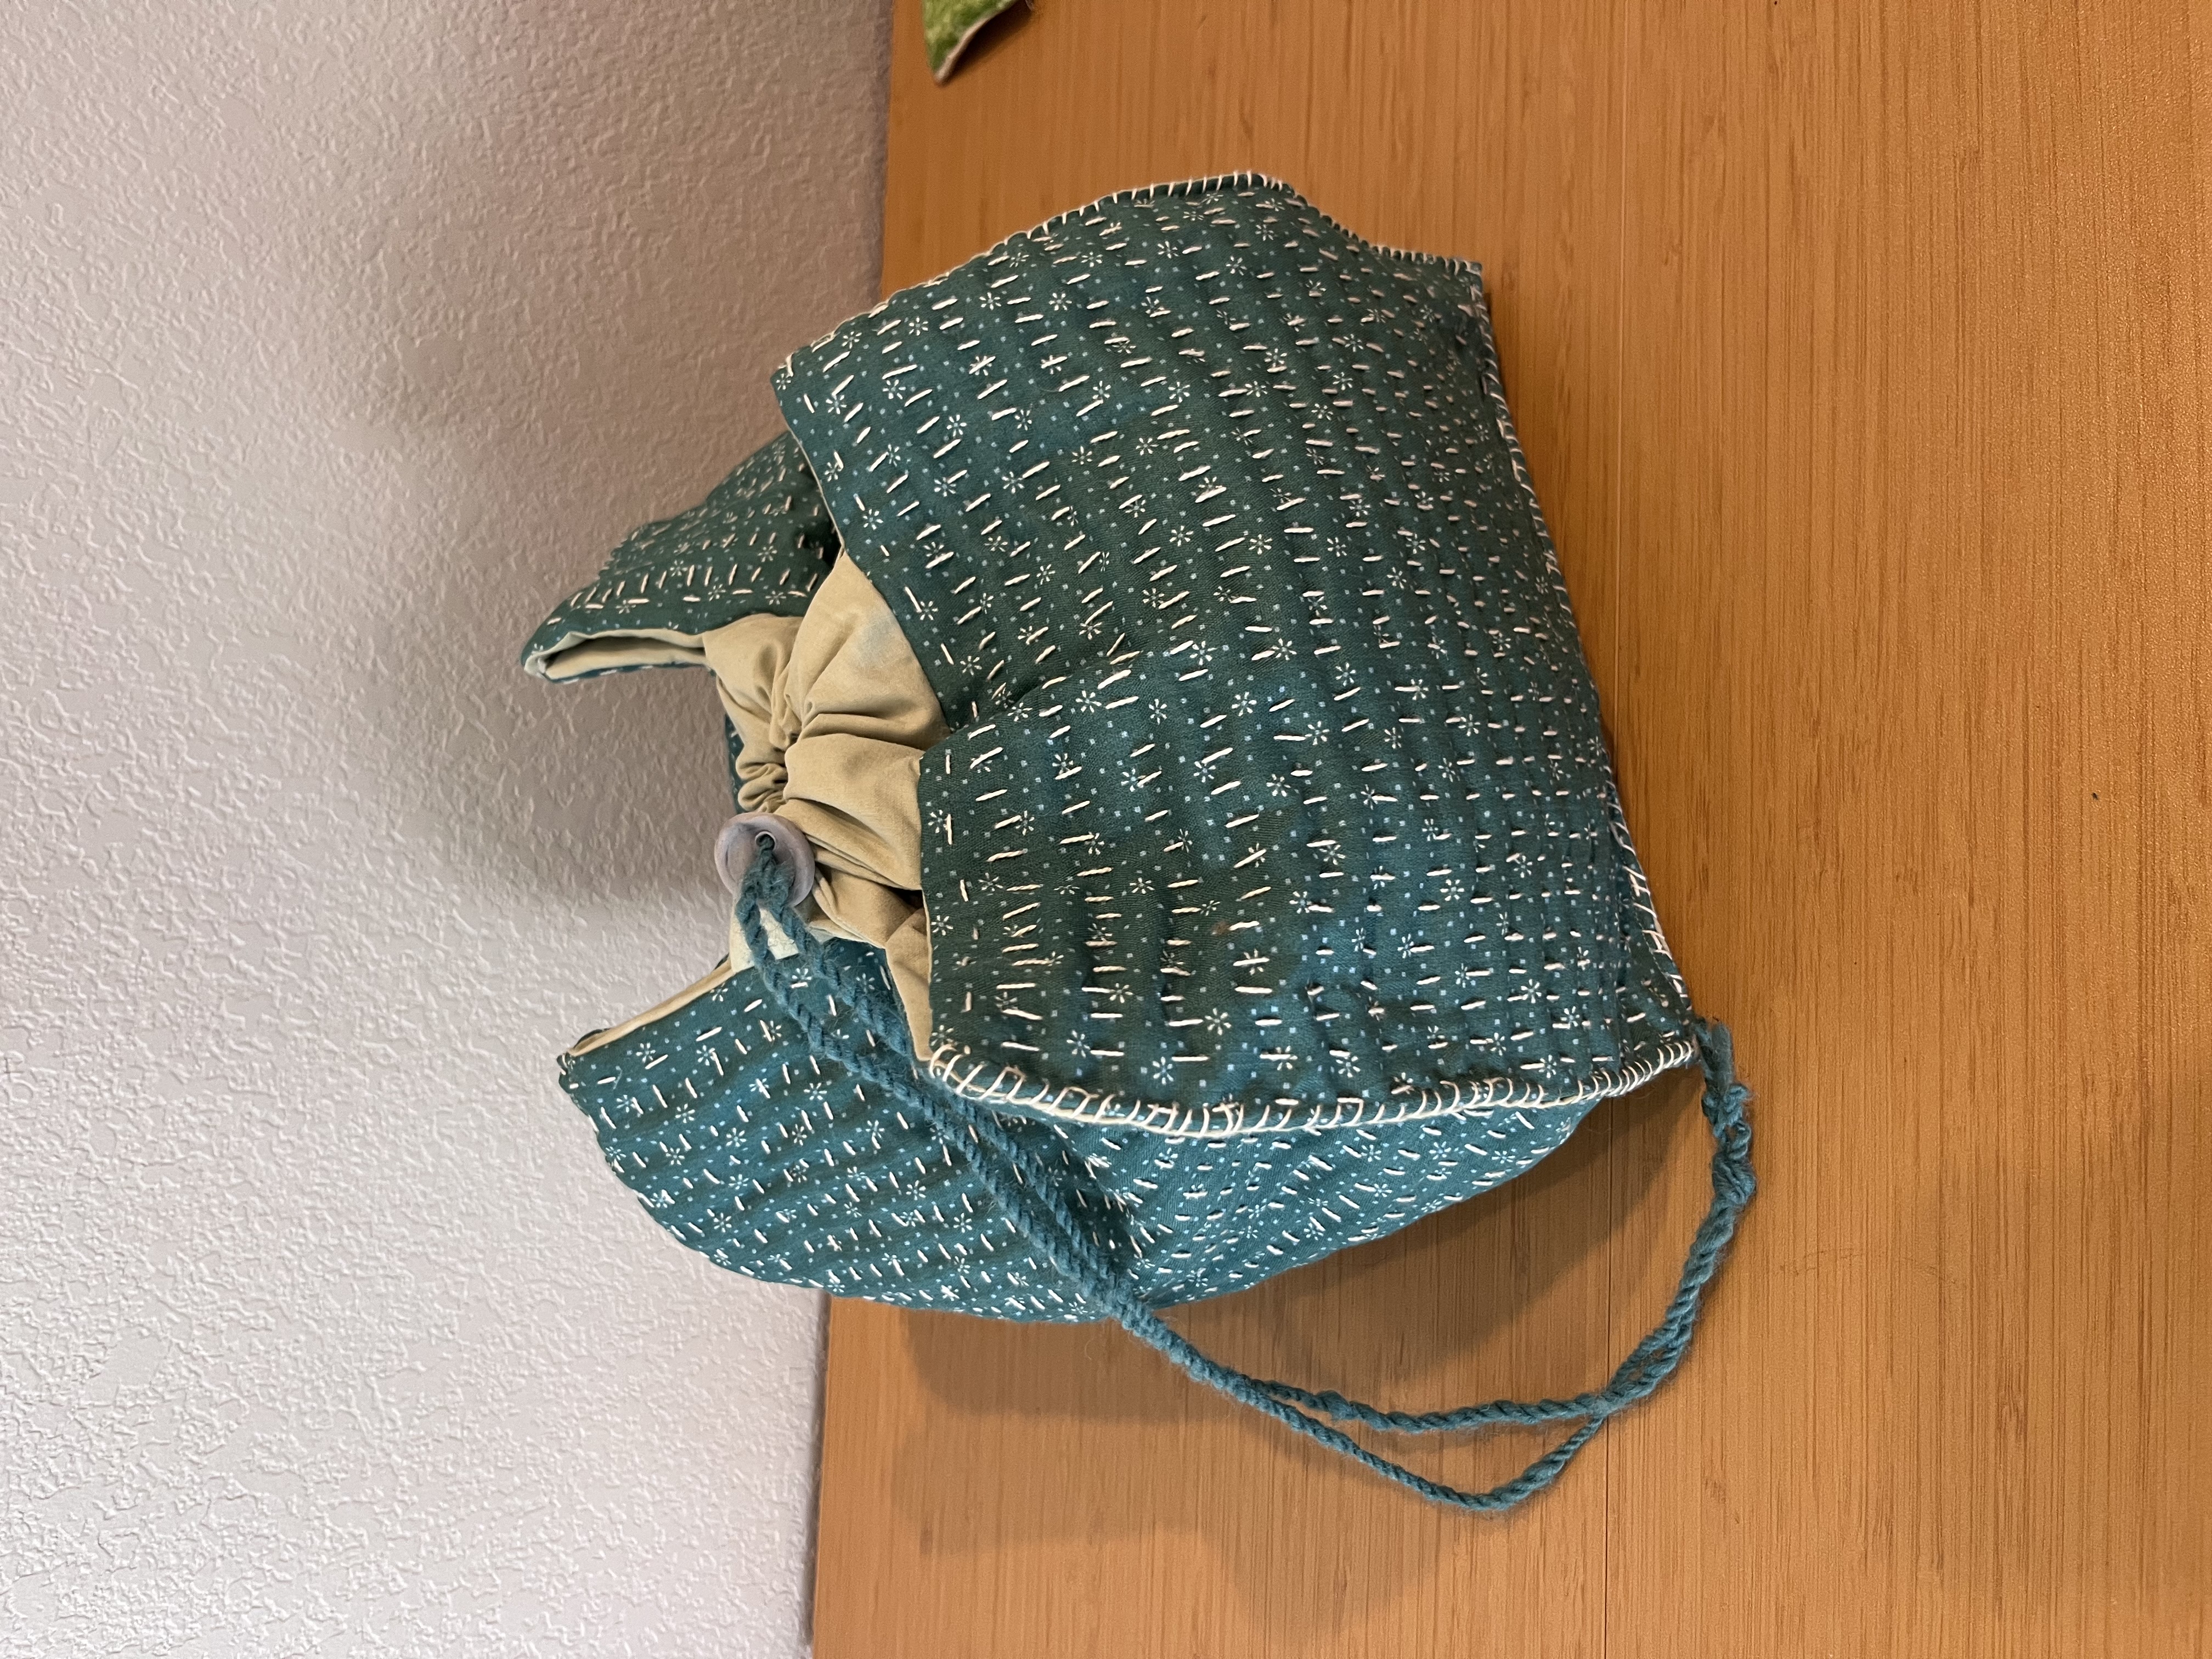
<p>The next bag I worked on was a rice bag style inspired by K3N cloth tales on YouTube. For the outer fabric I used quilting fabric, the liner is some cotton sheet dyed with chrysanthemum, and in better those I used two layers of cotton drop cloth to add some stability. For the pattern I used a sheet of standard letter paper by cutting it square (8.5 inches) this was the template for each of the sides. The leftover rectangle I cut in half (2.5 x 4.25 inches) and used this as the template for the tabs. Then I  cut out 5 squares of the outer fabric and lining with a 1/2 inch seam allowance, 10 pieces of the drop cloth with no seam allowance, and 8 tab pieces with 1/2 inch seam allowance. For the tabs you can use any fabric, I used the lining fabric because I had enough of it.</p>

<p>With all my pieces cut apart it was time for more stitching! I decided to do rows of running stitches using a weaving yarn as pearl cotton because thats what I had. I did this through the outer fabric and both pieces of drop cloth. You don’t need o do as much stitching as I have, you could also use a sewing machine, but I strongly recommend doing some stitching because it provides a lot of the structure that keep the bag upright. I used a machine to stitch each piece to the lining before attaching the bottom and sides with a whip stitch. I used some hand spun wool and a button as the closure.</p>

<p><img src="/assets/images/IMG_2952.jpeg" alt="Photo of rice bag with decorative stitching." />
<img src="/assets/images/IMG_2948.jpeg" alt="Photo of rice bag with decorative stitching." /></p>

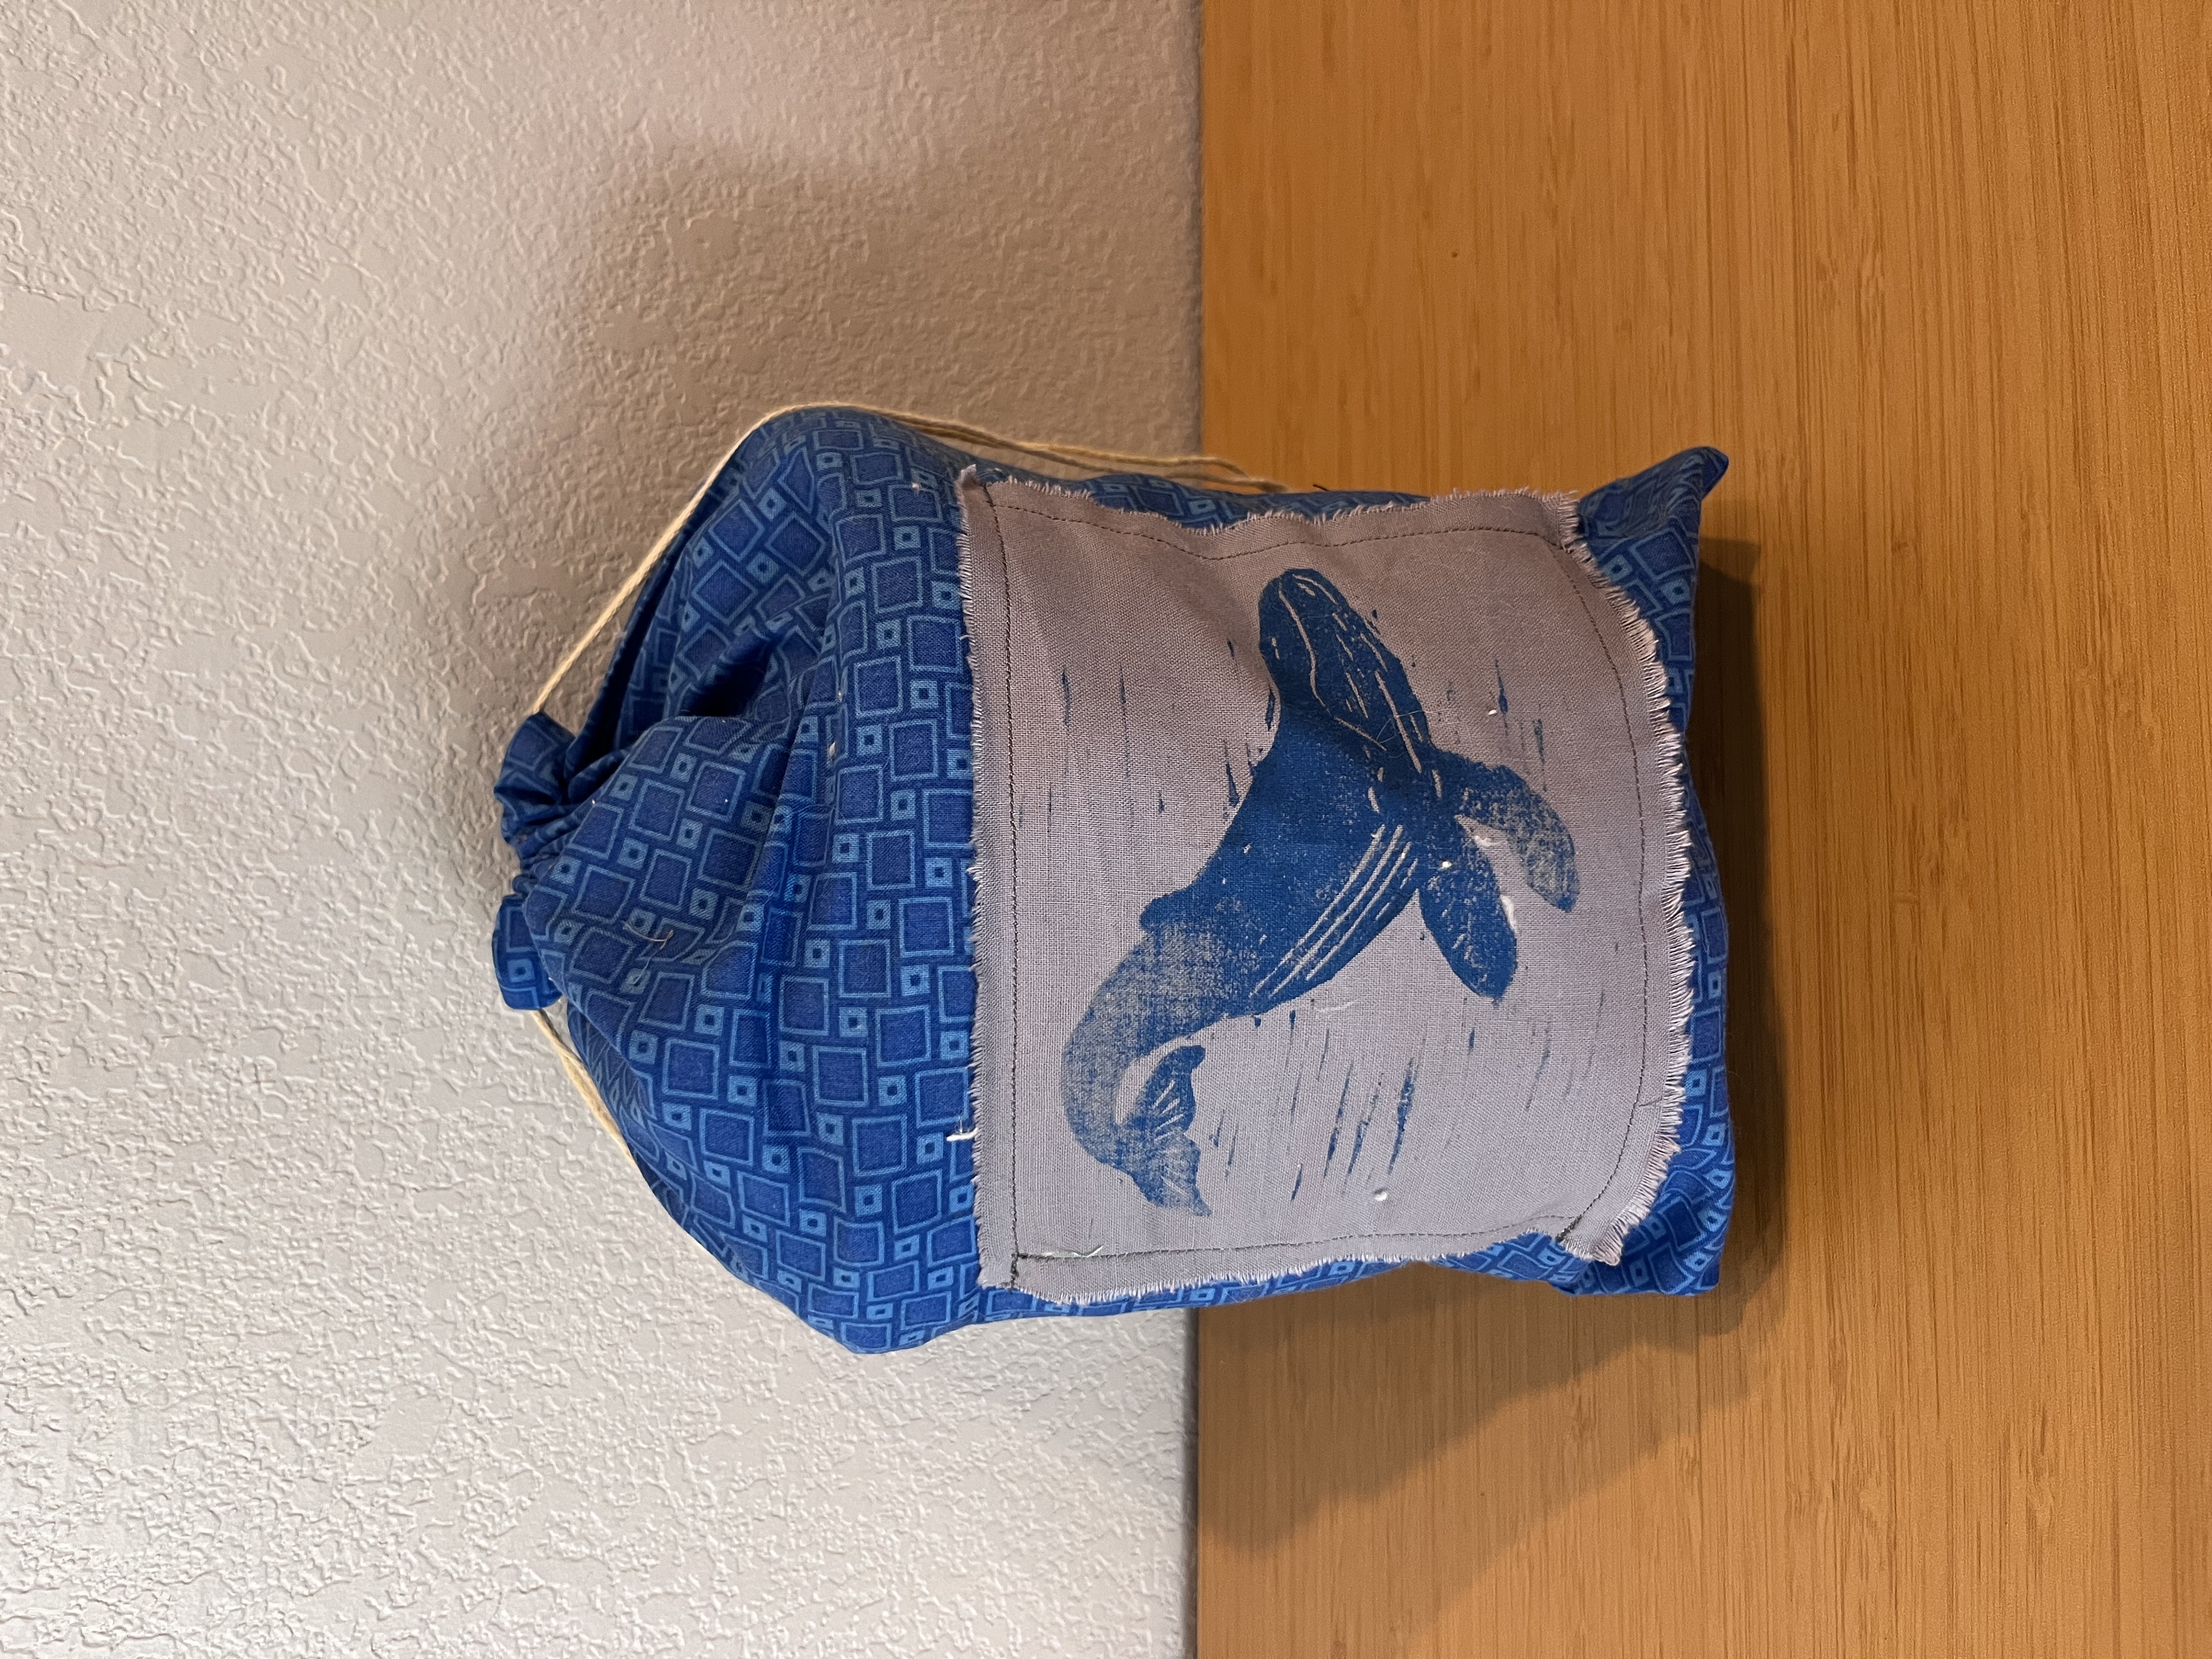
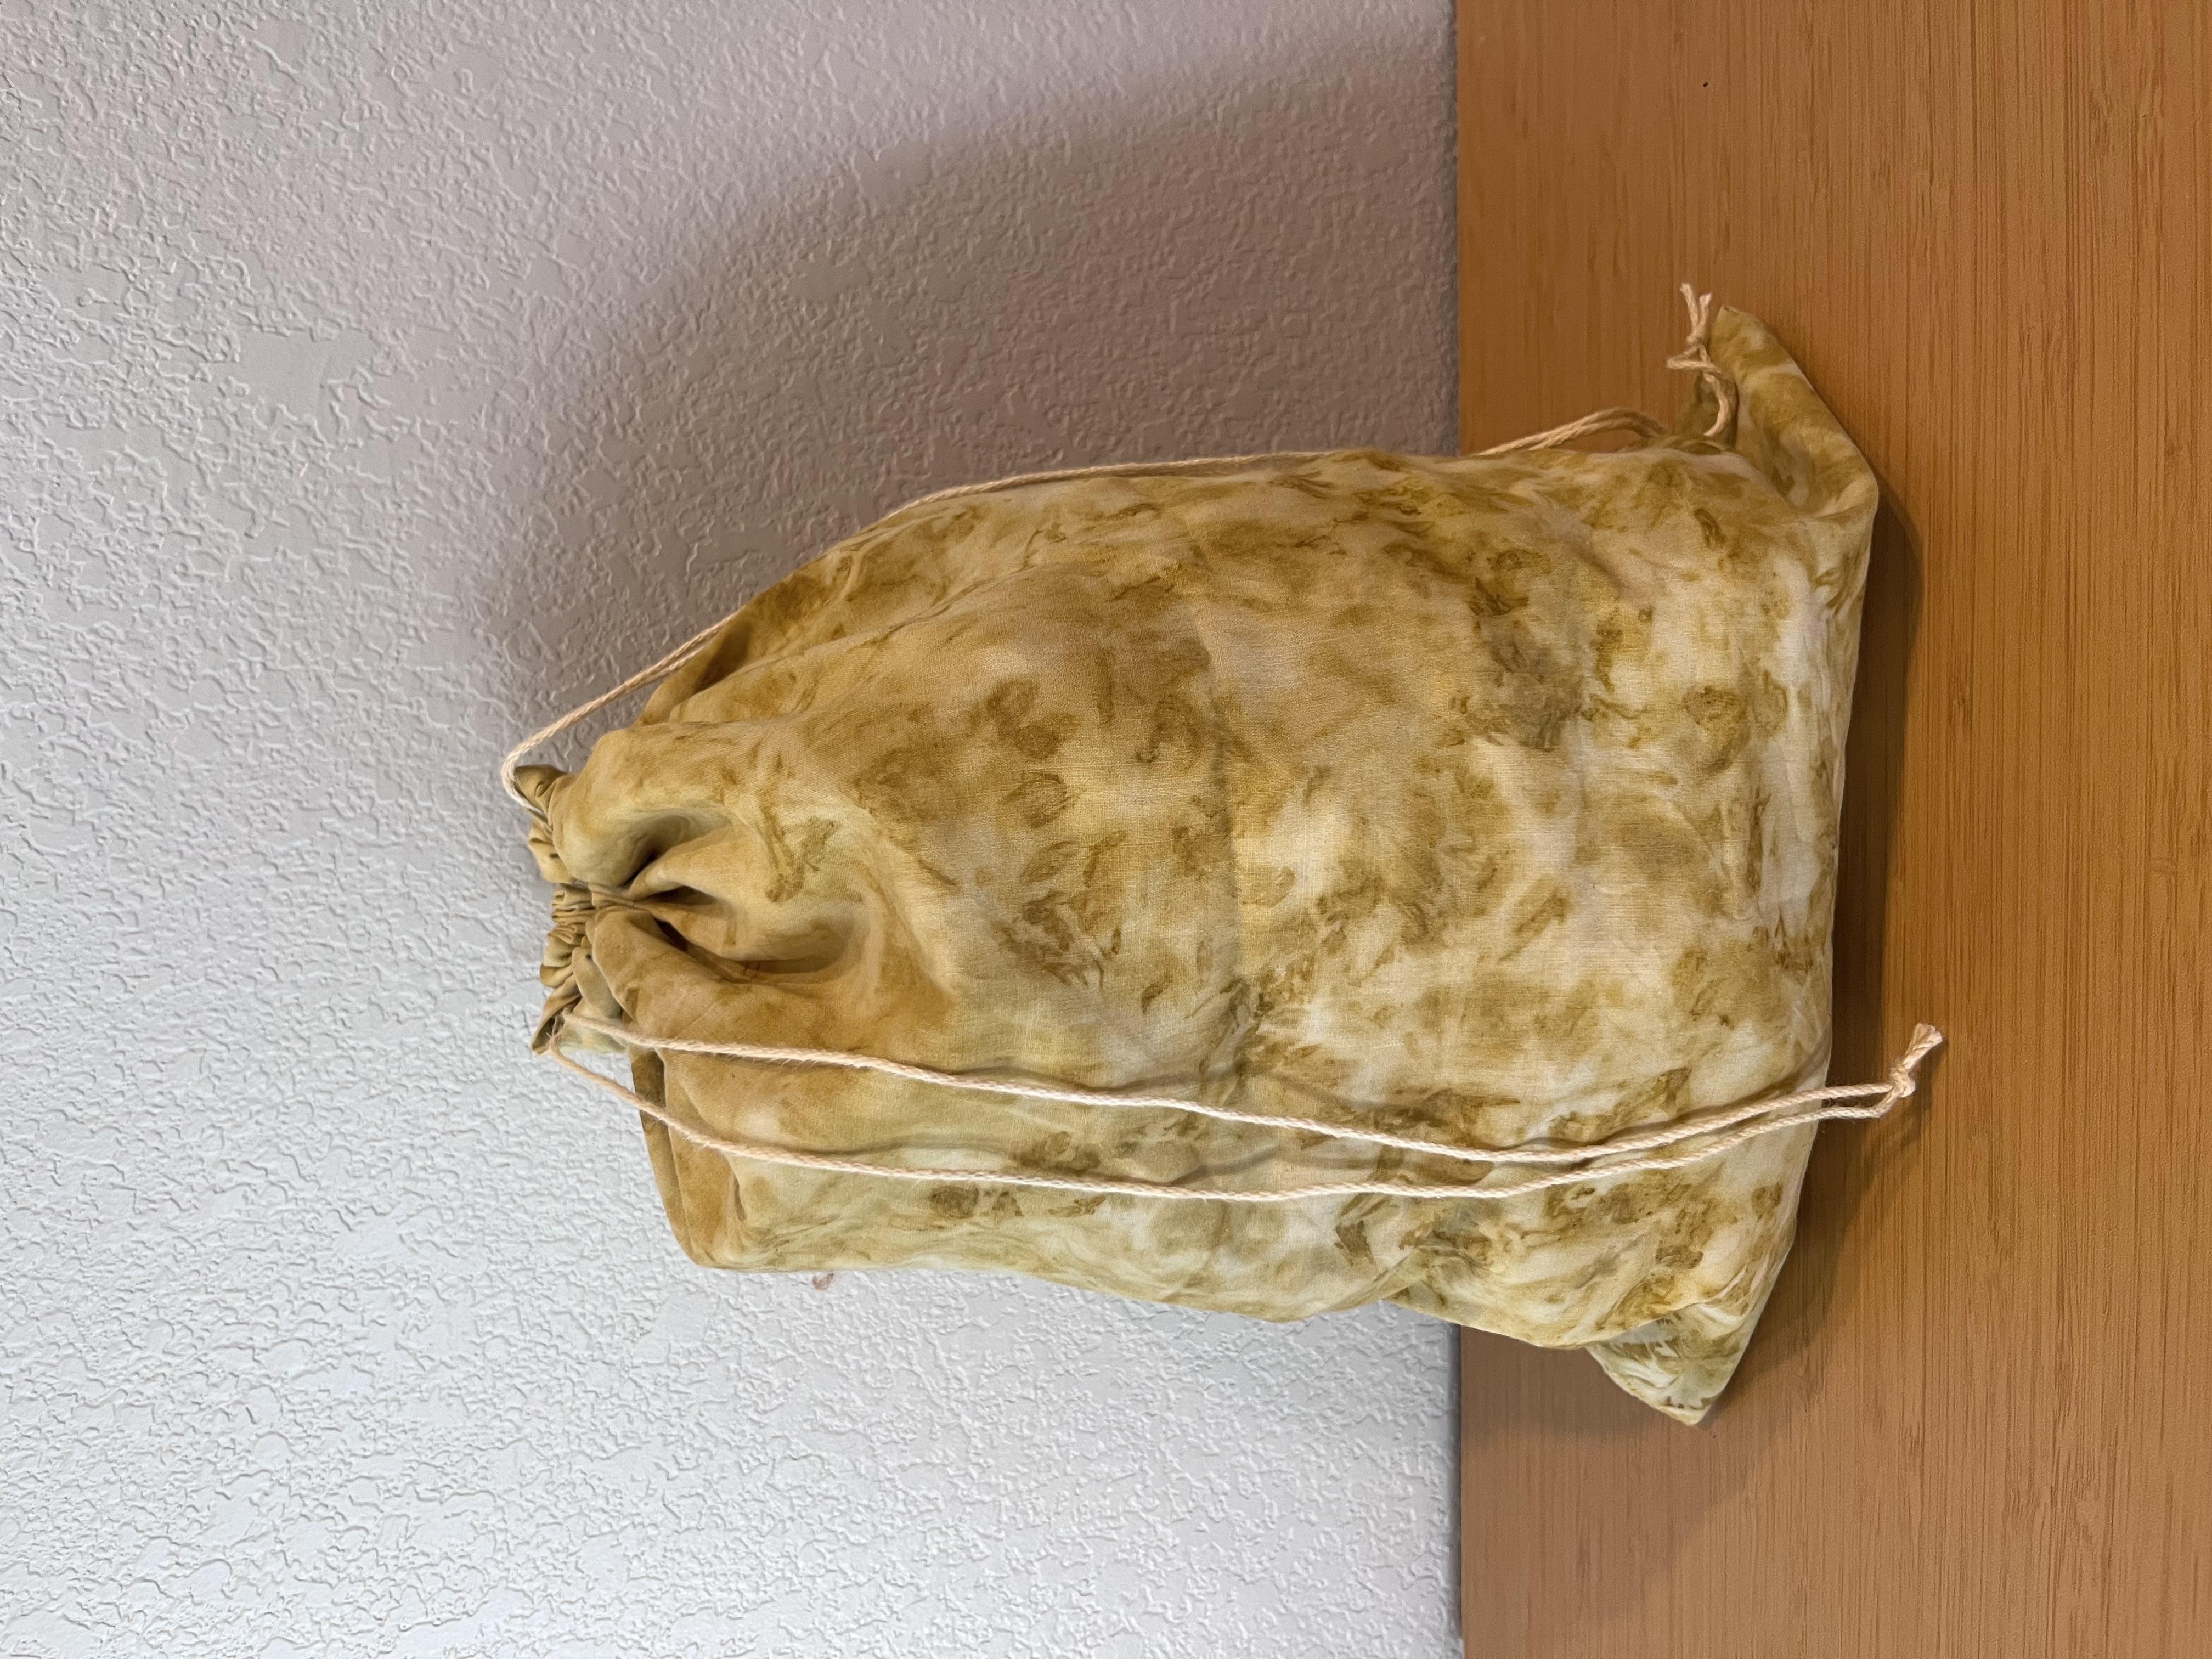
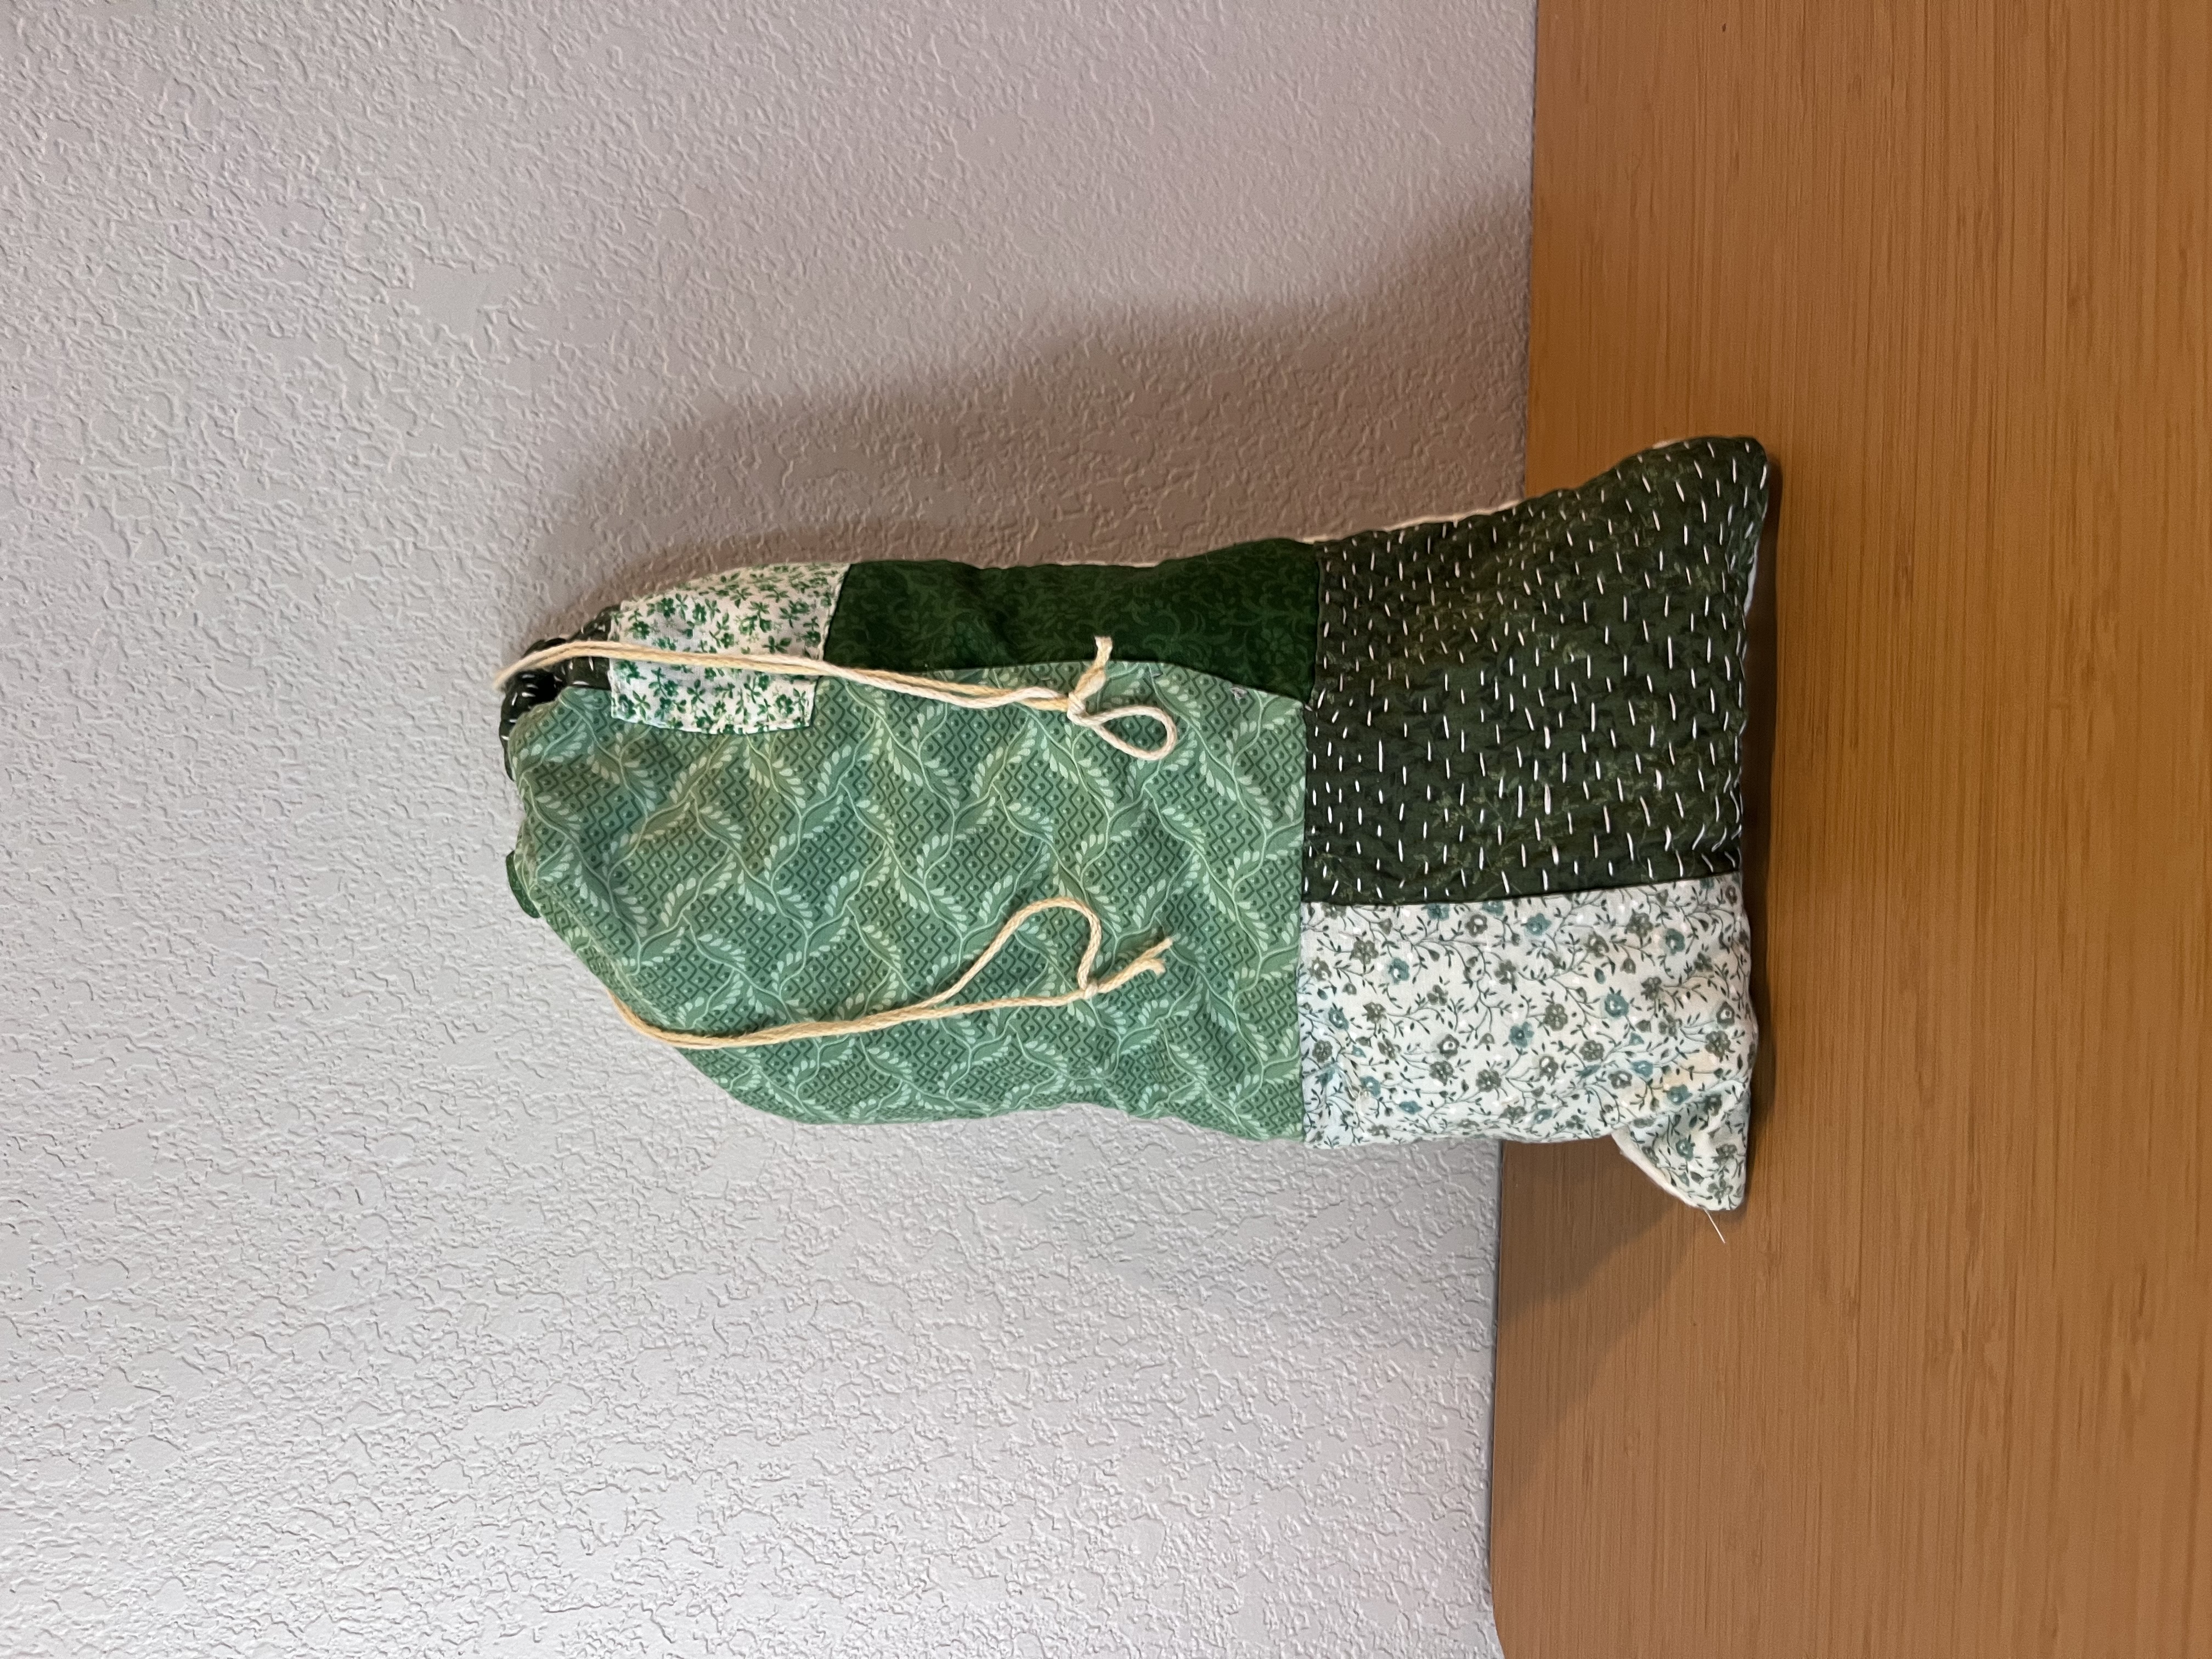
<p>Lastly I made a few simple drawstring bags. On one I used a blue patterned quilting fabric and a patch with a whale print I was sent in a craft exchange. For the next I used fabric I had eco printed with marigold petals last year. And for the final one I used the rest of the unused patchwork from the first bag, which I made a very tall skinny bag to cram all my little thread and yarn scraps in.</p>

<p><img src="/assets/images/IMG_2957.jpeg" alt="Photo of drawstring bag with blue pattern and whale patch." /></p>

<p><img src="/assets/images/IMG_2954.jpeg" alt="Photo of drawstring bag with marigold eco print." /></p>

<p><img src="/assets/images/IMG_2958.jpeg" alt="Photo of drawstring bag with green patchwork." /></p>

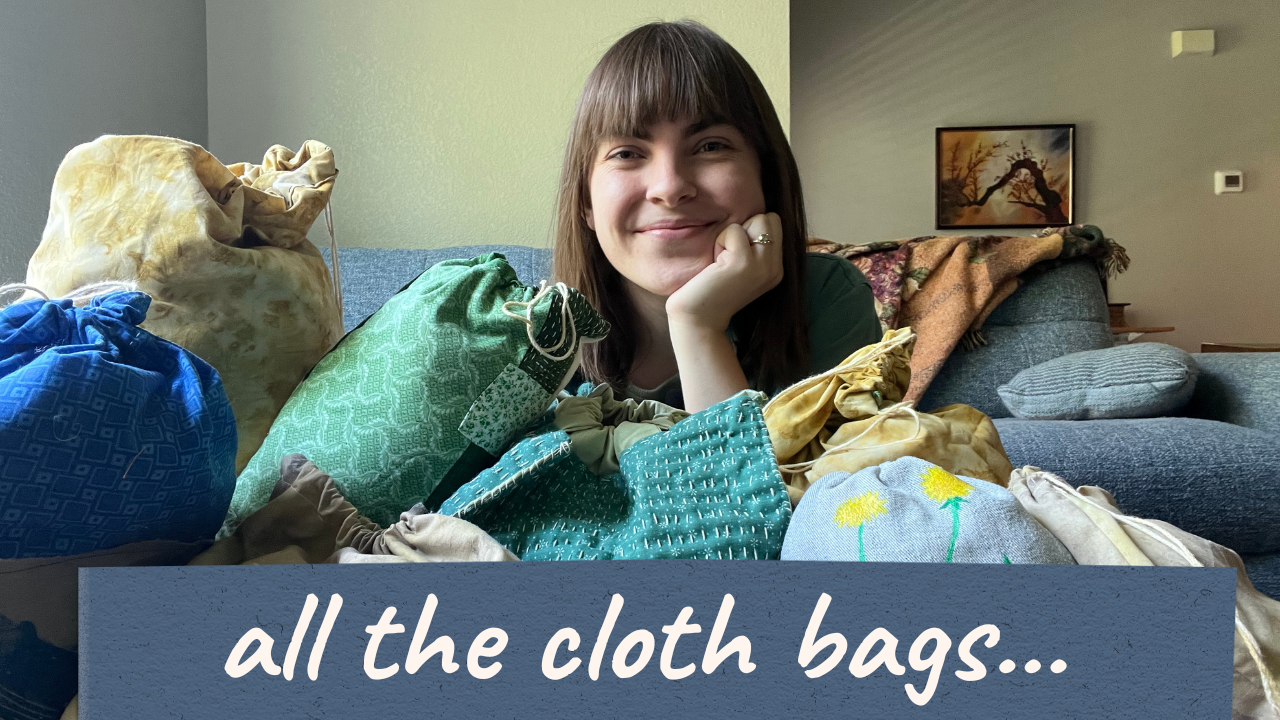
<p>Overall I am so happy with how they all turned out, and my craft supplies are much more organized! If you want to see more of the project check out my YouTube channel.</p>

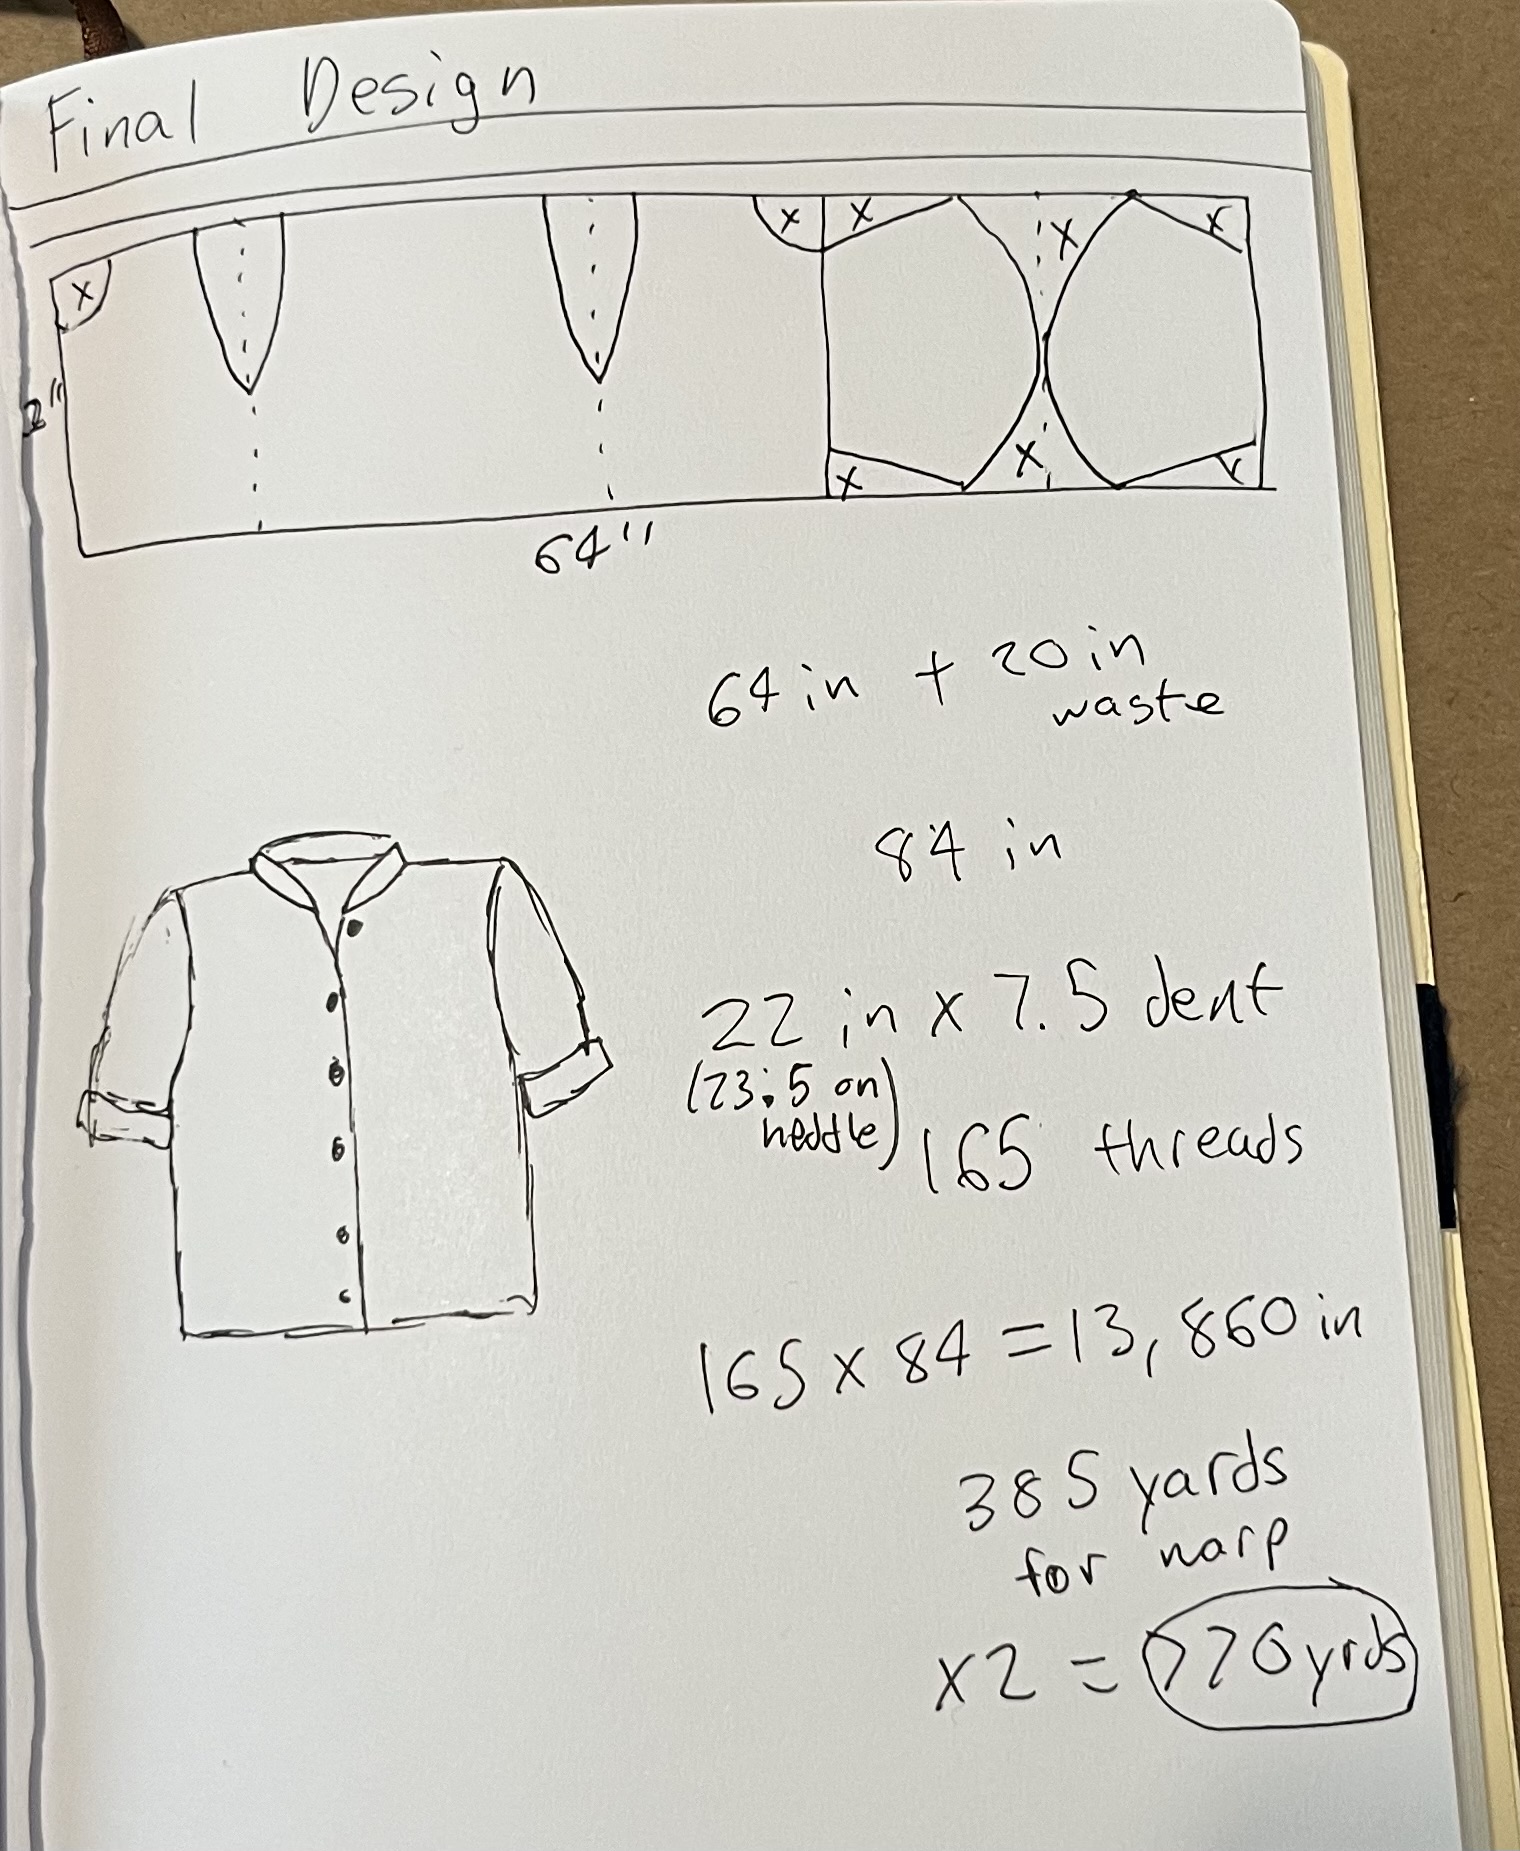
<p><img src="/assets/images/clothbagthumbnail.png" alt="Photo of YouTube thumbnail showing all the bags." /></p>]]></content><author><name>Rhianna Lucas</name></author><category term="slow stitch" /><category term="sewing" /><summary type="html"><![CDATA[I was going through my craft supplies and realized I need a little more organization that I had, which is a perfect opportunity for one of my favorite little projects: cloth bags!]]></summary></entry><entry><title type="html">Finishing my hand spun shirt</title><link href="https://rhisfiberart.com/blog/2026/07/25/Finishing-my-hand-spun-shirt/" rel="alternate" type="text/html" title="Finishing my hand spun shirt" /><published>2026-07-25T00:00:00+00:00</published><updated>2026-07-25T00:00:00+00:00</updated><id>https://rhisfiberart.com/blog/2026/07/25/Finishing-my-hand-spun-shirt</id><content type="html" xml:base="https://rhisfiberart.com/blog/2026/07/25/Finishing-my-hand-spun-shirt/"><![CDATA[<p>The pattern for my shirt was inspired by <em>Zero Waste Patterns</em> by Birgitta Helmersson. I adapted the ideas in the block shirt design to fit the 24-inch width of my fabric. The design I ended up with was a solid body piece with cutouts for the armholes and rounded sleeve shapes. If I were to do it again, I think I would do gusset sleeves instead of the rounded sleeve.</p>

<p><img src="/assets/images/IMG_1942.jpeg" alt="Photo of the shirt pattern drawn in a notebook." /></p>

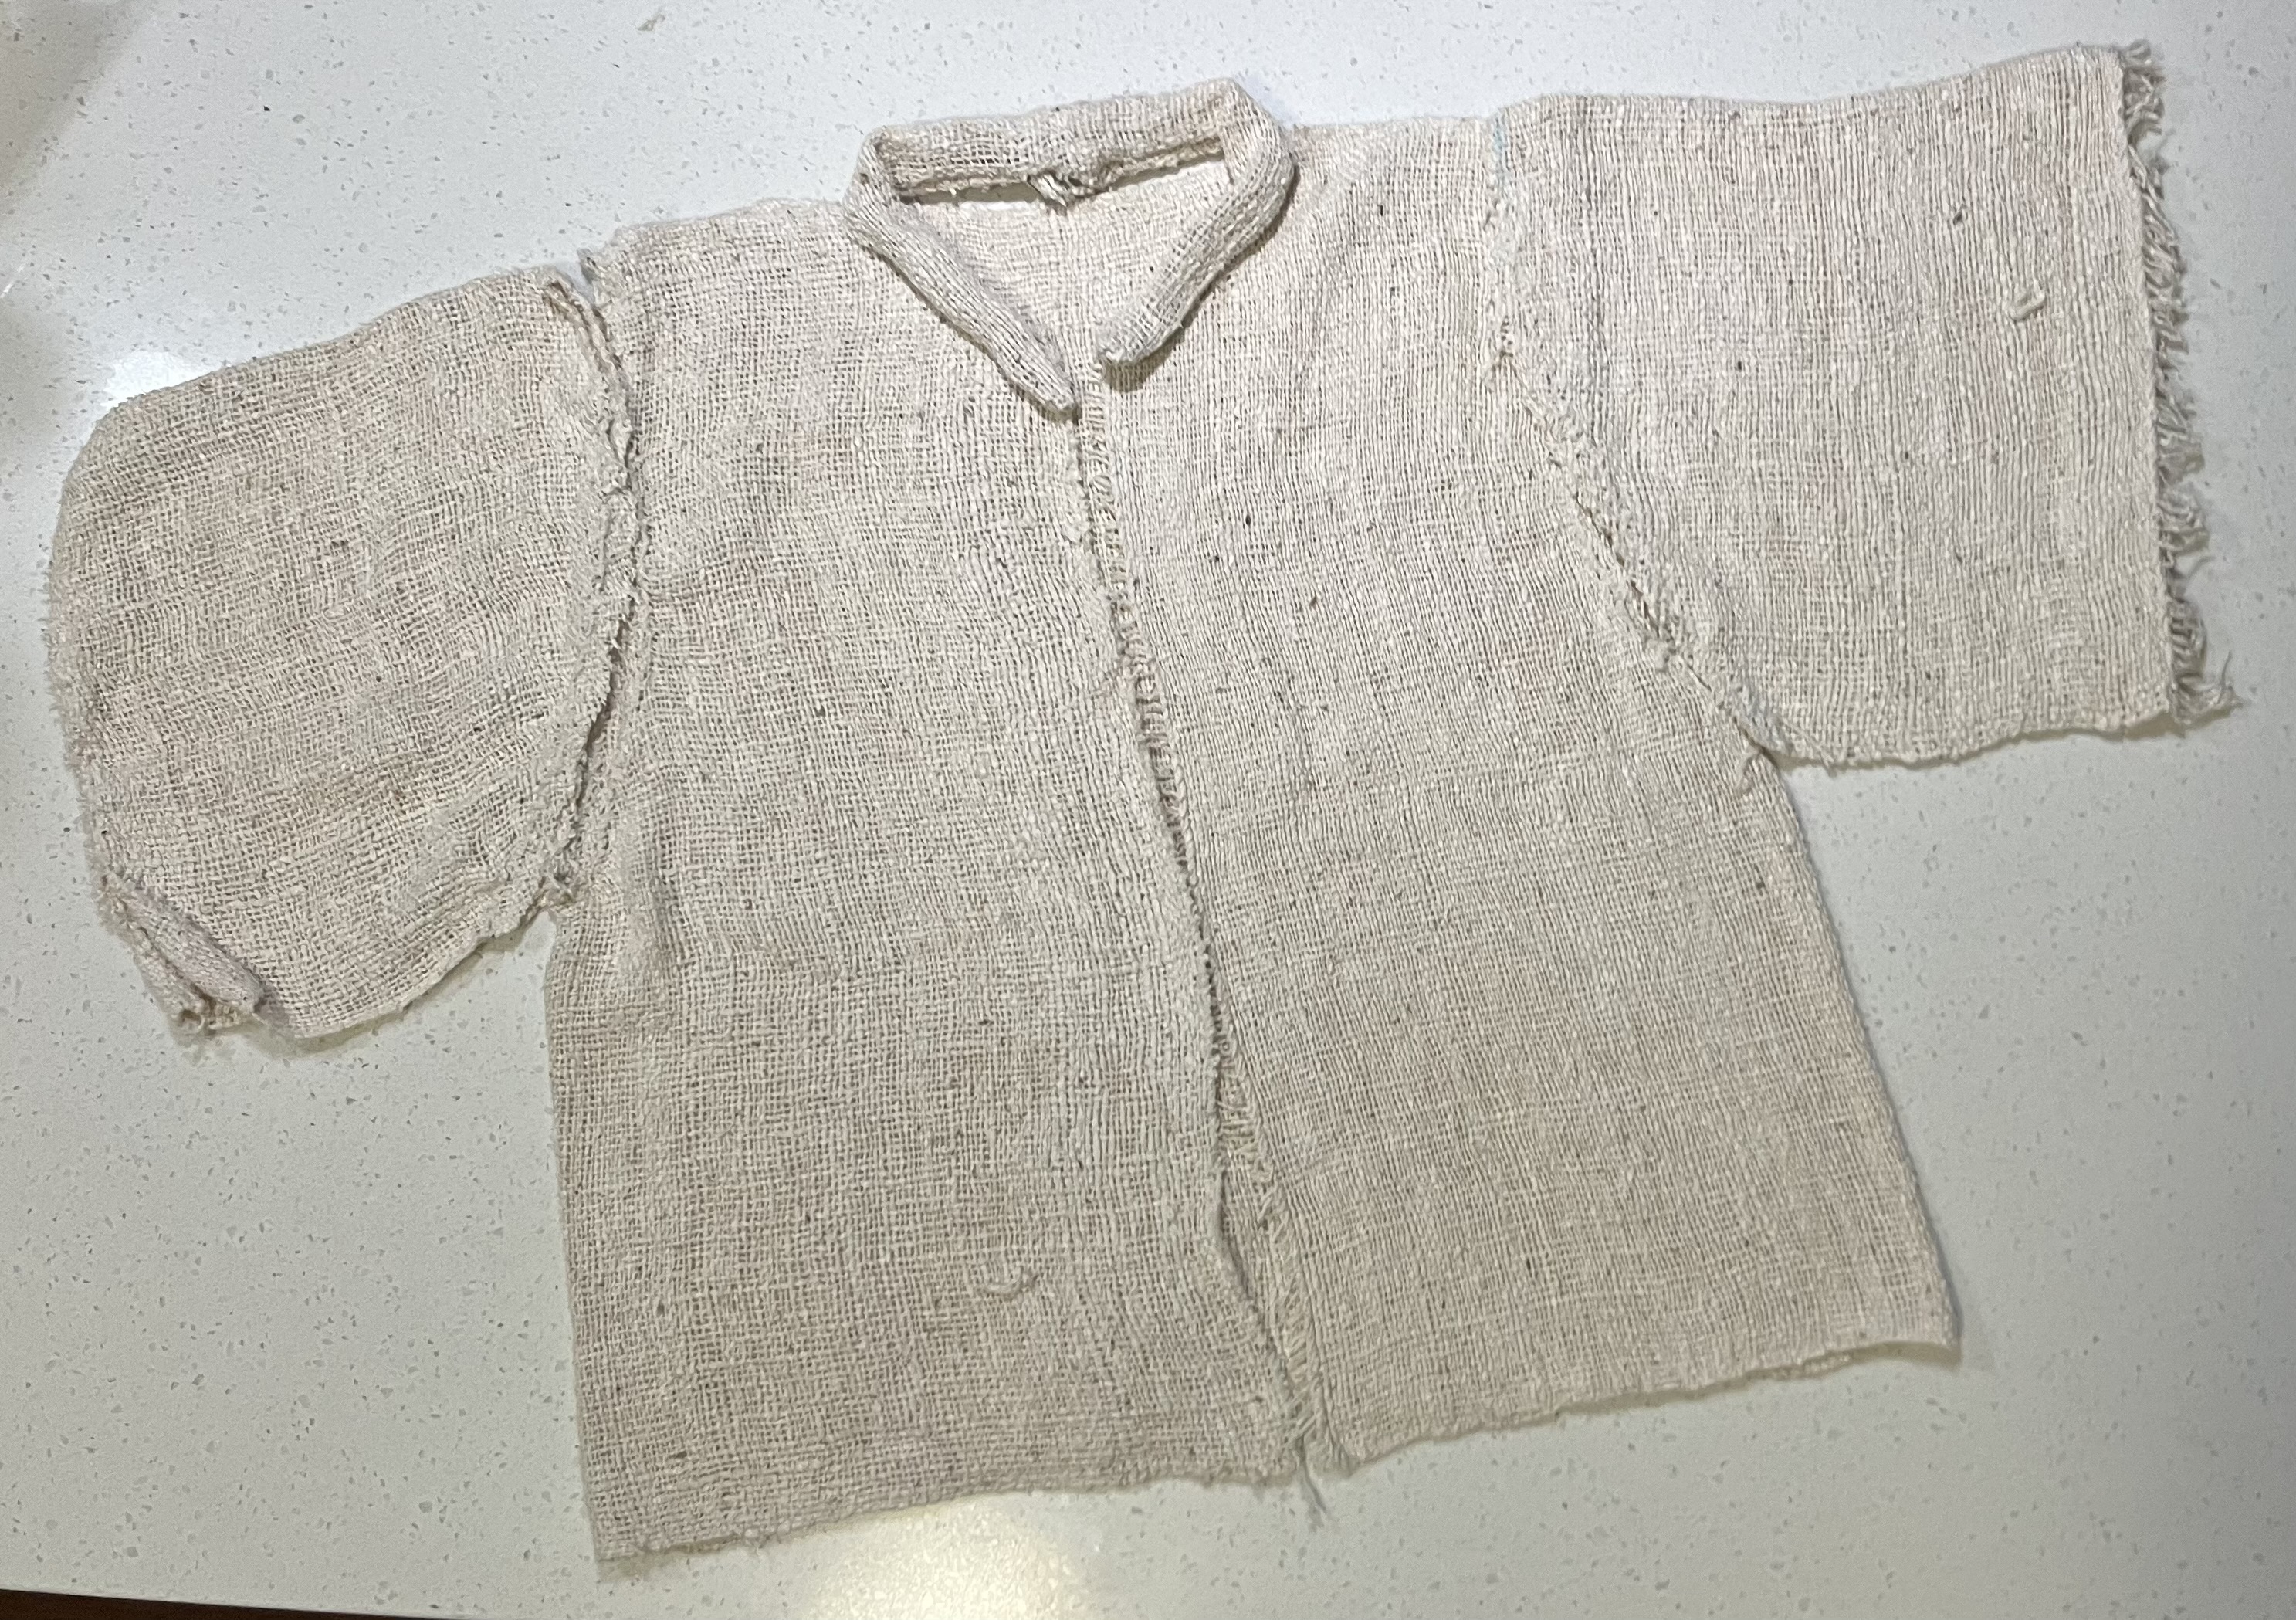
<p>After my fabric was off the loom, I washed it to allow for any shrinking to happen. Before cutting out my pattern pieces, I reinforced all the seams with a hemstitch. This prevented any fraying or unraveling of the loosely woven fabric and allowed me to cut with a very minimal seam allowance.</p>

<p>Once the pieces were all cut, I sewed everything together. The top shoulder seam and all the edges were sewn up by hand using drop-spun silk thread. The sleeve attachment was done using a machine zigzag to create a French seam. While a little bulky, this made the attachment very secure, protected it from fraying, and hid any polyester machine thread inside the garment.</p>

<p><img src="/assets/images/IMG_2138.jpeg" alt="Photo of undyed shirt pieces laid out." /></p>

<p>Now that the construction was all finished, it was time for the most fun part: dyeing it!</p>

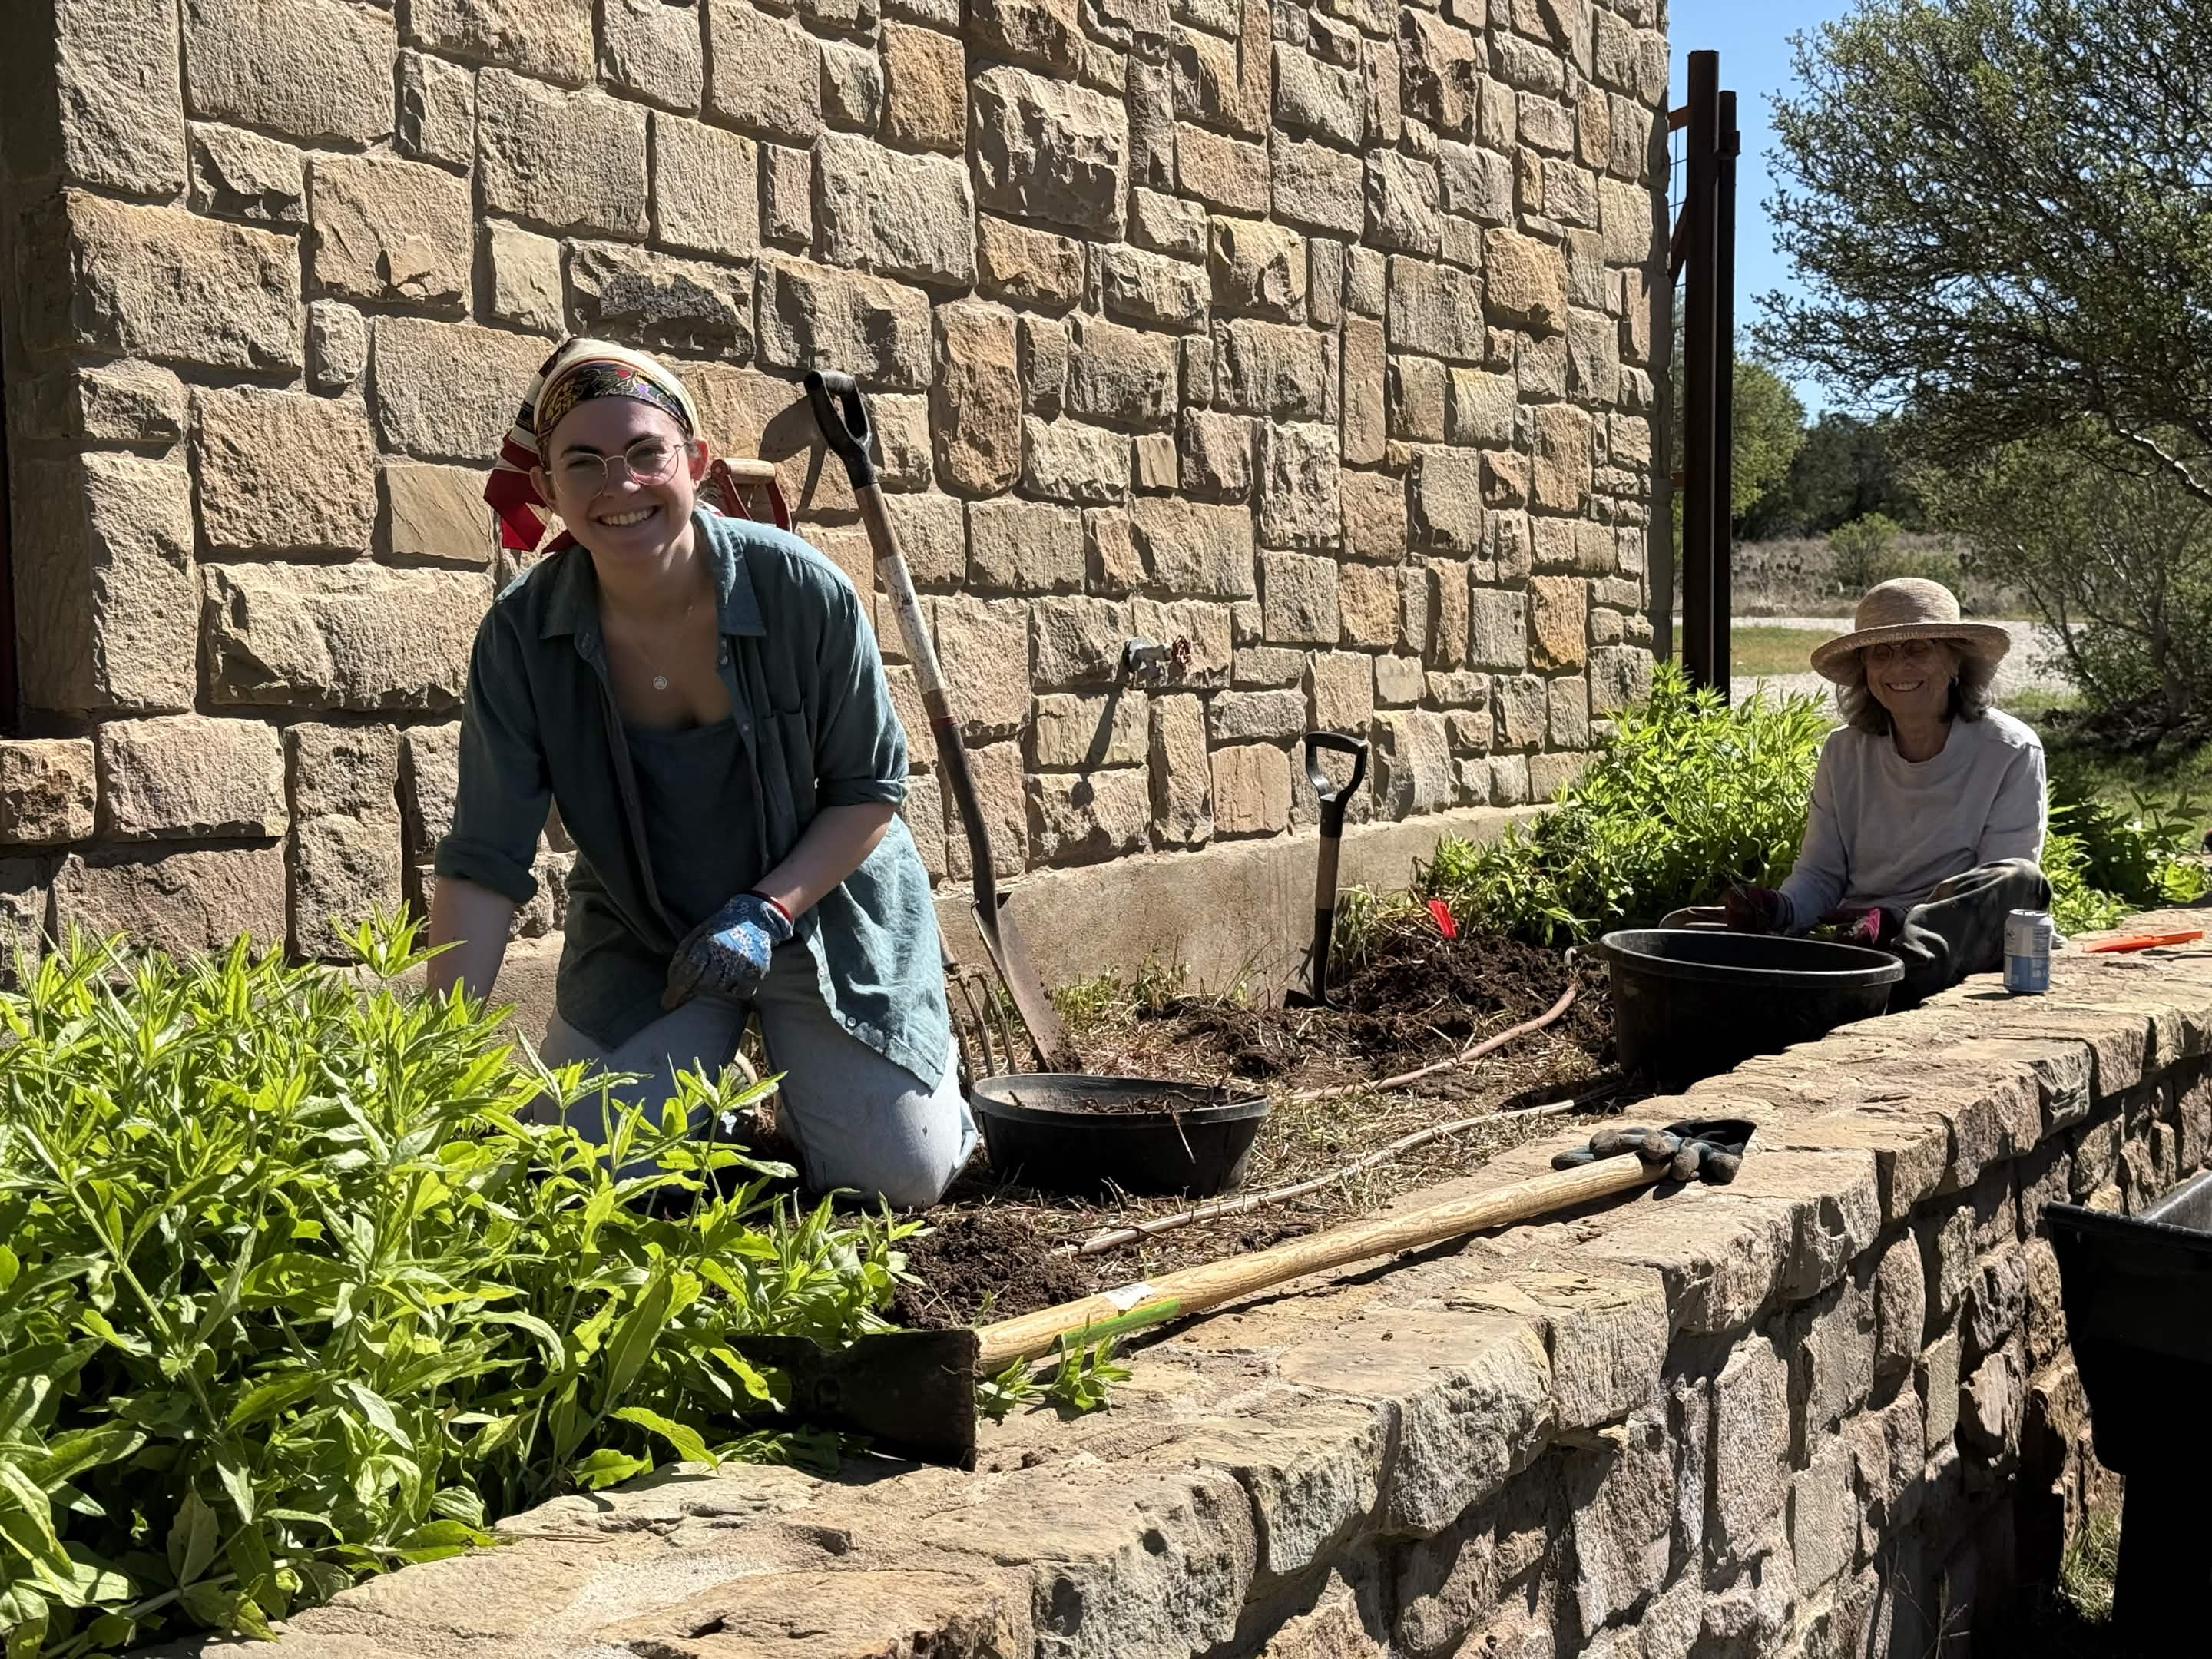
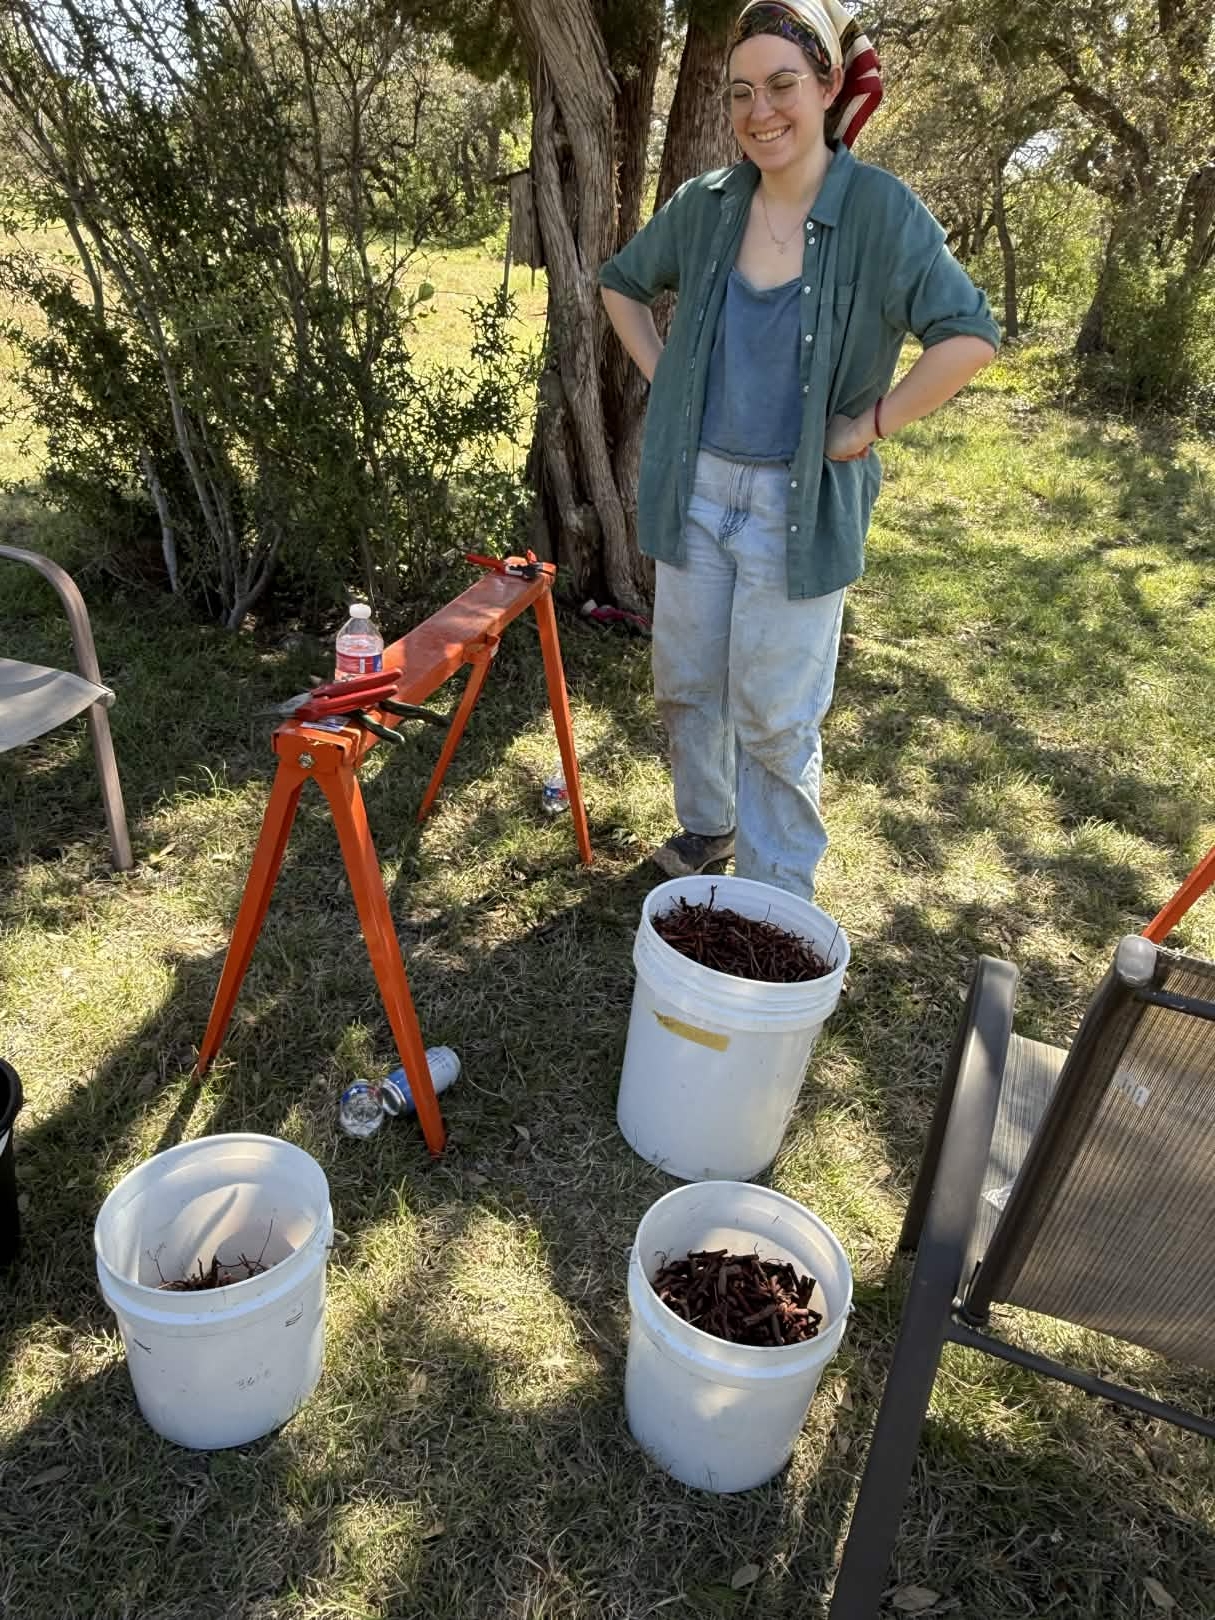
<p>I dyed it using madder root from Deb McClintock — check out her blog at https://debmcclintock.me for great resources on natural dyeing and weaving. Myself and some fellow guild members went out to her property to help dig up the bed in exchange for taking some of the madder home with us.</p>

<p><img src="/assets/images/IMG_9266.jpg" alt="Photo of harvesting madder" />
<img src="/assets/images/IMG_9274.jpg" alt="Photo of buckets of harvested madder" /></p>

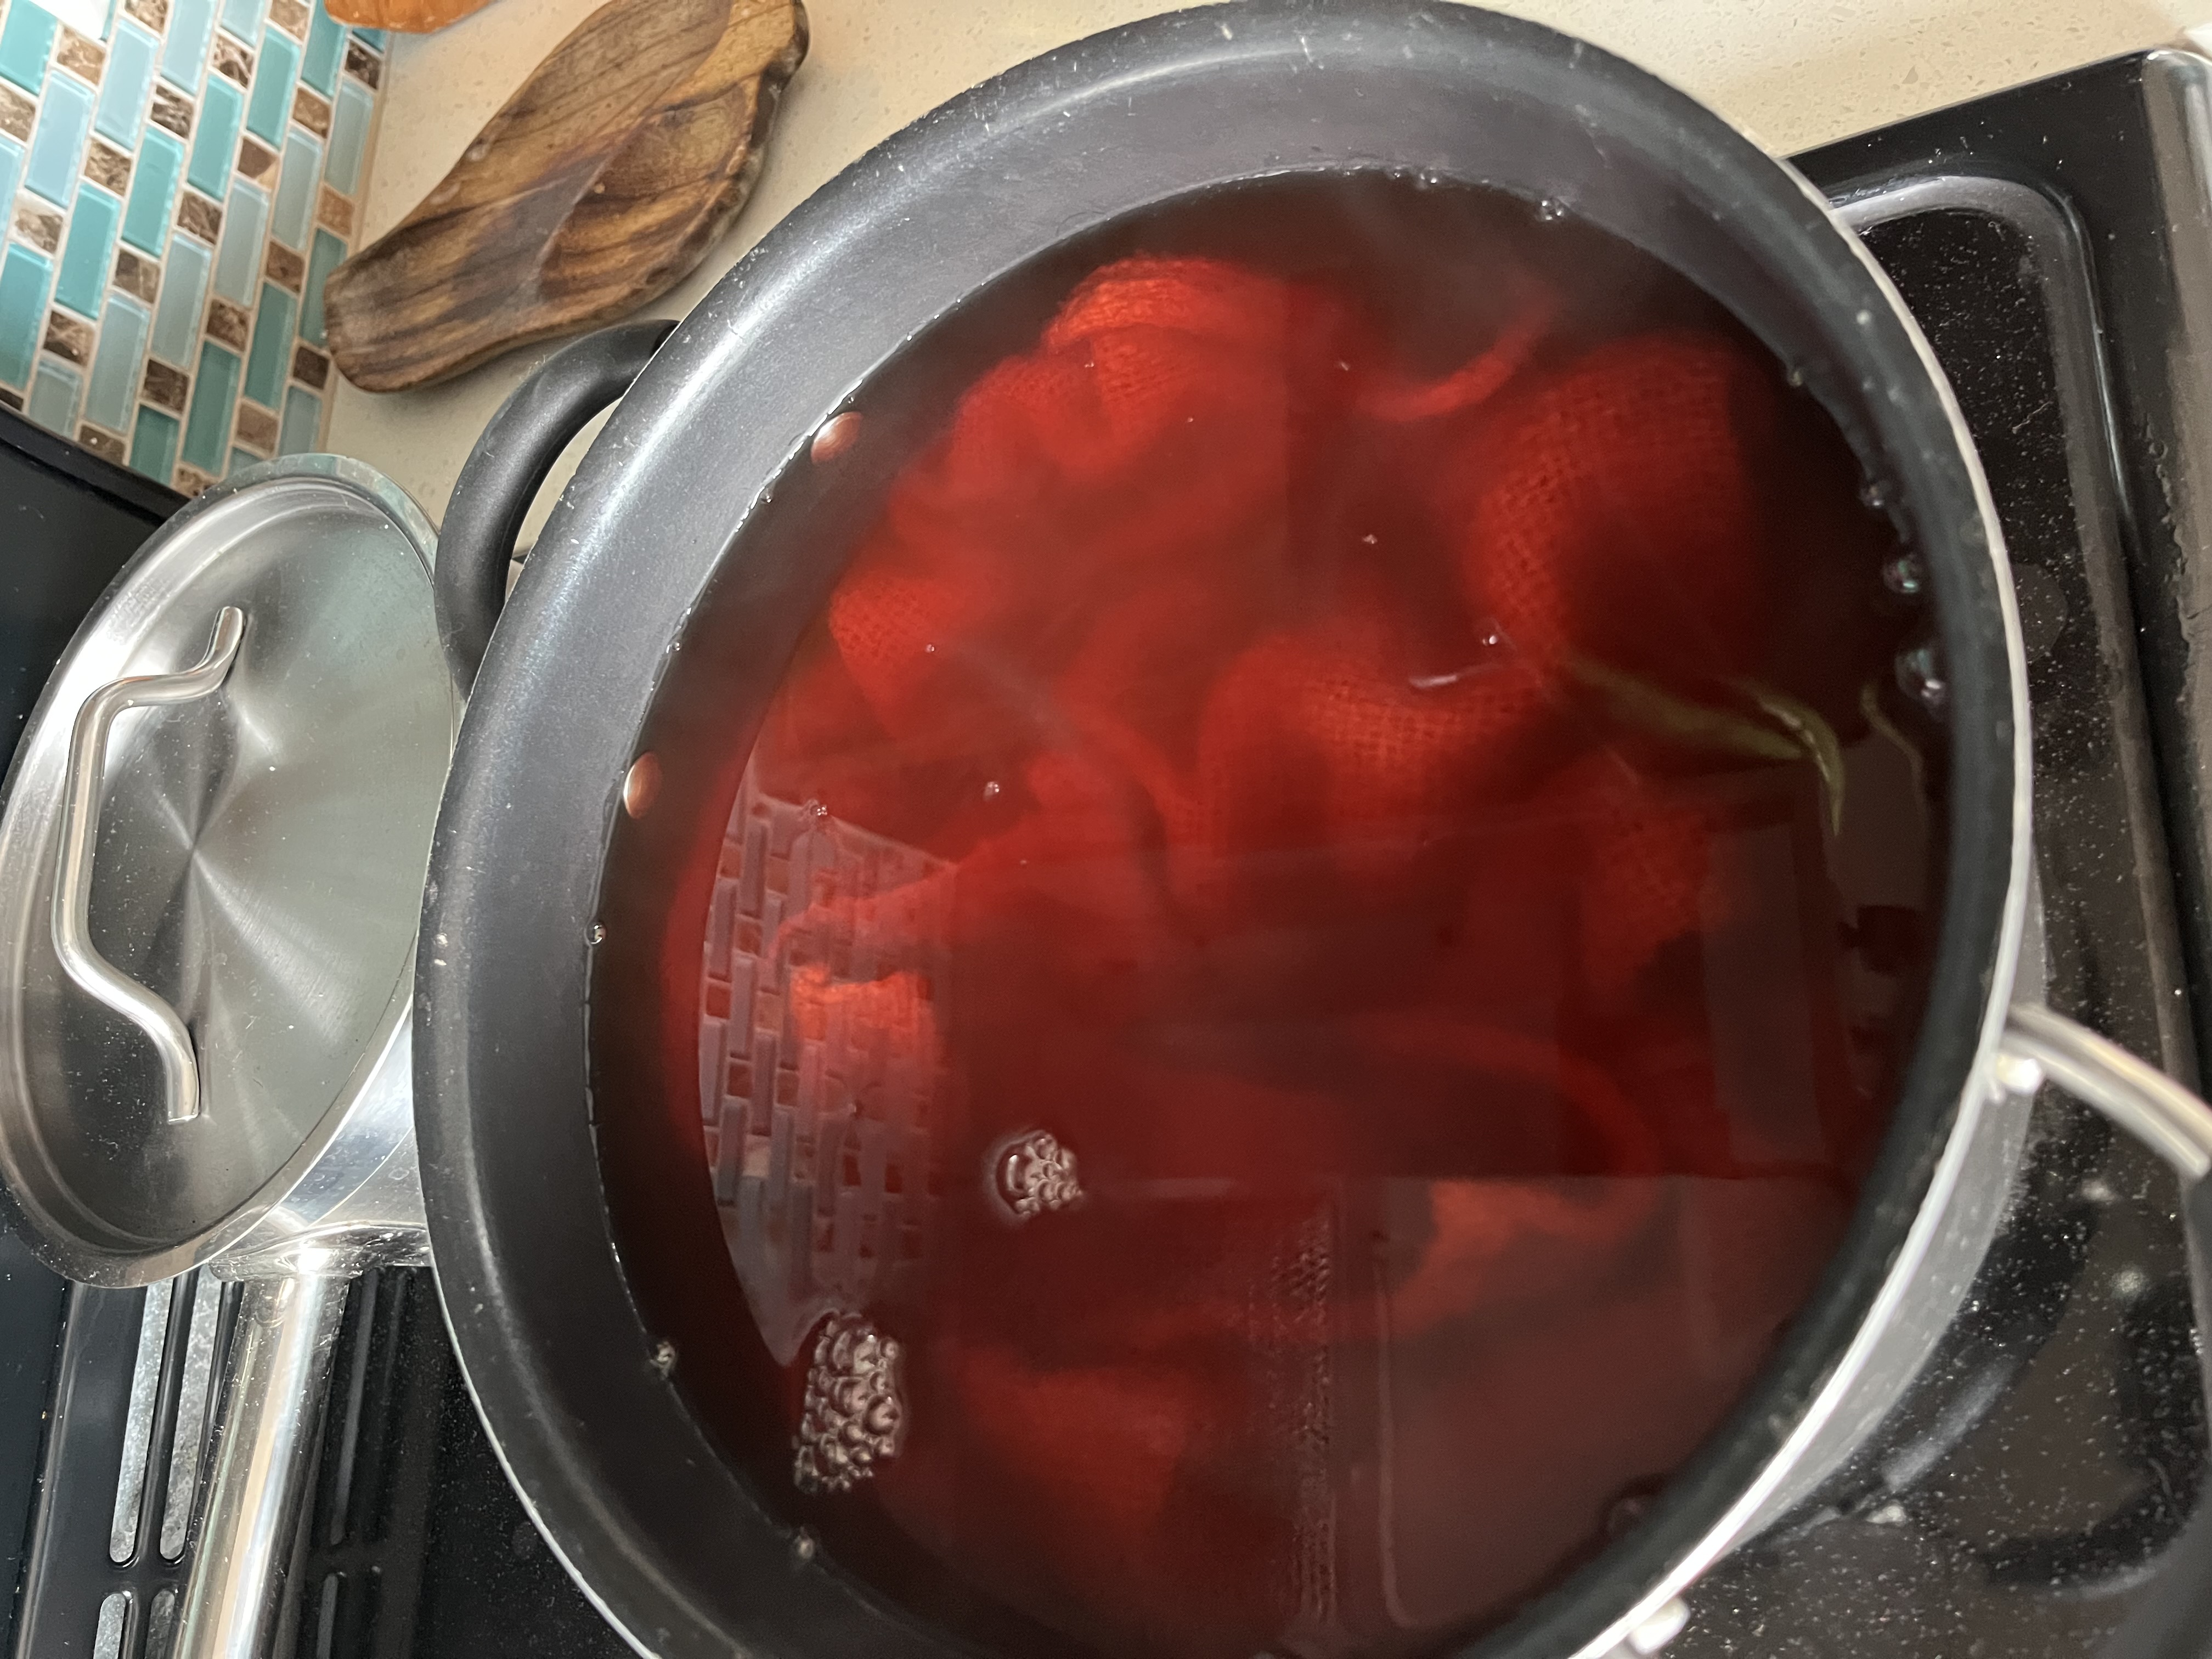
<p>I started by scouring the shirt with Dawn dish soap and mordanting it with alum. At the same time, I started extracting the color from the roots by bringing them to just below a simmer for an hour, then putting a lid on the pot and letting them soak for a day. I repeated this process three times before straining out the roots. Then the shirt went in at just below a simmer for 90 minutes, and I left it to soak in the dye bath for a day before washing it. The results turned out a beautiful pink coral color I am very happy with!</p>

<p><img src="/assets/images/IMG_2234.jpeg" alt="Photo of dye pot with madder dye bath." /></p>

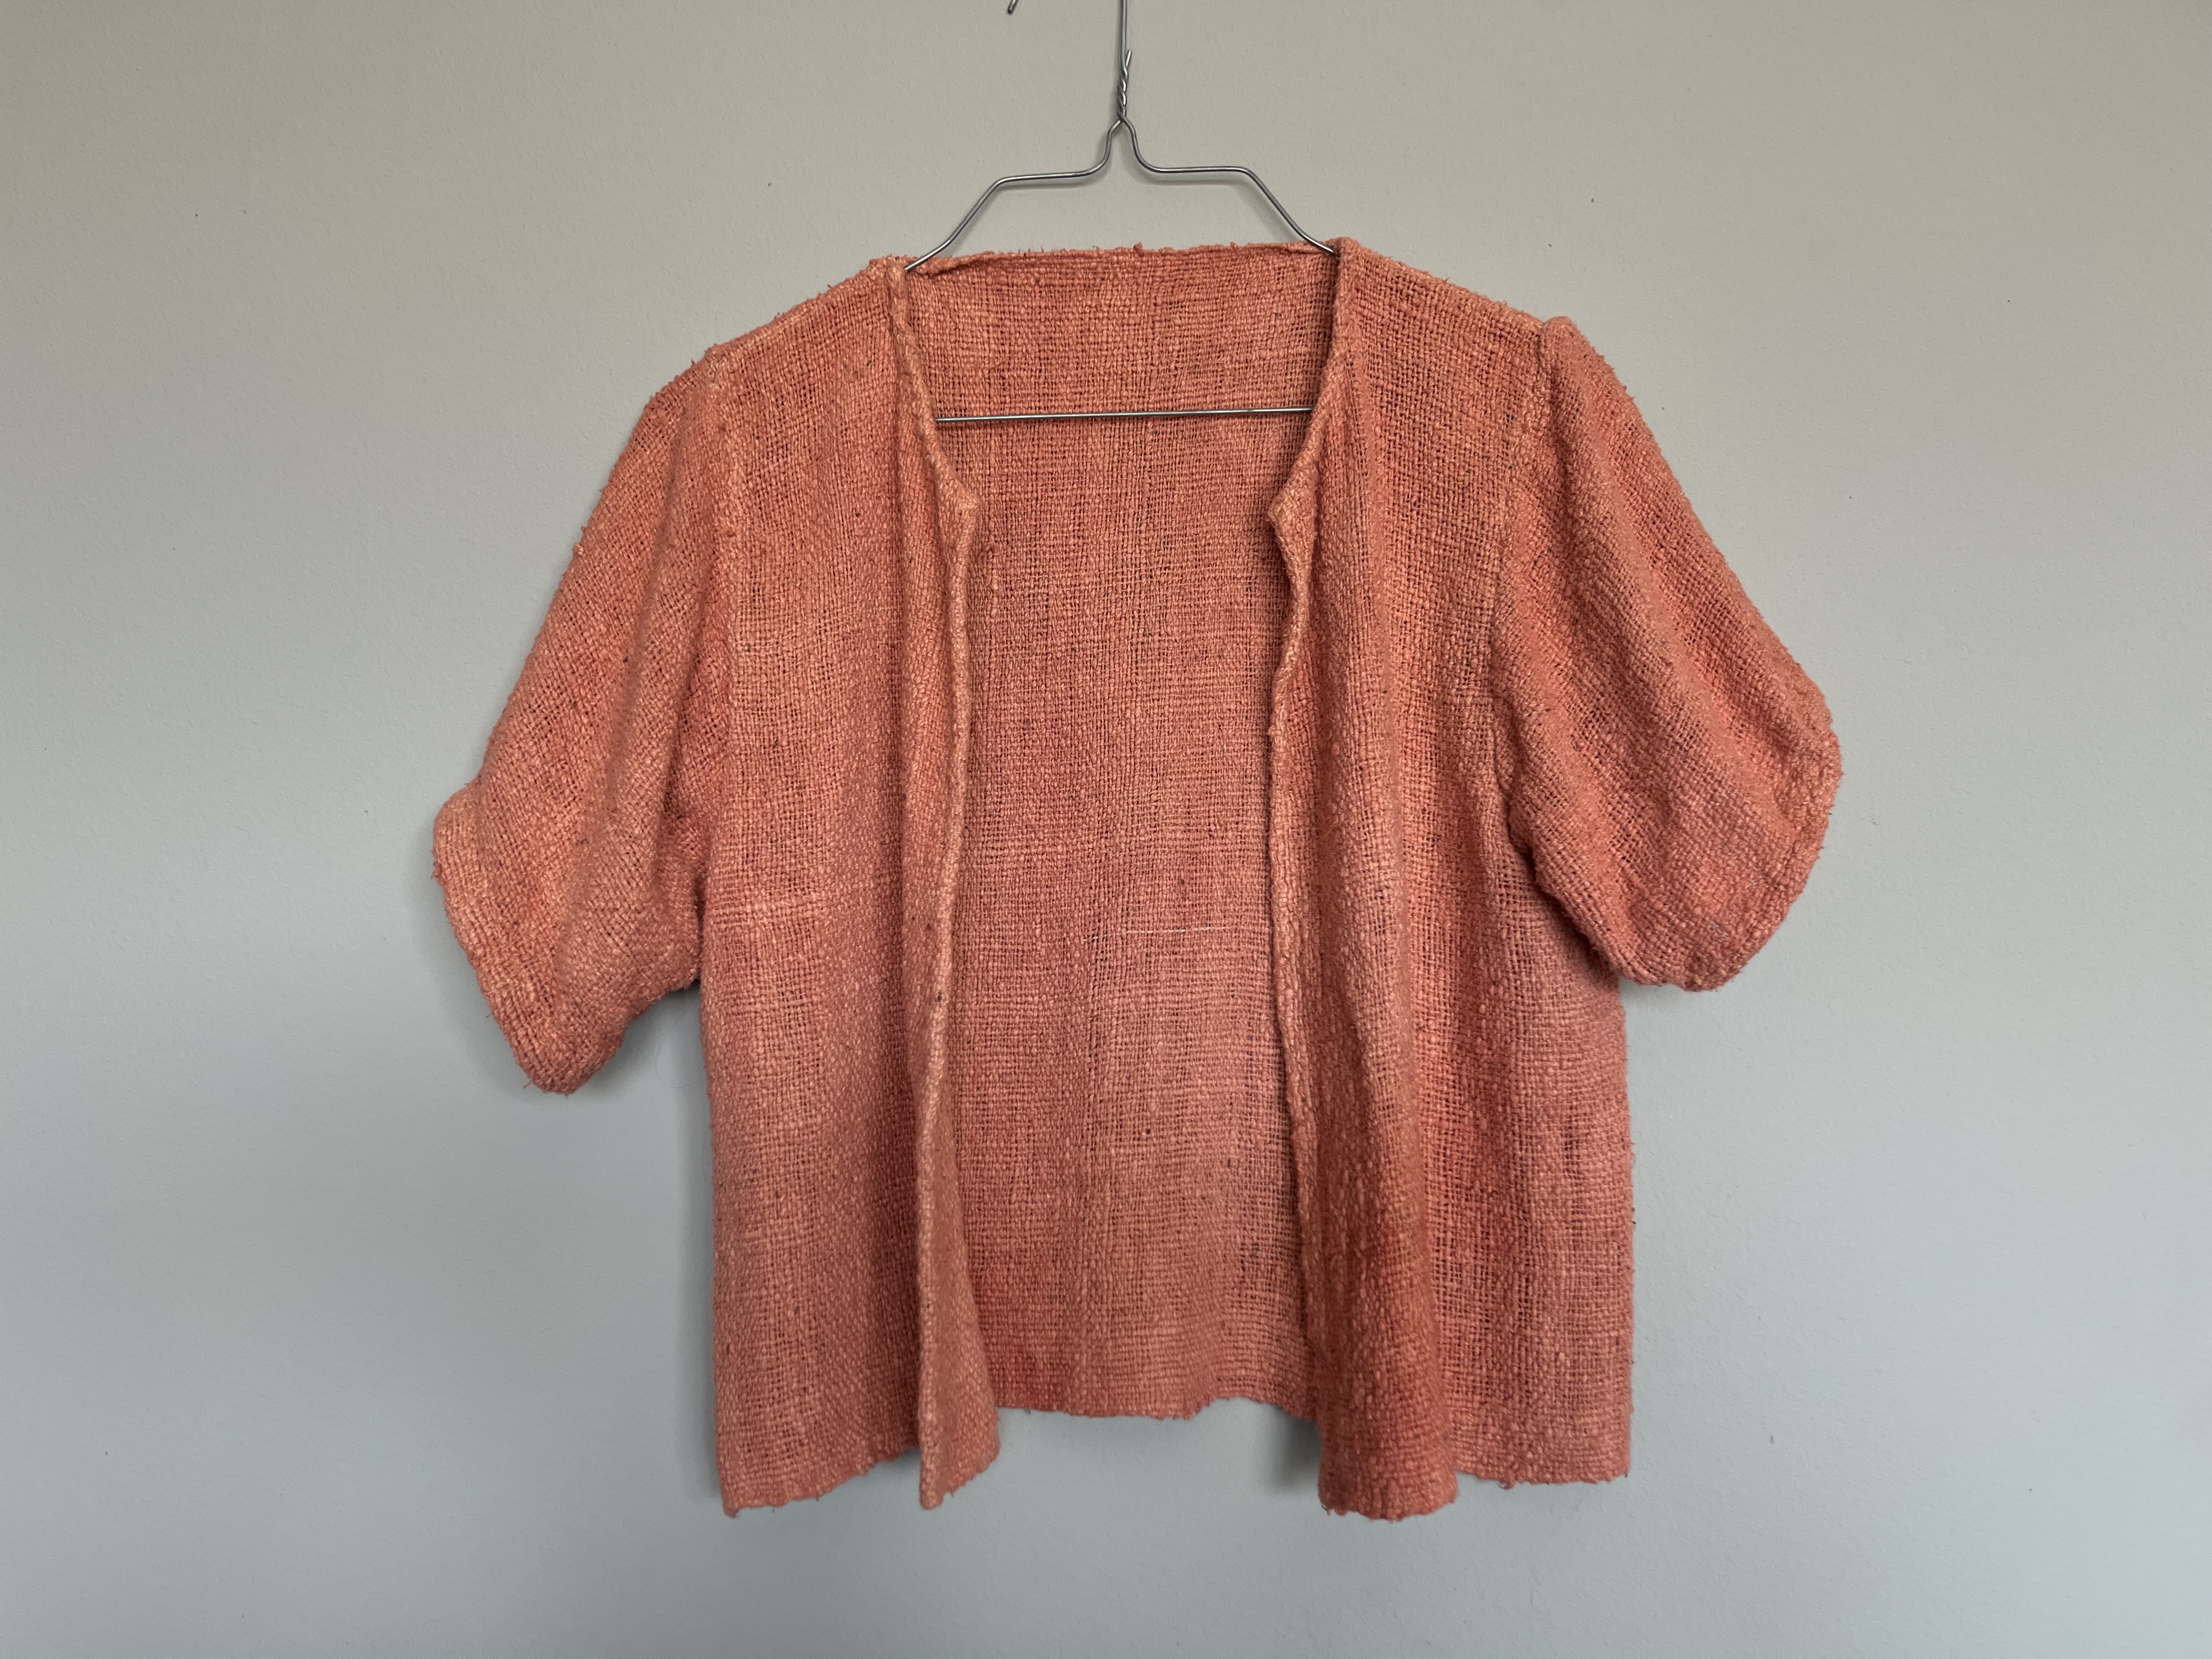
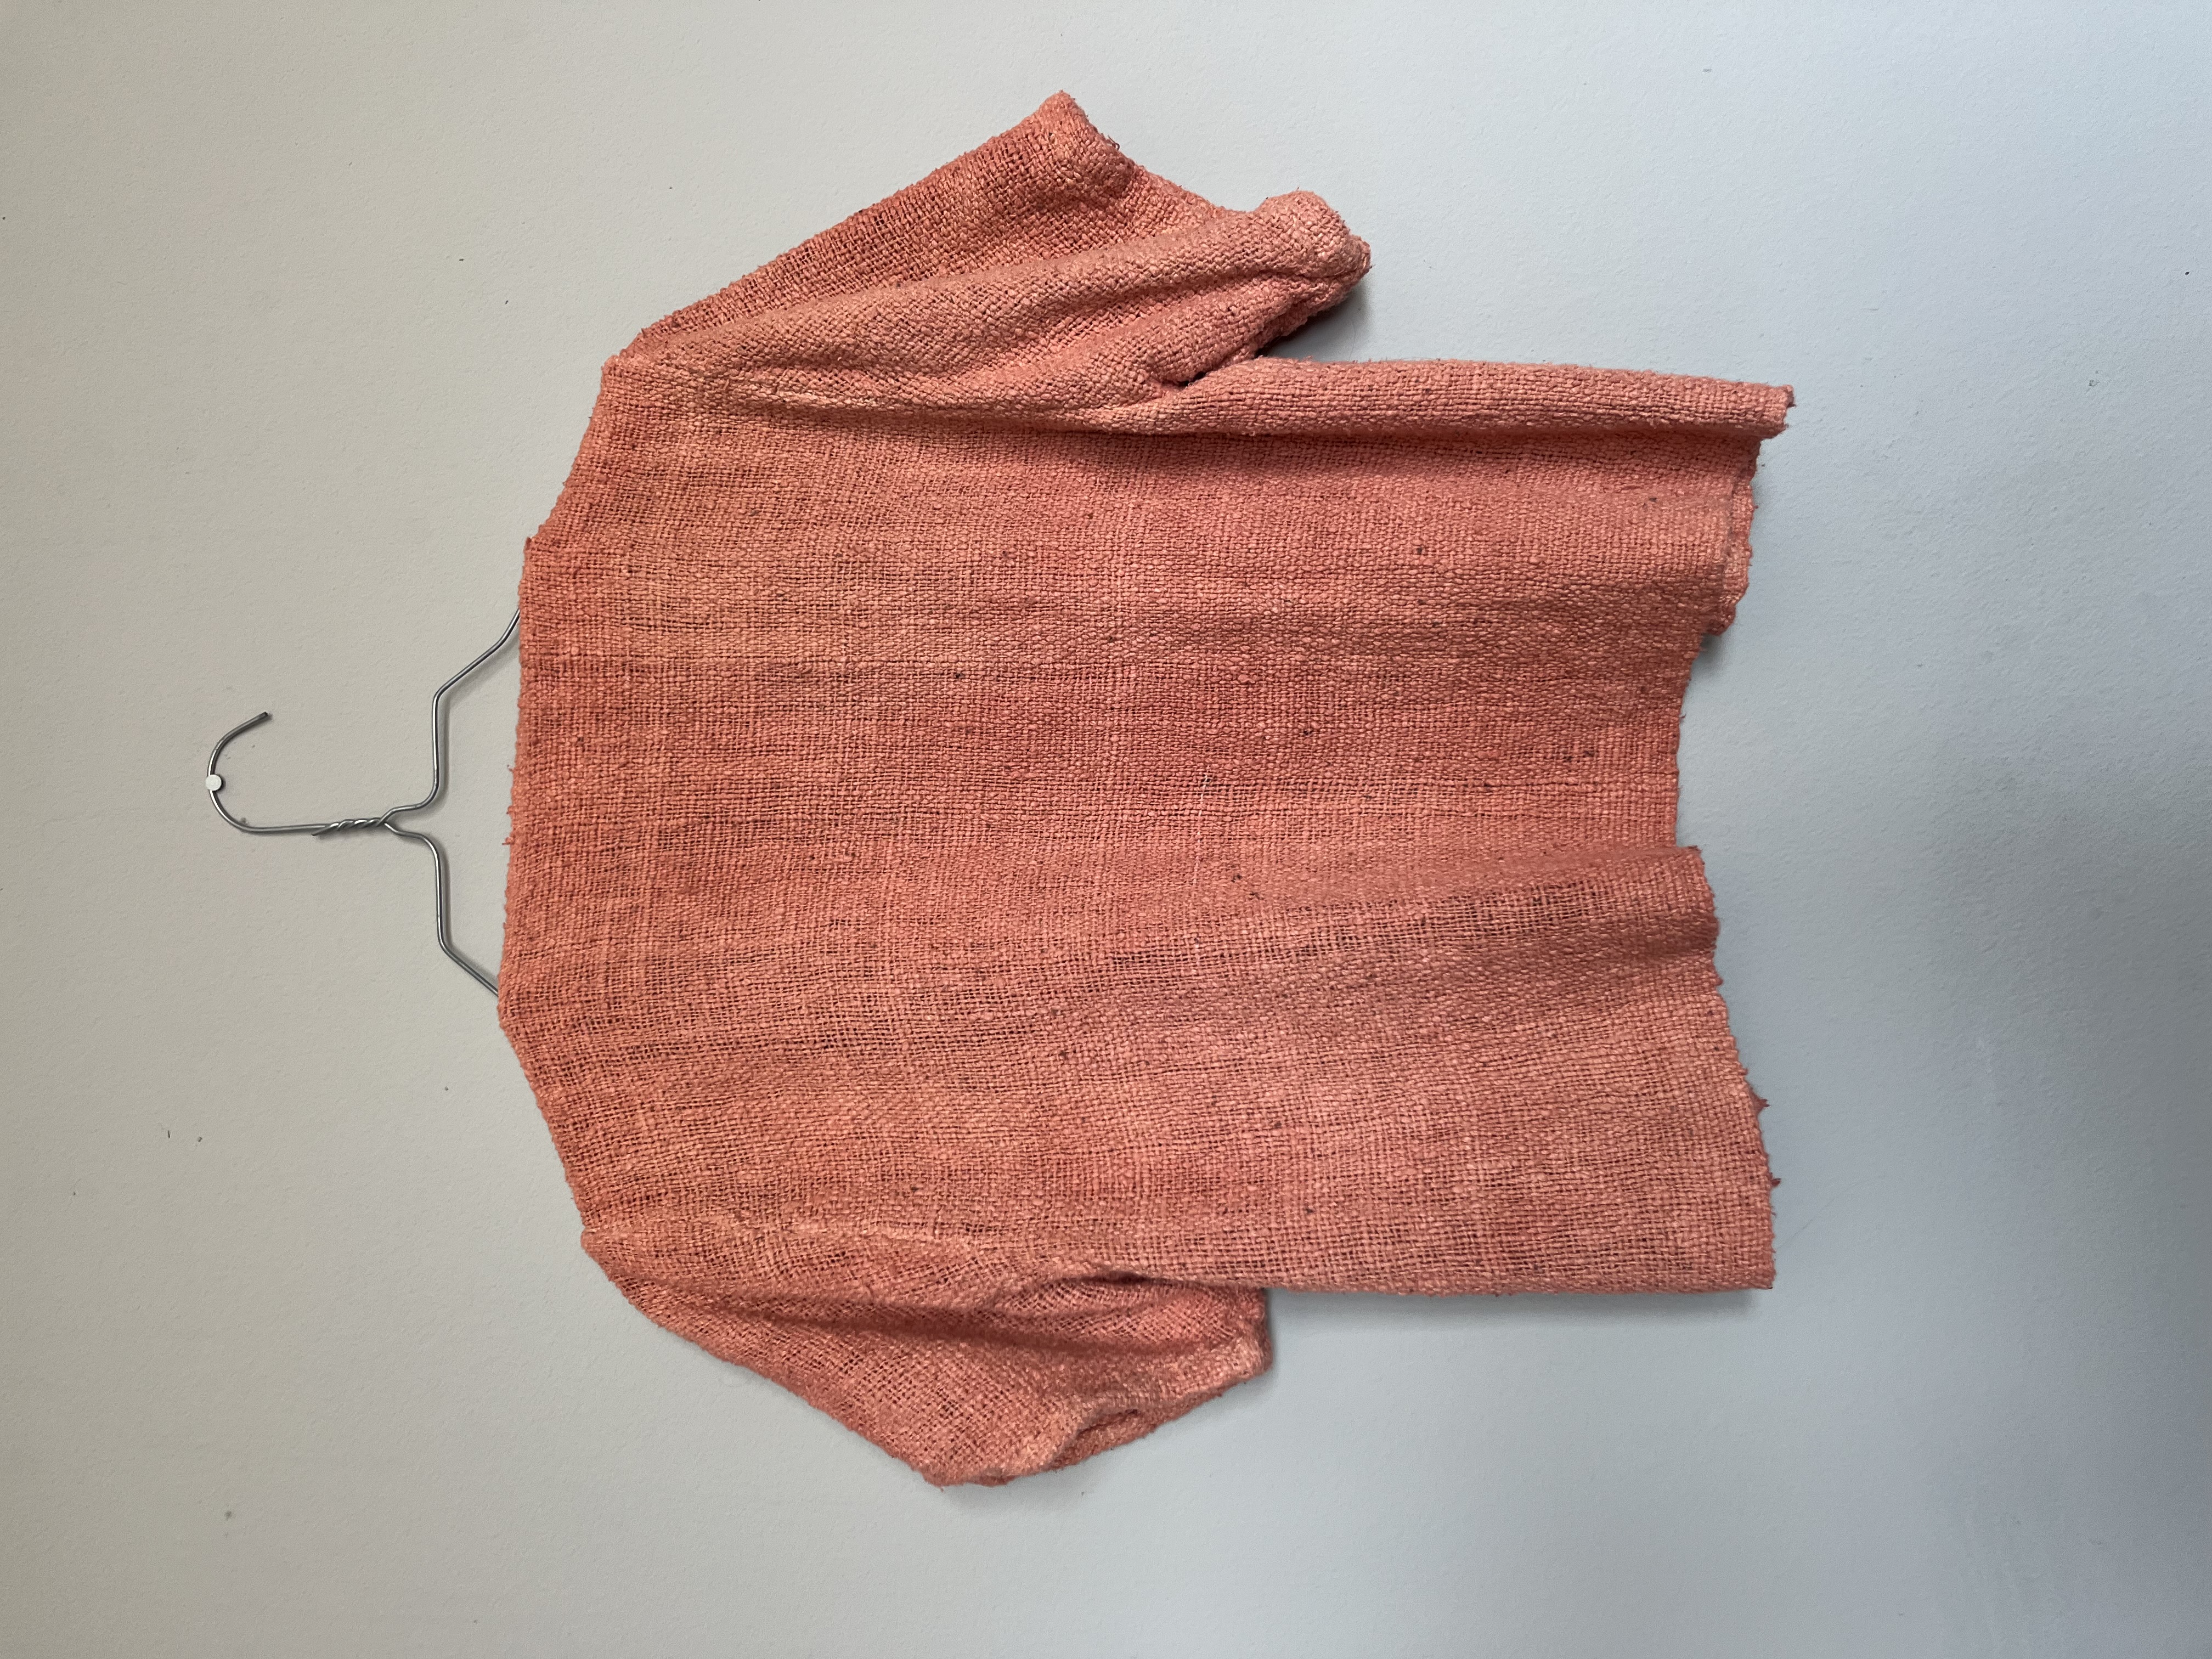
<p>Overall, this was an incredible learning experience, and I am incredibly proud of my first entirely handmade garment. If you want to see the shirt and other beautiful woven artworks, check out <em>The Wild Wild Weft: Celebrating the Art of Texas Weavers</em>, where it will be on display from October 3 to November 7, 2026.</p>

<p><img src="/assets/images/IMG_2221.jpeg" alt="Photo of front of shirt on hanger." />
<img src="/assets/images/IMG_2226.jpeg" alt="Photo of back of shirt on hanger." /></p>]]></content><author><name>Rhianna Lucas</name></author><category term="dyeing" /><category term="weaving" /><category term="sewing" /><summary type="html"><![CDATA[The pattern for my shirt was inspired by Zero Waste Patterns by Birgitta Helmersson. I adapted the ideas in the block shirt design to fit the 24-inch width of my fabric. The design I ended up with was a solid body piece with cutouts for the armholes and rounded sleeve shapes. If I were to do it again, I think I would do gusset sleeves instead of the rounded sleeve.]]></summary></entry><entry><title type="html">Weaving with Handspun</title><link href="https://rhisfiberart.com/blog/2026/05/28/Weaving-with-Handspun/" rel="alternate" type="text/html" title="Weaving with Handspun" /><published>2026-05-28T00:00:00+00:00</published><updated>2026-05-28T00:00:00+00:00</updated><id>https://rhisfiberart.com/blog/2026/05/28/Weaving-with-Handspun</id><content type="html" xml:base="https://rhisfiberart.com/blog/2026/05/28/Weaving-with-Handspun/"><![CDATA[<p>In a previous blog post I talked about spinning Bourette silk on my charkha. I have finally spun enough to weave with, and it is time to warp the loom!</p>

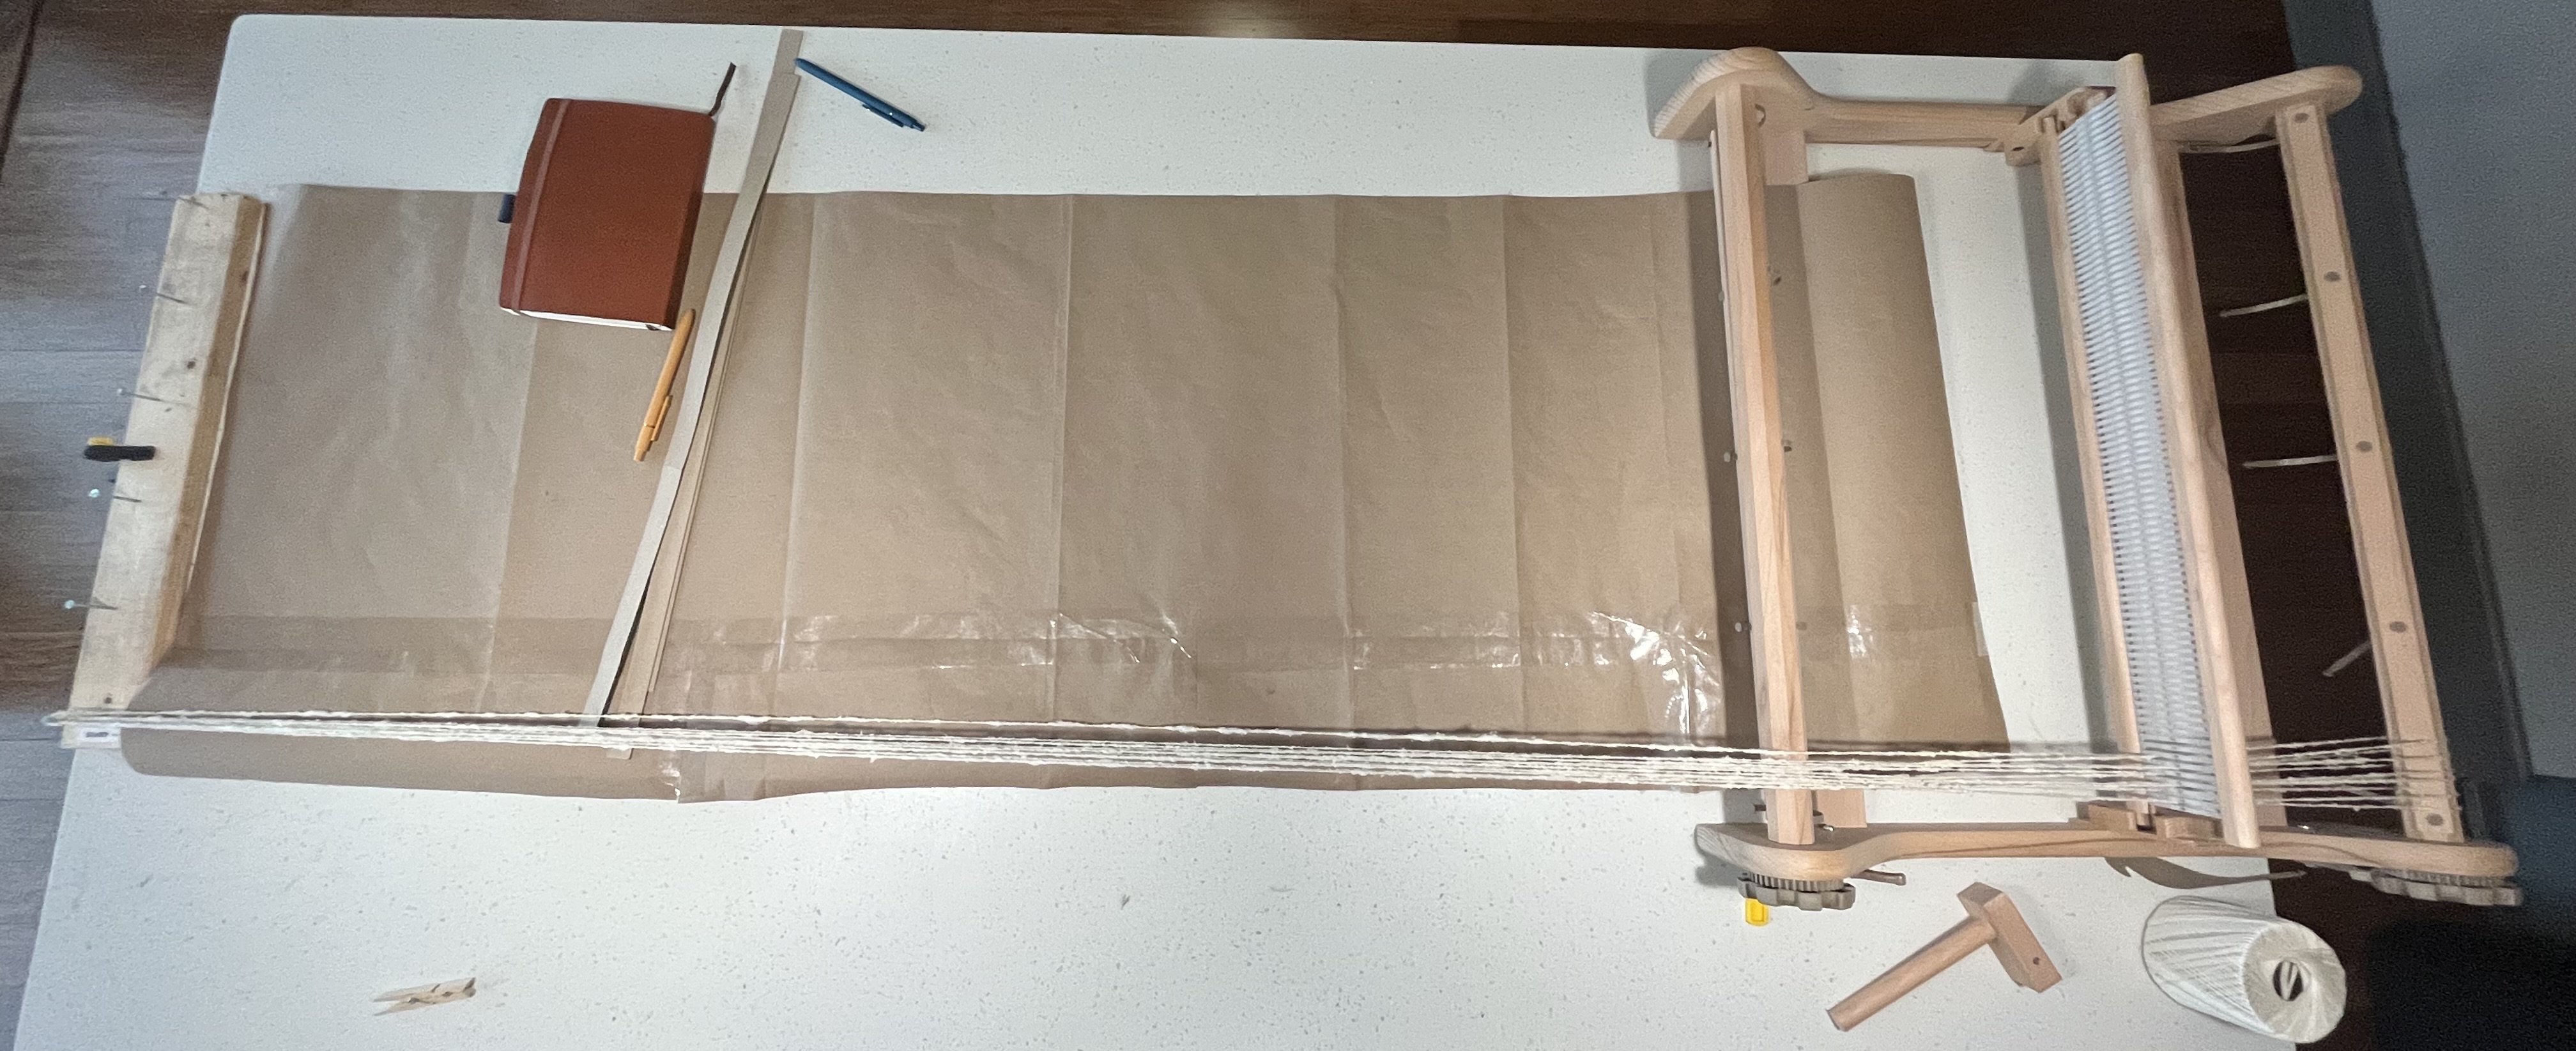
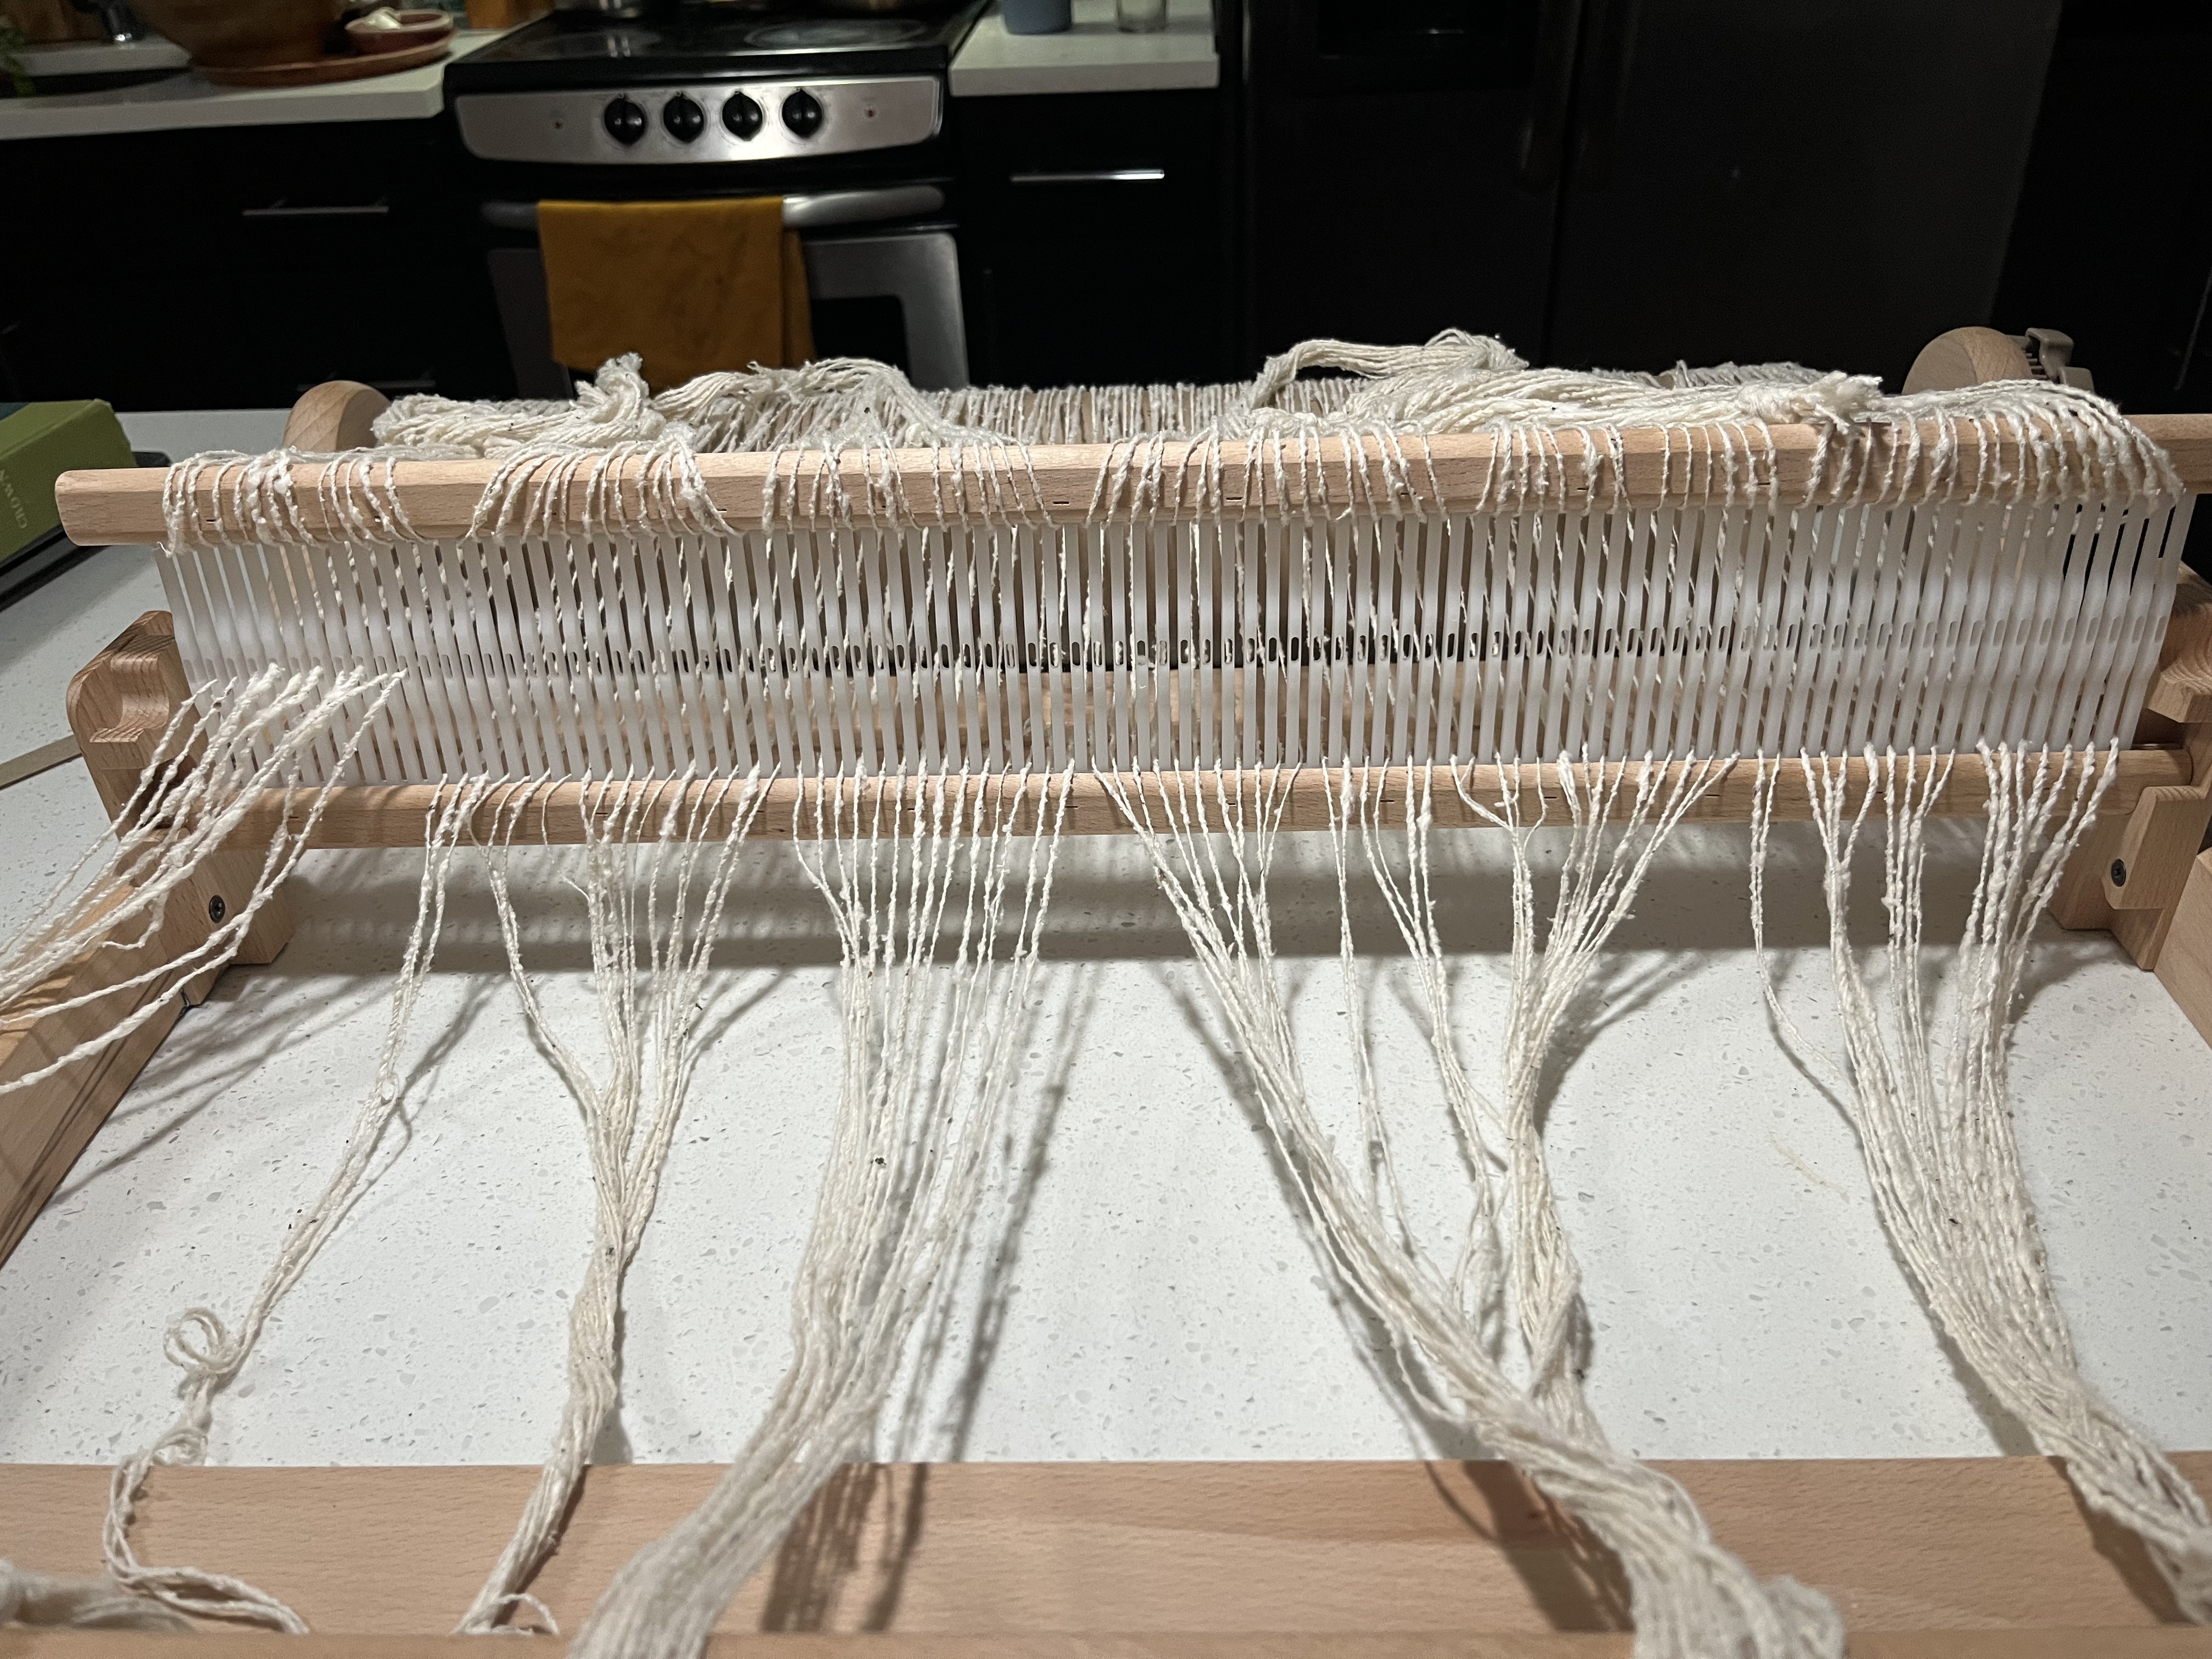
<p><img src="/assets/images/IMG_1945 2.jpeg" alt="Photo of warping setup" /></p>

<p>I am fairly new to weaving and have only warped my loom a handful of times, so this was a stressful process. I did a direct warp, because that is how I was taught and I haven’t tried anything different yet. While it worked okay, if I were to do it again I would definitely measure out my warp beforehand. The difference in length between the edges and the middle, caused by direct warping, gave me some problems, even though this was minimized by using my DIY peg board to spread out the warp on the other end.</p>

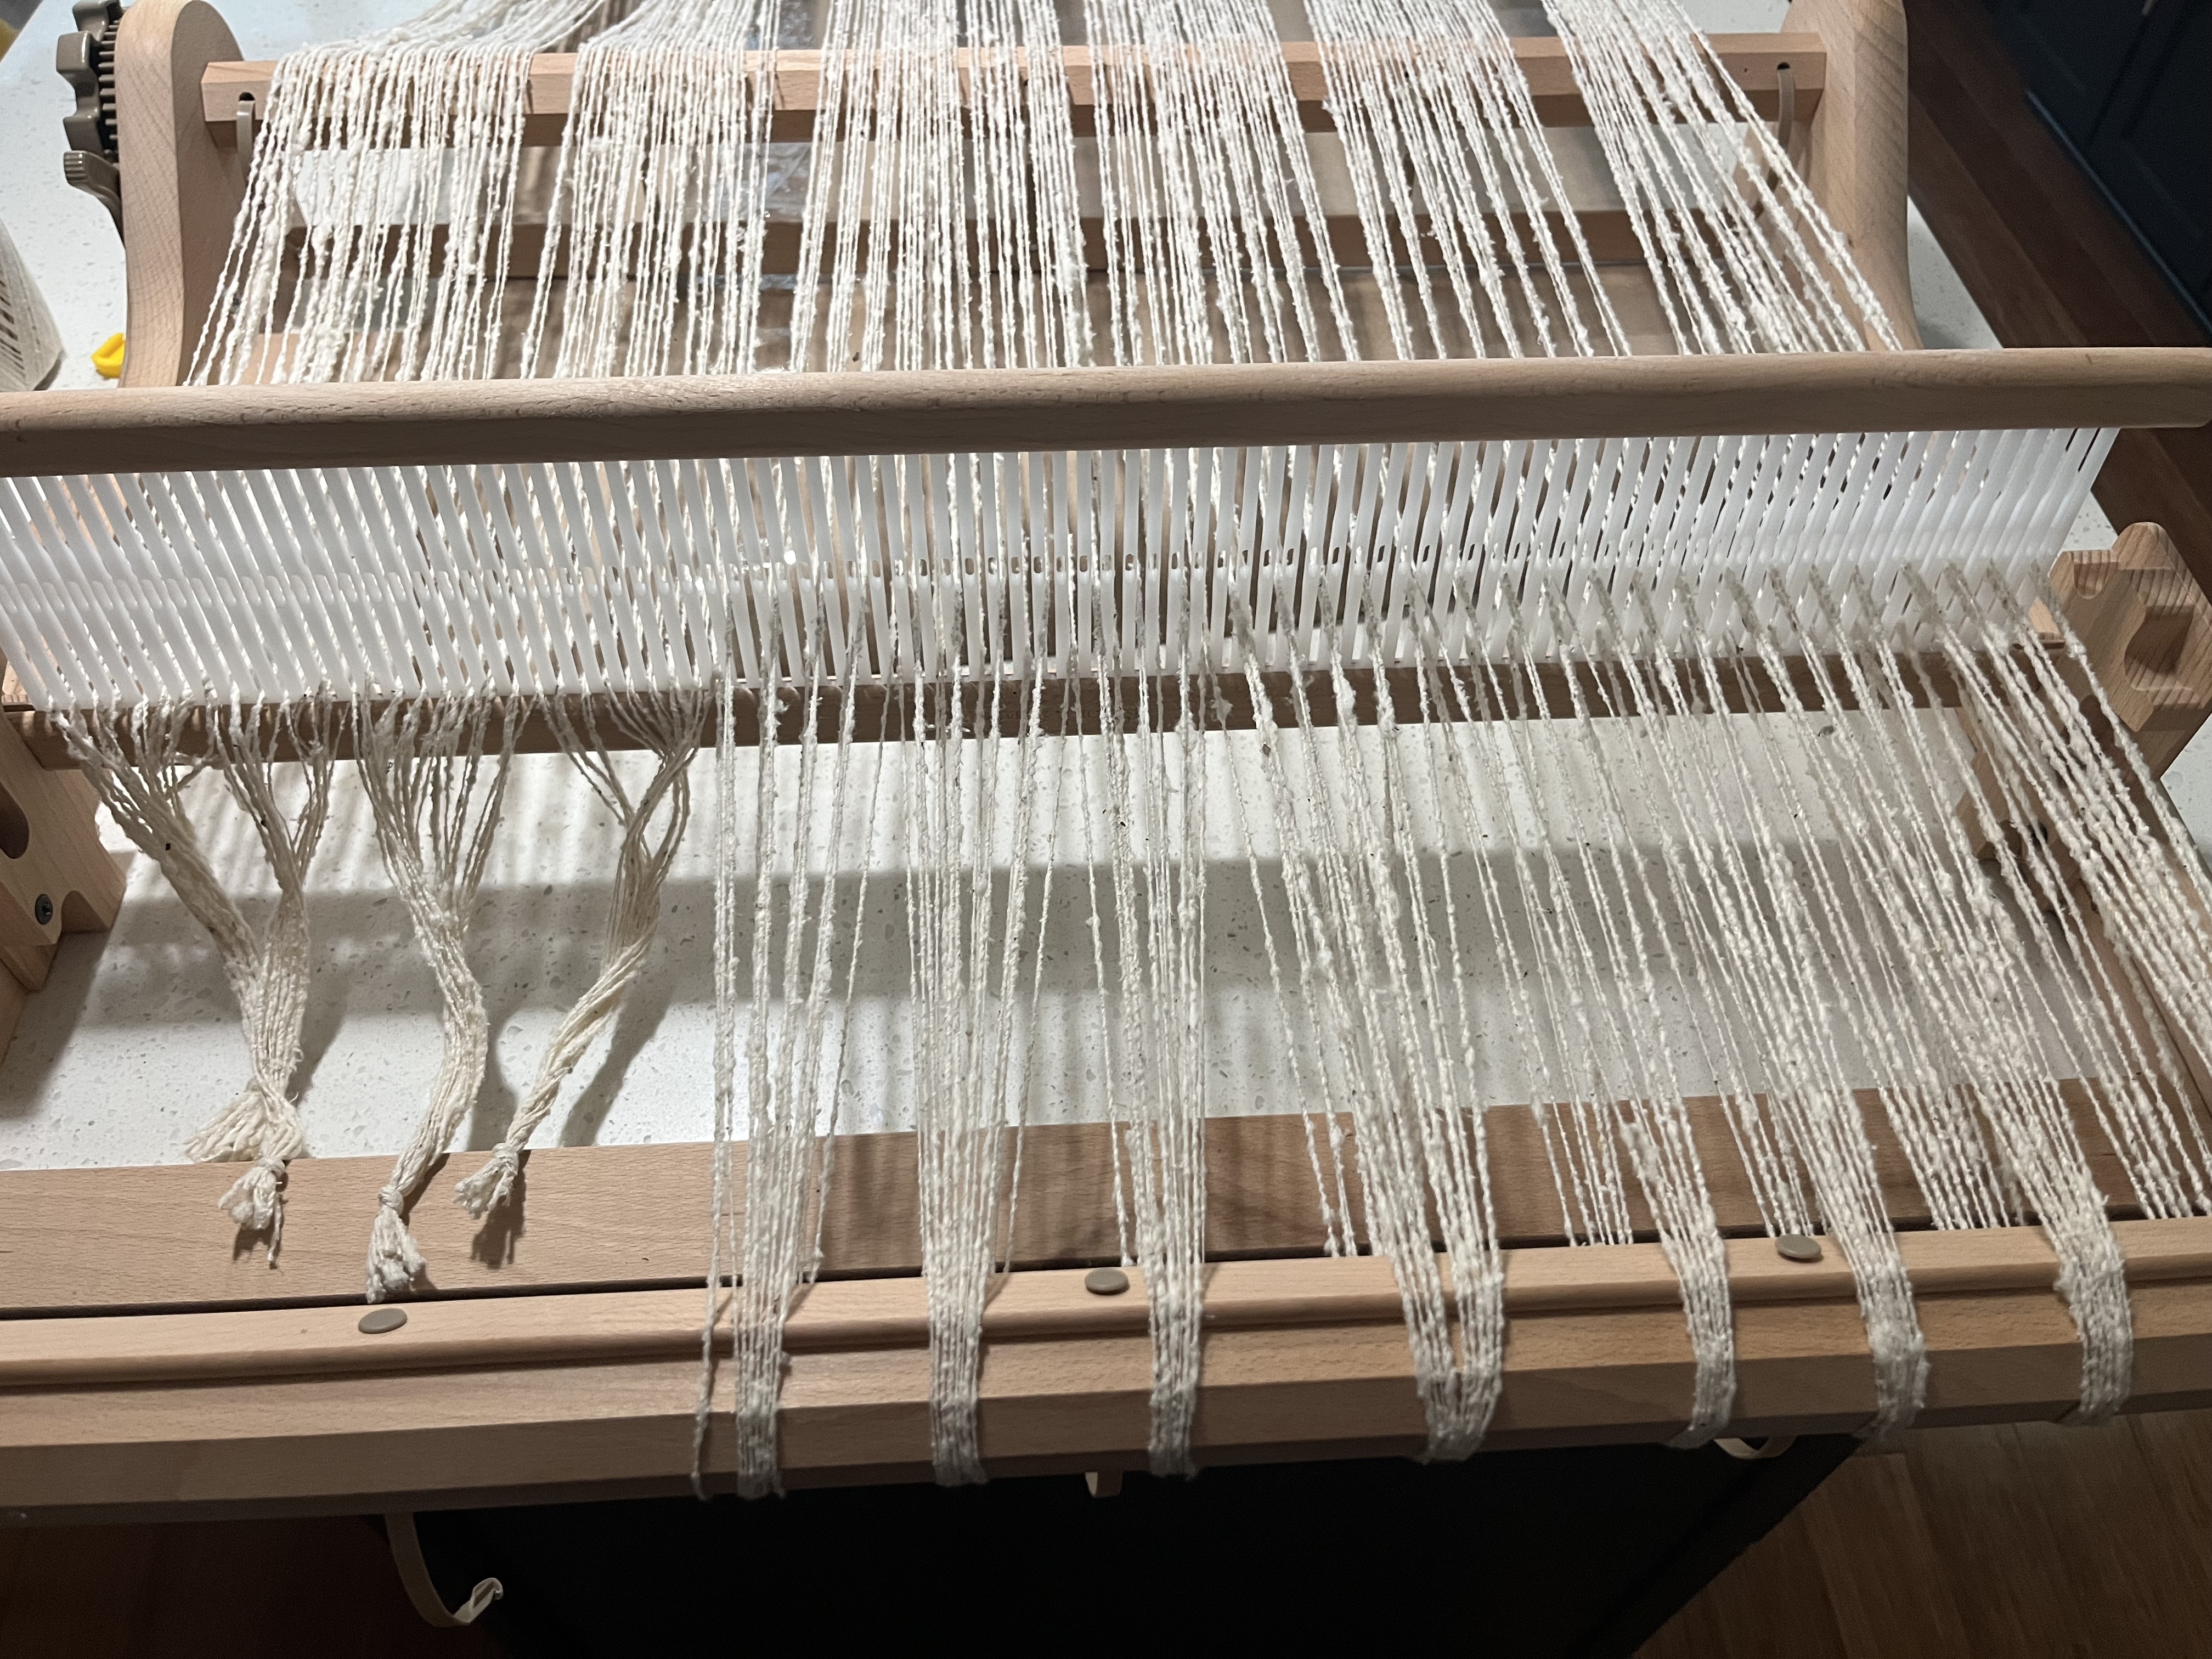
<p><img src="/assets/images/IMG_1947.jpeg" alt="Photo of partially threaded loom" /></p>

<p>I tried using scrap yarn to tie the warp onto an apron board to save on waste yarn, which is very important when you are weaving with handspun you have spent months making. It seemed straightforward enough, so I didn’t look up any resources on how to do it. This worked well enough to get me weaving, but I definitely would have benefited from a quick YouTube search first.</p>

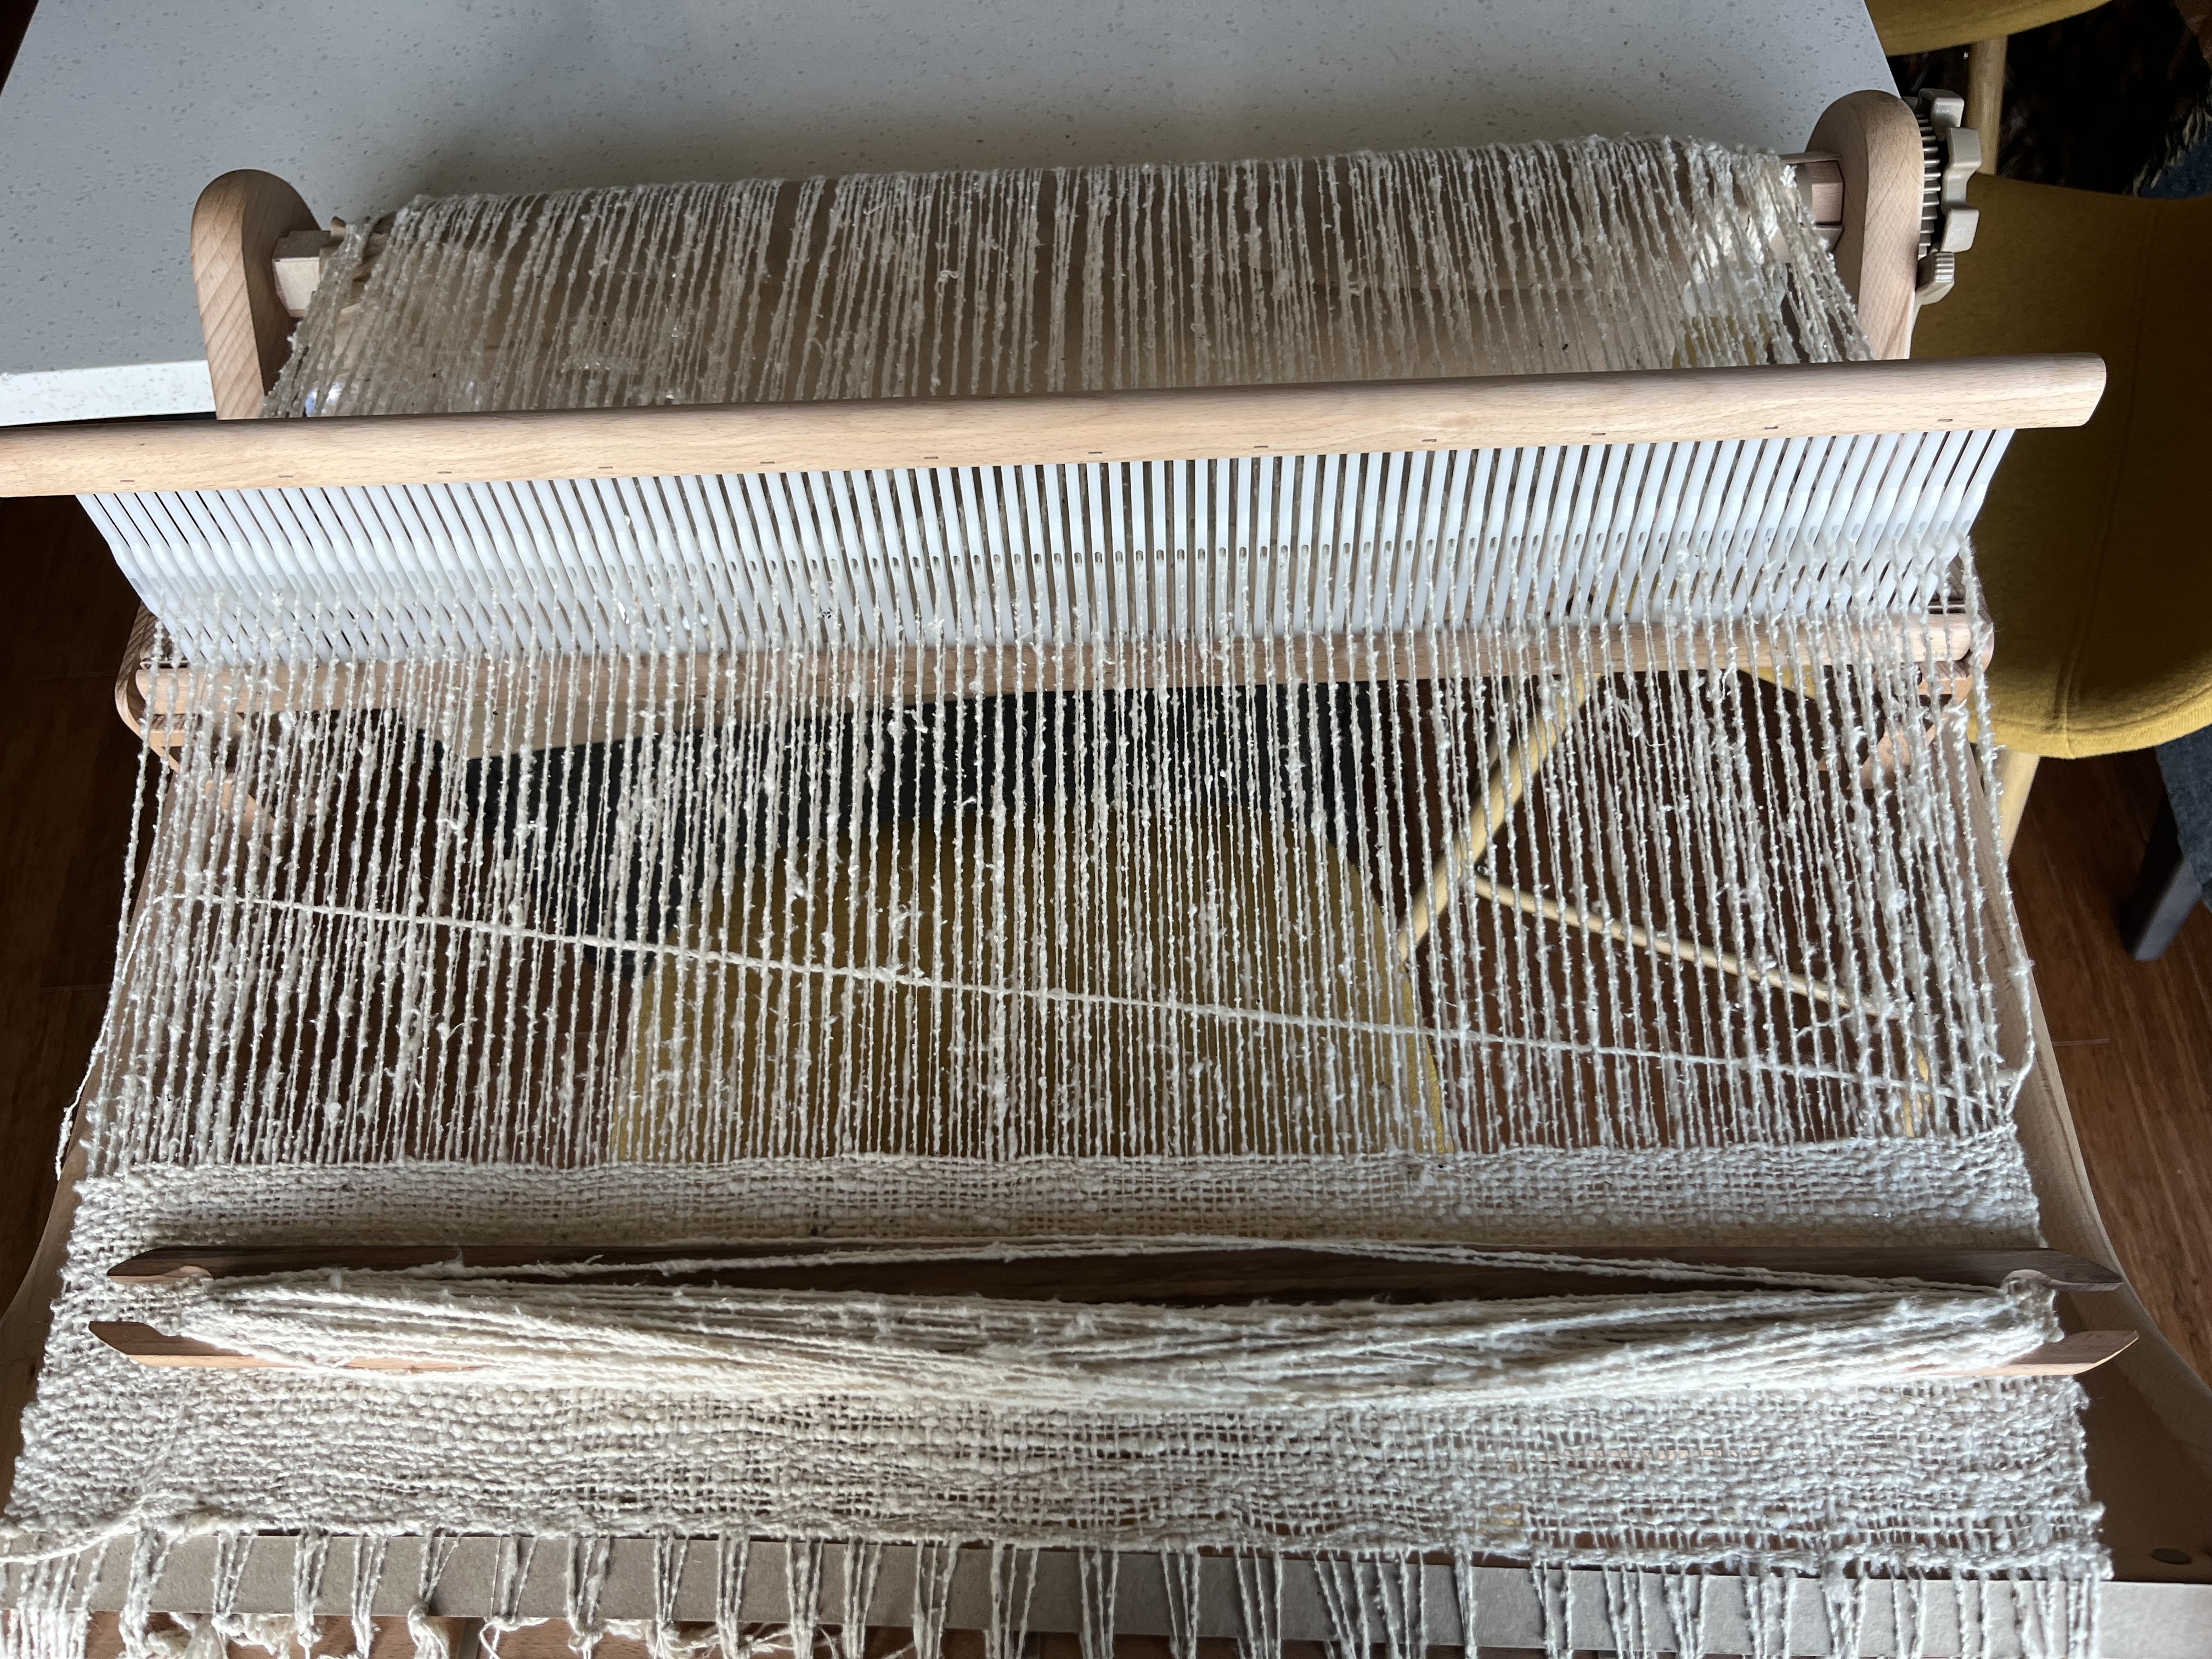
<p><img src="/assets/images/IMG_1946 2.jpeg" alt="Photo of in process tie on" /></p>

<p>These setbacks aside, once I was warped the weaving went quickly and was very enjoyable! I only had a few warp threads break, and was able to pretty easily tie in a new length to replace each one. Because the end product I’m going for is fairly loose and rustic, the extra knots don’t bother me.</p>

<p><img src="/assets/images/IMG_1953.jpeg" alt="In process weaving" /></p>

<p>Other than a quick pause to spin a few more skeins when I ran out of weft, the weaving only took a few days to finish. Seeing the fabric cut off the loom after months of spinning was so satisfying!</p>

<p><img src="/assets/images/Cutting off loom timelapse.mov" alt="Video of cutting of the loom" /></p>

<p>In the next post I’ll update you on creating the pattern and sewing it all together!</p>]]></content><author><name>Rhianna Lucas</name></author><category term="weaving" /><summary type="html"><![CDATA[In a previous blog post I talked about spinning Bourette silk on my charkha. I have finally spun enough to weave with, and it is time to warp the loom!]]></summary></entry><entry><title type="html">Invasive Species Presentation</title><link href="https://rhisfiberart.com/blog/2026/05/16/Invasive-Dye-Presentation/" rel="alternate" type="text/html" title="Invasive Species Presentation" /><published>2026-05-16T00:00:00+00:00</published><updated>2026-05-16T00:00:00+00:00</updated><id>https://rhisfiberart.com/blog/2026/05/16/Invasive-Dye-Presentation</id><content type="html" xml:base="https://rhisfiberart.com/blog/2026/05/16/Invasive-Dye-Presentation/"><![CDATA[<p>I presented my recent experiments to my Texas Natural Dye study group today. Here is the presentation and a pdf download of the zine that goes with it!</p>

<div style="background:#111;display:flex;flex-direction:column;align-items:center;padding:24px;font-family:sans-serif;">
<style>
  .slides-container{position:relative;width:100%;max-width:860px;background:#000;aspect-ratio:4/3;border-radius:4px;overflow:hidden;box-shadow:0 12px 40px rgba(0,0,0,0.6)}
  .slide{display:none;width:100%;height:100%;position:absolute;inset:0;align-items:center;justify-content:center}
  .slide.active{display:flex}
  .slide img{max-width:100%;max-height:100%;object-fit:contain}
  .nav{display:flex;align-items:center;gap:12px;margin-top:16px;flex-wrap:wrap;justify-content:center}
  .nav-btn{background:none;border:1px solid #555;color:#ccc;padding:8px 18px;border-radius:4px;cursor:pointer;font-size:1rem}
  .nav-btn:hover{border-color:#aaa;color:#fff}
  .dots{display:flex;gap:5px;flex-wrap:wrap;justify-content:center;max-width:400px}
  .dot{width:8px;height:8px;border-radius:50%;background:#444;cursor:pointer;border:none;padding:0}
  .dot.active{background:#aaa}
  .slide-counter{color:#666;font-size:0.8rem;margin-top:10px}
  .download-btn{display:inline-block;margin-top:20px;padding:10px 24px;background:#4a5c2f;color:#fff;border:none;border-radius:4px;font-size:0.95rem;cursor:pointer;text-decoration:none;letter-spacing:0.03em}
  .download-btn:hover{background:#5c7239}
</style>
<div class="slides-container">
<div class="slide active"><img src="/assets/images/presentations/invasive-dye-slide-01.jpg" alt="Slide 1" loading="lazy" /></div>
<div class="slide"><img src="/assets/images/presentations/invasive-dye-slide-02.jpg" alt="Slide 2" loading="lazy" /></div>
<div class="slide"><img src="/assets/images/presentations/invasive-dye-slide-03.jpg" alt="Slide 3" loading="lazy" /></div>
<div class="slide"><img src="/assets/images/presentations/invasive-dye-slide-04.jpg" alt="Slide 4" loading="lazy" /></div>
<div class="slide"><img src="/assets/images/presentations/invasive-dye-slide-05.jpg" alt="Slide 5" loading="lazy" /></div>
<div class="slide"><img src="/assets/images/presentations/invasive-dye-slide-06.jpg" alt="Slide 6" loading="lazy" /></div>
<div class="slide"><img src="/assets/images/presentations/invasive-dye-slide-07.jpg" alt="Slide 7" loading="lazy" /></div>
<div class="slide"><img src="/assets/images/presentations/invasive-dye-slide-08.jpg" alt="Slide 8" loading="lazy" /></div>
<div class="slide"><img src="/assets/images/presentations/invasive-dye-slide-09.jpg" alt="Slide 9" loading="lazy" /></div>
<div class="slide"><img src="/assets/images/presentations/invasive-dye-slide-10.jpg" alt="Slide 10" loading="lazy" /></div>
<div class="slide"><img src="/assets/images/presentations/invasive-dye-slide-11.jpg" alt="Slide 11" loading="lazy" /></div>
<div class="slide"><img src="/assets/images/presentations/invasive-dye-slide-12.jpg" alt="Slide 12" loading="lazy" /></div>
<div class="slide"><img src="/assets/images/presentations/invasive-dye-slide-13.jpg" alt="Slide 13" loading="lazy" /></div>
<div class="slide"><img src="/assets/images/presentations/invasive-dye-slide-14.jpg" alt="Slide 14" loading="lazy" /></div>
<div class="slide"><img src="/assets/images/presentations/invasive-dye-slide-15.jpg" alt="Slide 15" loading="lazy" /></div>
<div class="slide"><img src="/assets/images/presentations/invasive-dye-slide-16.jpg" alt="Slide 16" loading="lazy" /></div>
<div class="slide"><img src="/assets/images/presentations/invasive-dye-slide-17.jpg" alt="Slide 17" loading="lazy" /></div>
<div class="slide"><img src="/assets/images/presentations/invasive-dye-slide-18.jpg" alt="Slide 18" loading="lazy" /></div>
<div class="slide"><img src="/assets/images/presentations/invasive-dye-slide-19.jpg" alt="Slide 19" loading="lazy" /></div>
<div class="slide"><img src="/assets/images/presentations/invasive-dye-slide-20.jpg" alt="Slide 20" loading="lazy" /></div>
<div class="slide"><img src="/assets/images/presentations/invasive-dye-slide-21.jpg" alt="Slide 21" loading="lazy" /></div>
<div class="slide"><img src="/assets/images/presentations/invasive-dye-slide-22.jpg" alt="Slide 22" loading="lazy" /></div>
<div class="slide"><img src="/assets/images/presentations/invasive-dye-slide-23.jpg" alt="Slide 23" loading="lazy" /></div>
<div class="slide"><img src="/assets/images/presentations/invasive-dye-slide-24.jpg" alt="Slide 24" loading="lazy" /></div>
<div class="slide"><img src="/assets/images/presentations/invasive-dye-slide-25.jpg" alt="Slide 25" loading="lazy" /></div>
</div>
<div class="nav">
  <button class="nav-btn" onclick="changeSlide(-1)">&#8592; Prev</button>
  <div class="dots">
<button class="dot active" onclick="goToSlide(1)"></button>
<button class="dot" onclick="goToSlide(2)"></button>
<button class="dot" onclick="goToSlide(3)"></button>
<button class="dot" onclick="goToSlide(4)"></button>
<button class="dot" onclick="goToSlide(5)"></button>
<button class="dot" onclick="goToSlide(6)"></button>
<button class="dot" onclick="goToSlide(7)"></button>
<button class="dot" onclick="goToSlide(8)"></button>
<button class="dot" onclick="goToSlide(9)"></button>
<button class="dot" onclick="goToSlide(10)"></button>
<button class="dot" onclick="goToSlide(11)"></button>
<button class="dot" onclick="goToSlide(12)"></button>
<button class="dot" onclick="goToSlide(13)"></button>
<button class="dot" onclick="goToSlide(14)"></button>
<button class="dot" onclick="goToSlide(15)"></button>
<button class="dot" onclick="goToSlide(16)"></button>
<button class="dot" onclick="goToSlide(17)"></button>
<button class="dot" onclick="goToSlide(18)"></button>
<button class="dot" onclick="goToSlide(19)"></button>
<button class="dot" onclick="goToSlide(20)"></button>
<button class="dot" onclick="goToSlide(21)"></button>
<button class="dot" onclick="goToSlide(22)"></button>
<button class="dot" onclick="goToSlide(23)"></button>
<button class="dot" onclick="goToSlide(24)"></button>
<button class="dot" onclick="goToSlide(25)"></button>
  </div>
  <button class="nav-btn" onclick="changeSlide(1)">Next &#8594;</button>
</div>
<p class="slide-counter" id="counter">Slide 1 of 25</p>
<a class="download-btn" href="/assets/files/invasive_dye_plants_zine.pdf" download="invasive_dye_plants_zine.pdf">&#11015; Download the Zine (PDF)</a>
<script>
  let current=1;const total=25;
  function update(){
    document.querySelectorAll('.slide').forEach((s,i)=>s.classList.toggle('active',i+1===current));
    document.querySelectorAll('.dot').forEach((d,i)=>d.classList.toggle('active',i+1===current));
    document.getElementById('counter').textContent=`Slide ${current} of ${total}`;
  }
  function changeSlide(dir){current=((current-1+dir+total)%total)+1;update();}
  function goToSlide(n){current=n;update();}
  document.addEventListener('keydown',e=>{if(e.key==='ArrowRight')changeSlide(1);if(e.key==='ArrowLeft')changeSlide(-1);});
</script>
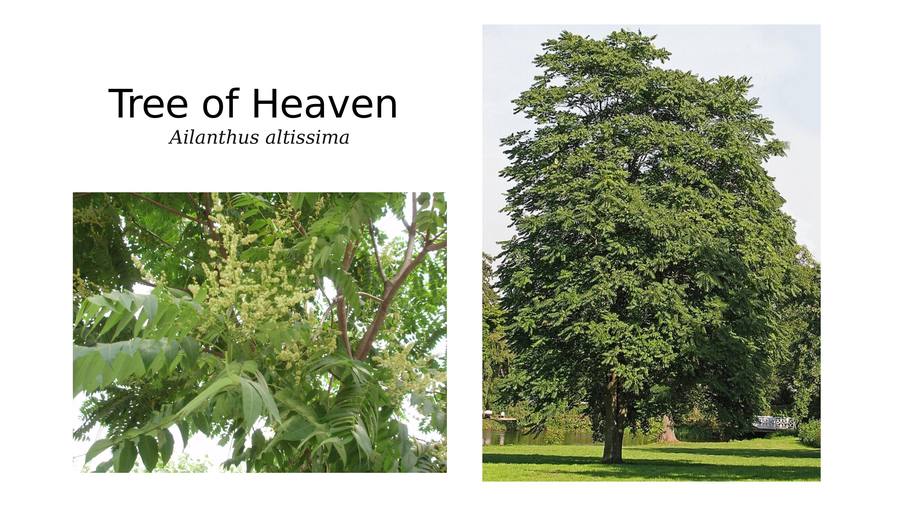
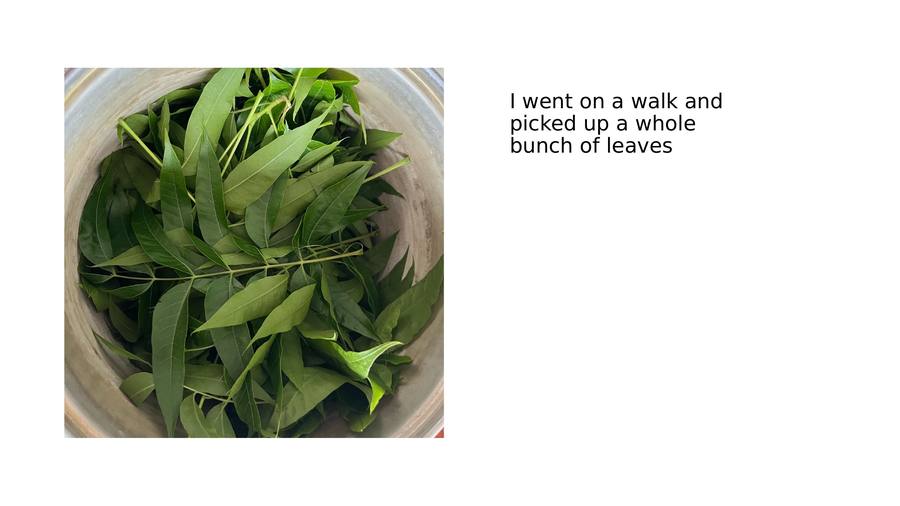
</div>]]></content><author><name>Rhianna Lucas</name></author><category term="invasives" /><category term="dyeing" /><summary type="html"><![CDATA[I presented my recent experiments to my Texas Natural Dye study group today. Here is the presentation and a pdf download of the zine that goes with it! &#8592; Prev Next &#8594; Slide 1 of 25 &#11015; Download the Zine (PDF)]]></summary></entry><entry><title type="html">Tree of Heaven</title><link href="https://rhisfiberart.com/blog/2026/04/27/Tree-of-Heaven/" rel="alternate" type="text/html" title="Tree of Heaven" /><published>2026-04-27T00:00:00+00:00</published><updated>2026-04-27T00:00:00+00:00</updated><id>https://rhisfiberart.com/blog/2026/04/27/Tree-of-Heaven</id><content type="html" xml:base="https://rhisfiberart.com/blog/2026/04/27/Tree-of-Heaven/"><![CDATA[<p>Like heavenly bamboo (Nandina domestica) the tree of heaven (Ailanthus altissima) is invasive in Austin, so I wanted to see if it could be used as dye. A brief google search pulled up an instagram video of someone dying and using an iron after treatment to achieve a cool grey color. Any results at all was enough to convince me to try it. I picked a bunch of leaves some branches that had fallen during some recent storms. This amounted to 160g. 
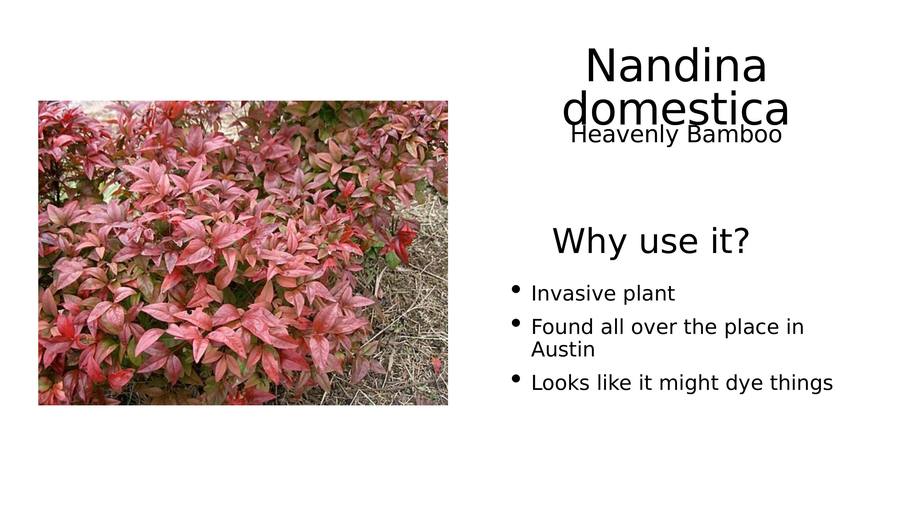
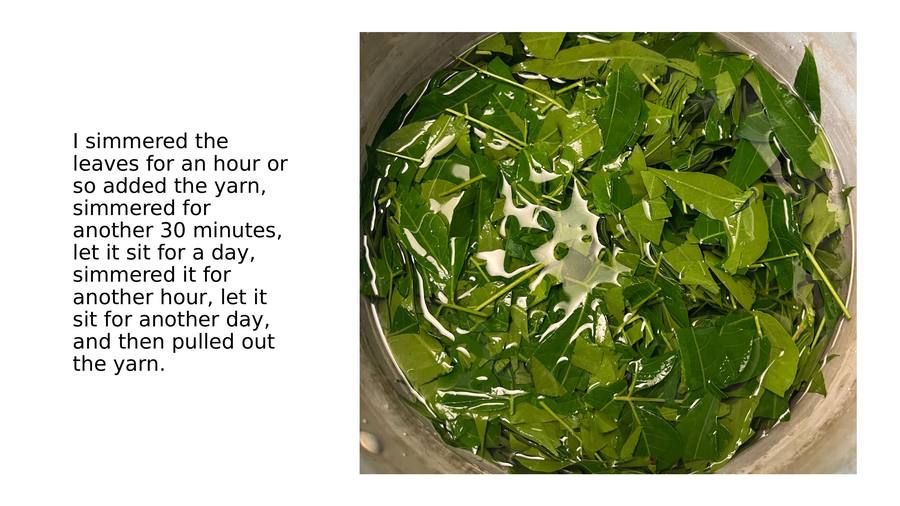
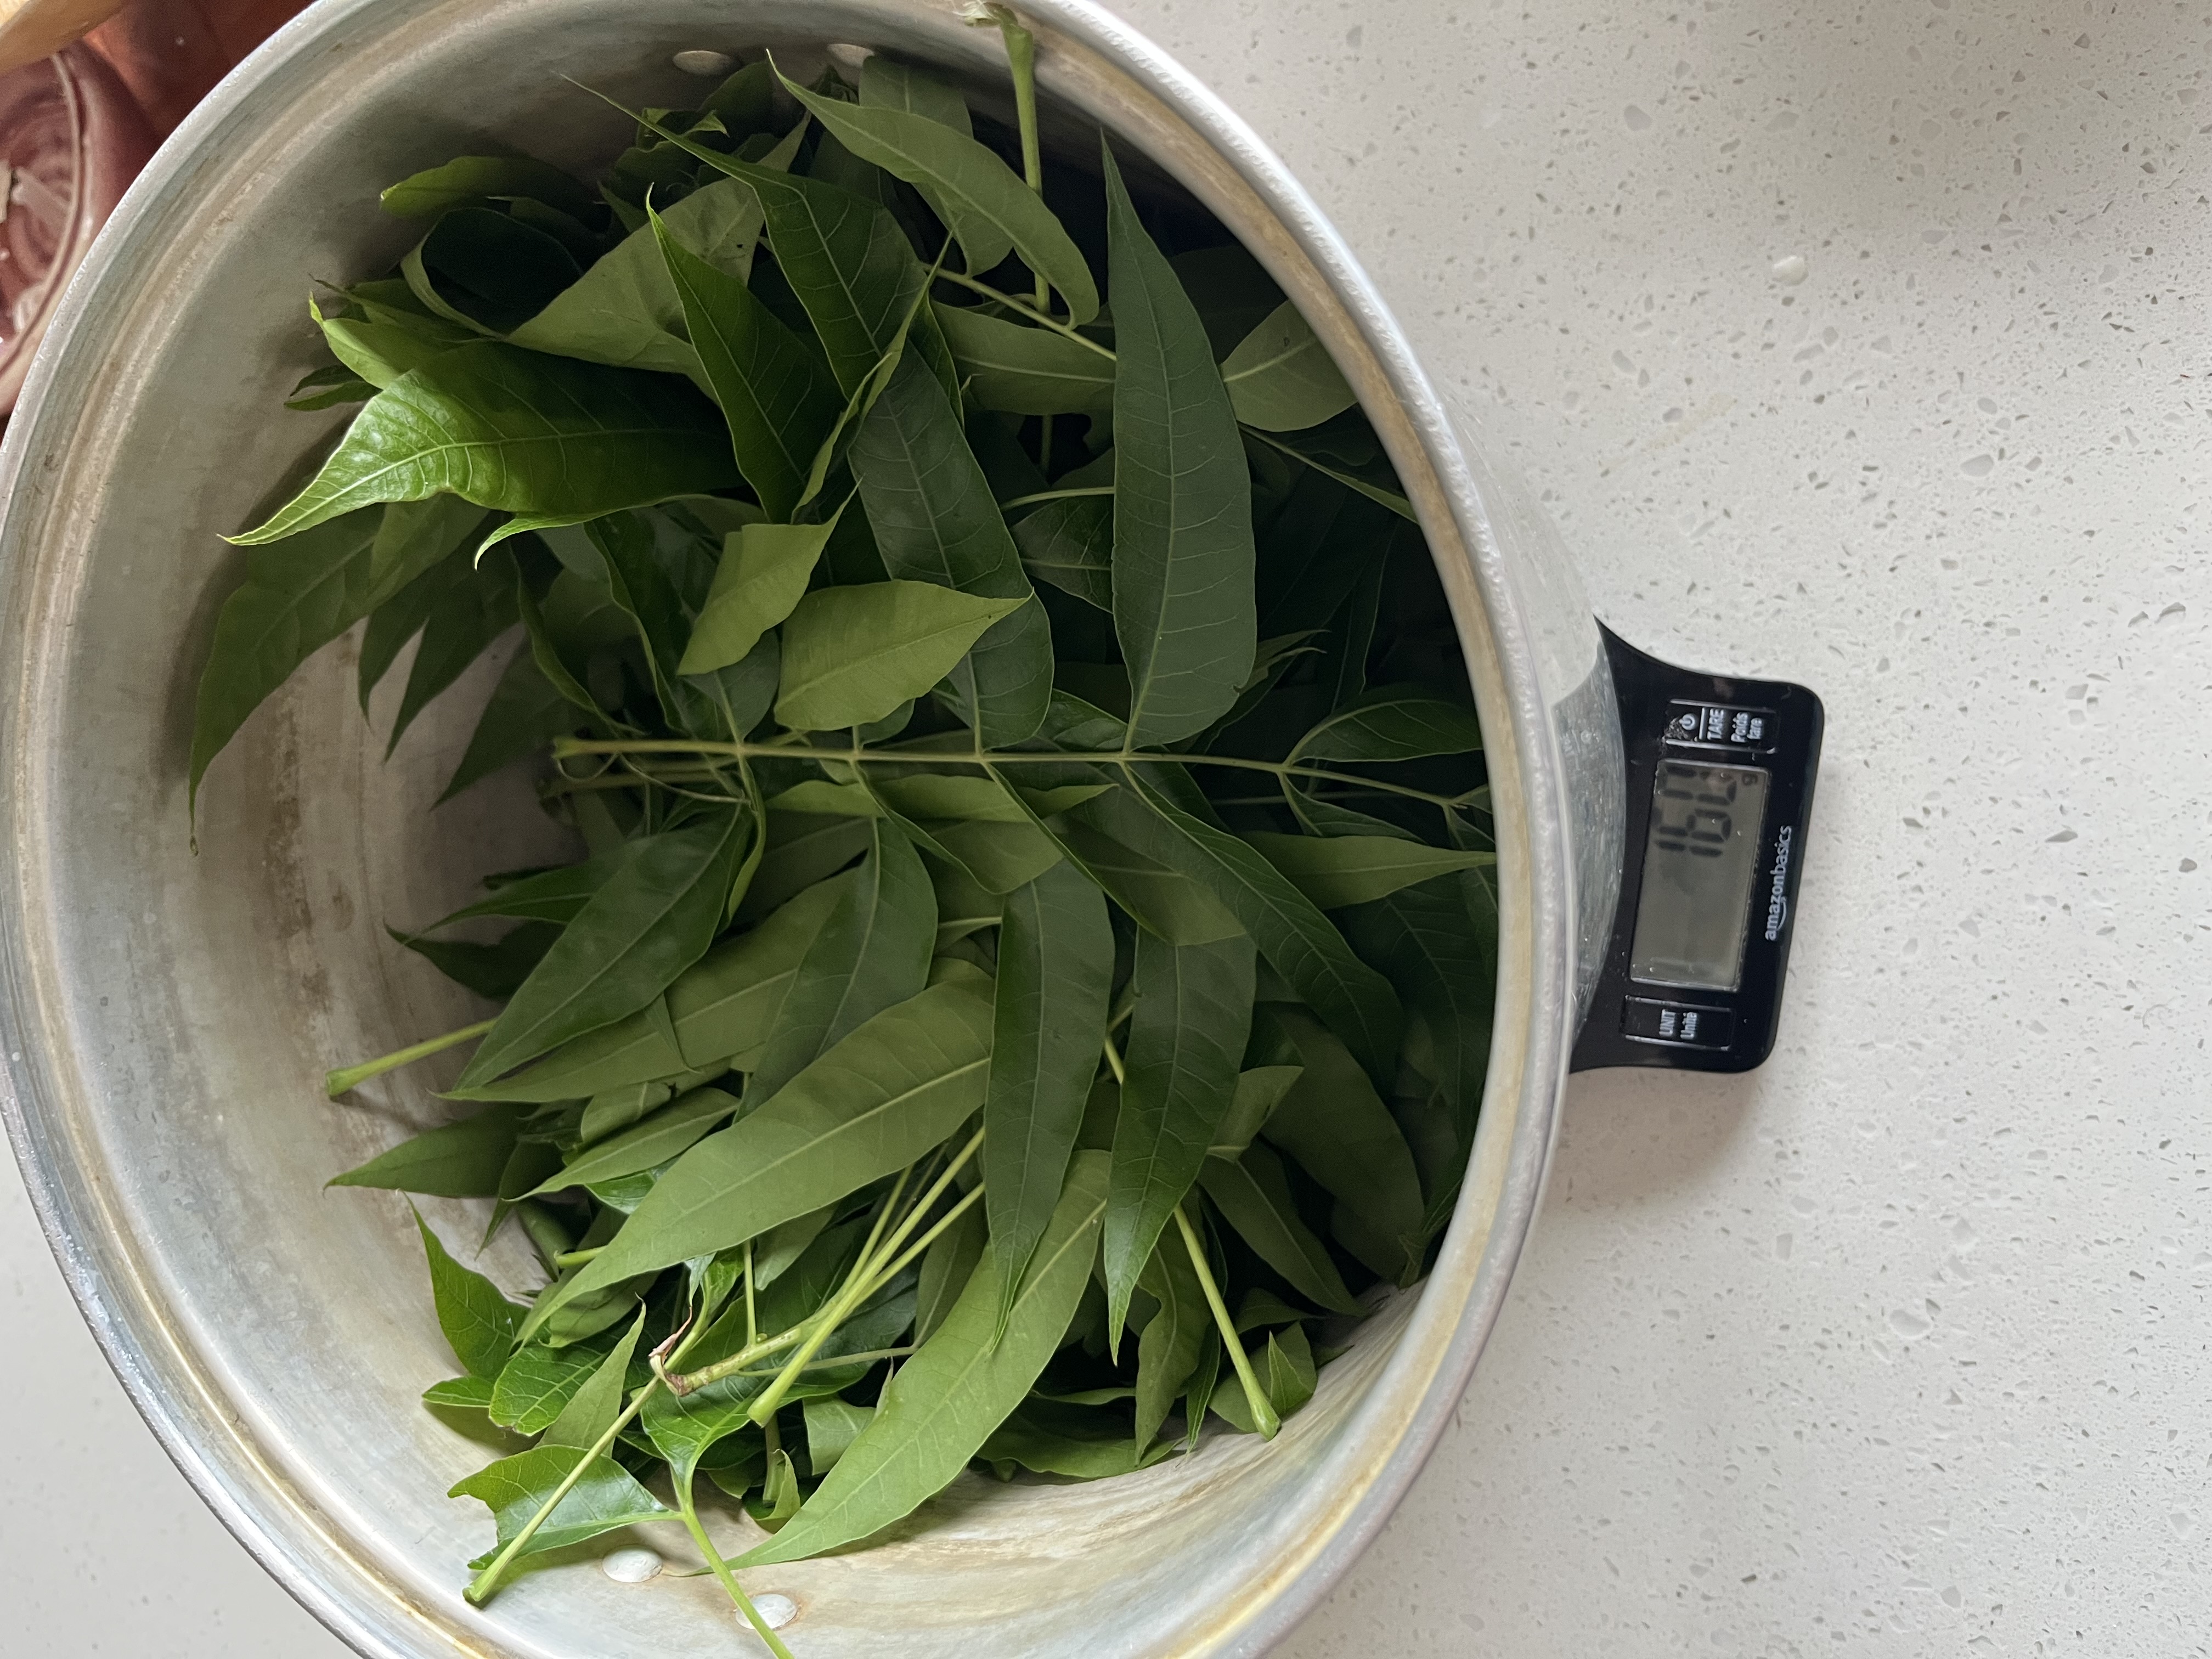
<img src="/assets/images/IMG_1971.jpeg" alt="Photo of leaves in a pot on a scale reading 160g." />
I cut the leaves up a bit, covered them in water and set it to simmer for an hour. I expected to see some noticeable pigment in the water, but it still looked clear. I added an 11g skein of wool yarn that had been mordanted (the same batch that I used with the alcohol extract of nandina) and brought it back up to a simmer for about 30 minutes then shut off the heat and let it sit overnight. I started to see some color develop the next morning so I simmered for another hour before turning off the heat and letting it sit for another day. 
<img src="/assets/images/IMG_1971.jpeg" alt="Photo of the pot of leaves chopped and covered in water on the stove.." />
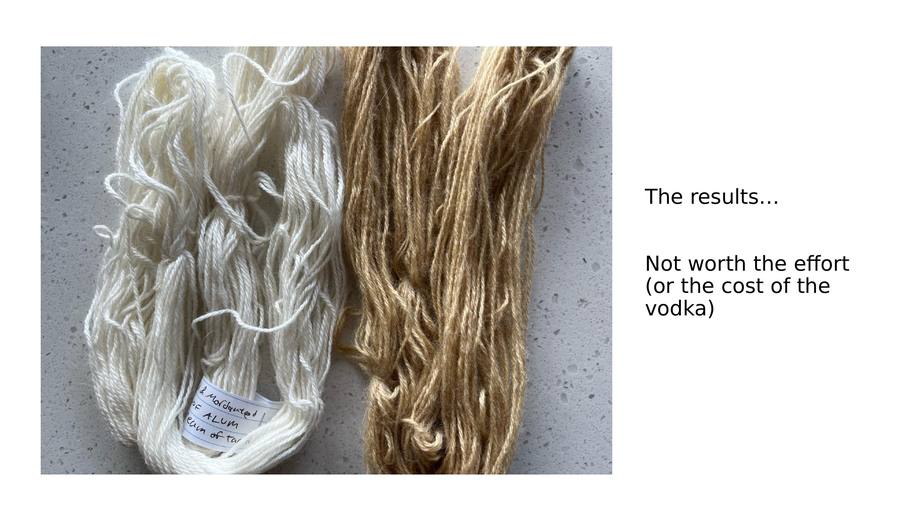
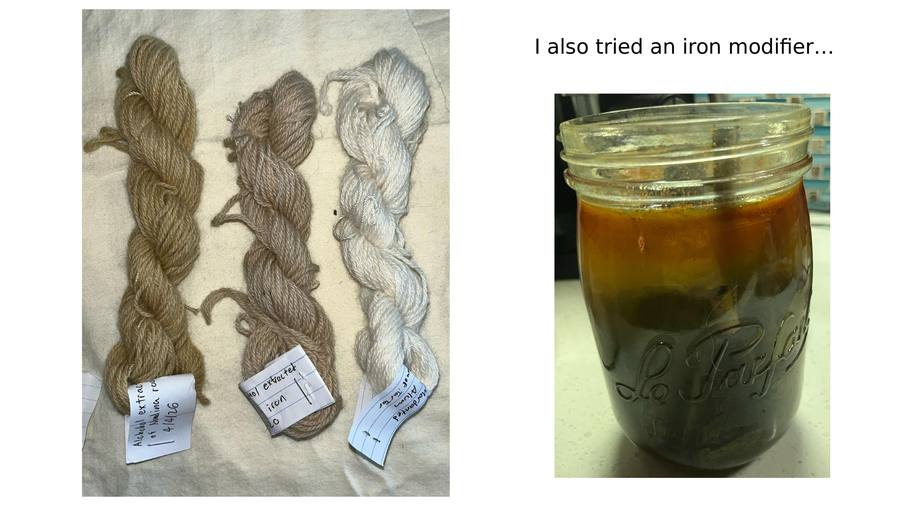
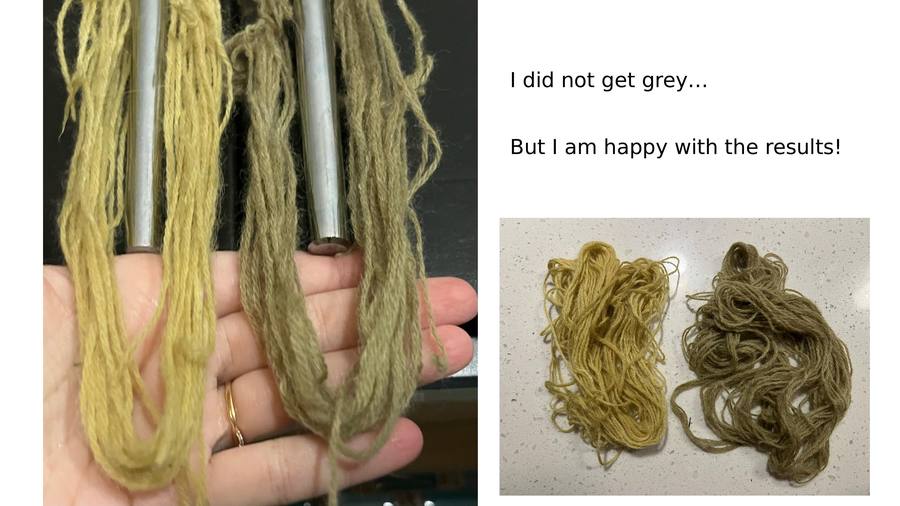
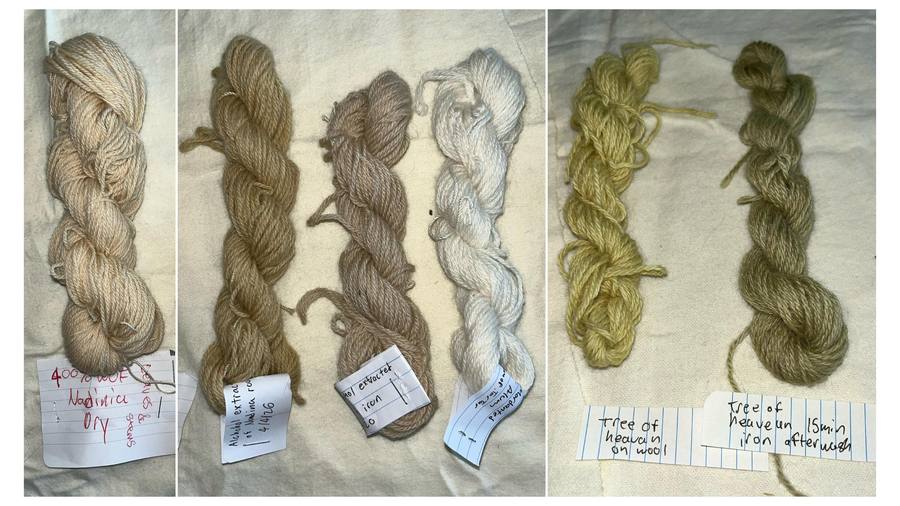
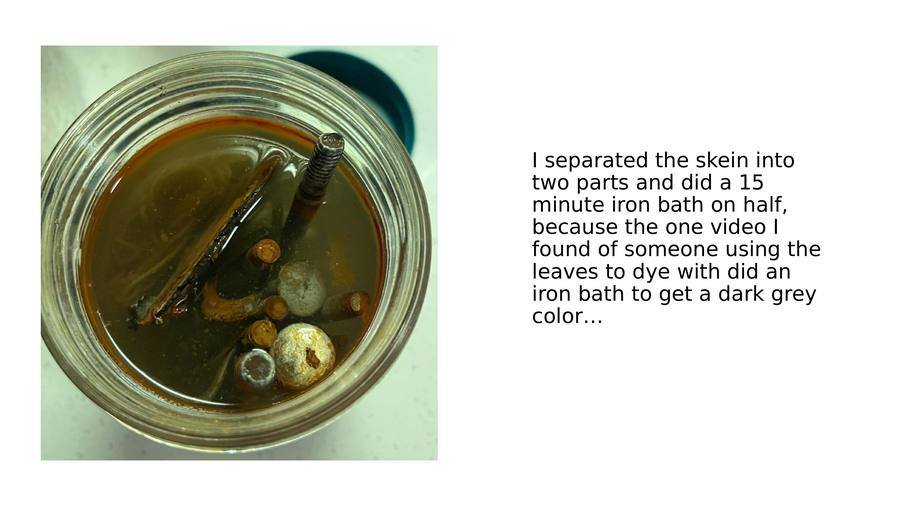
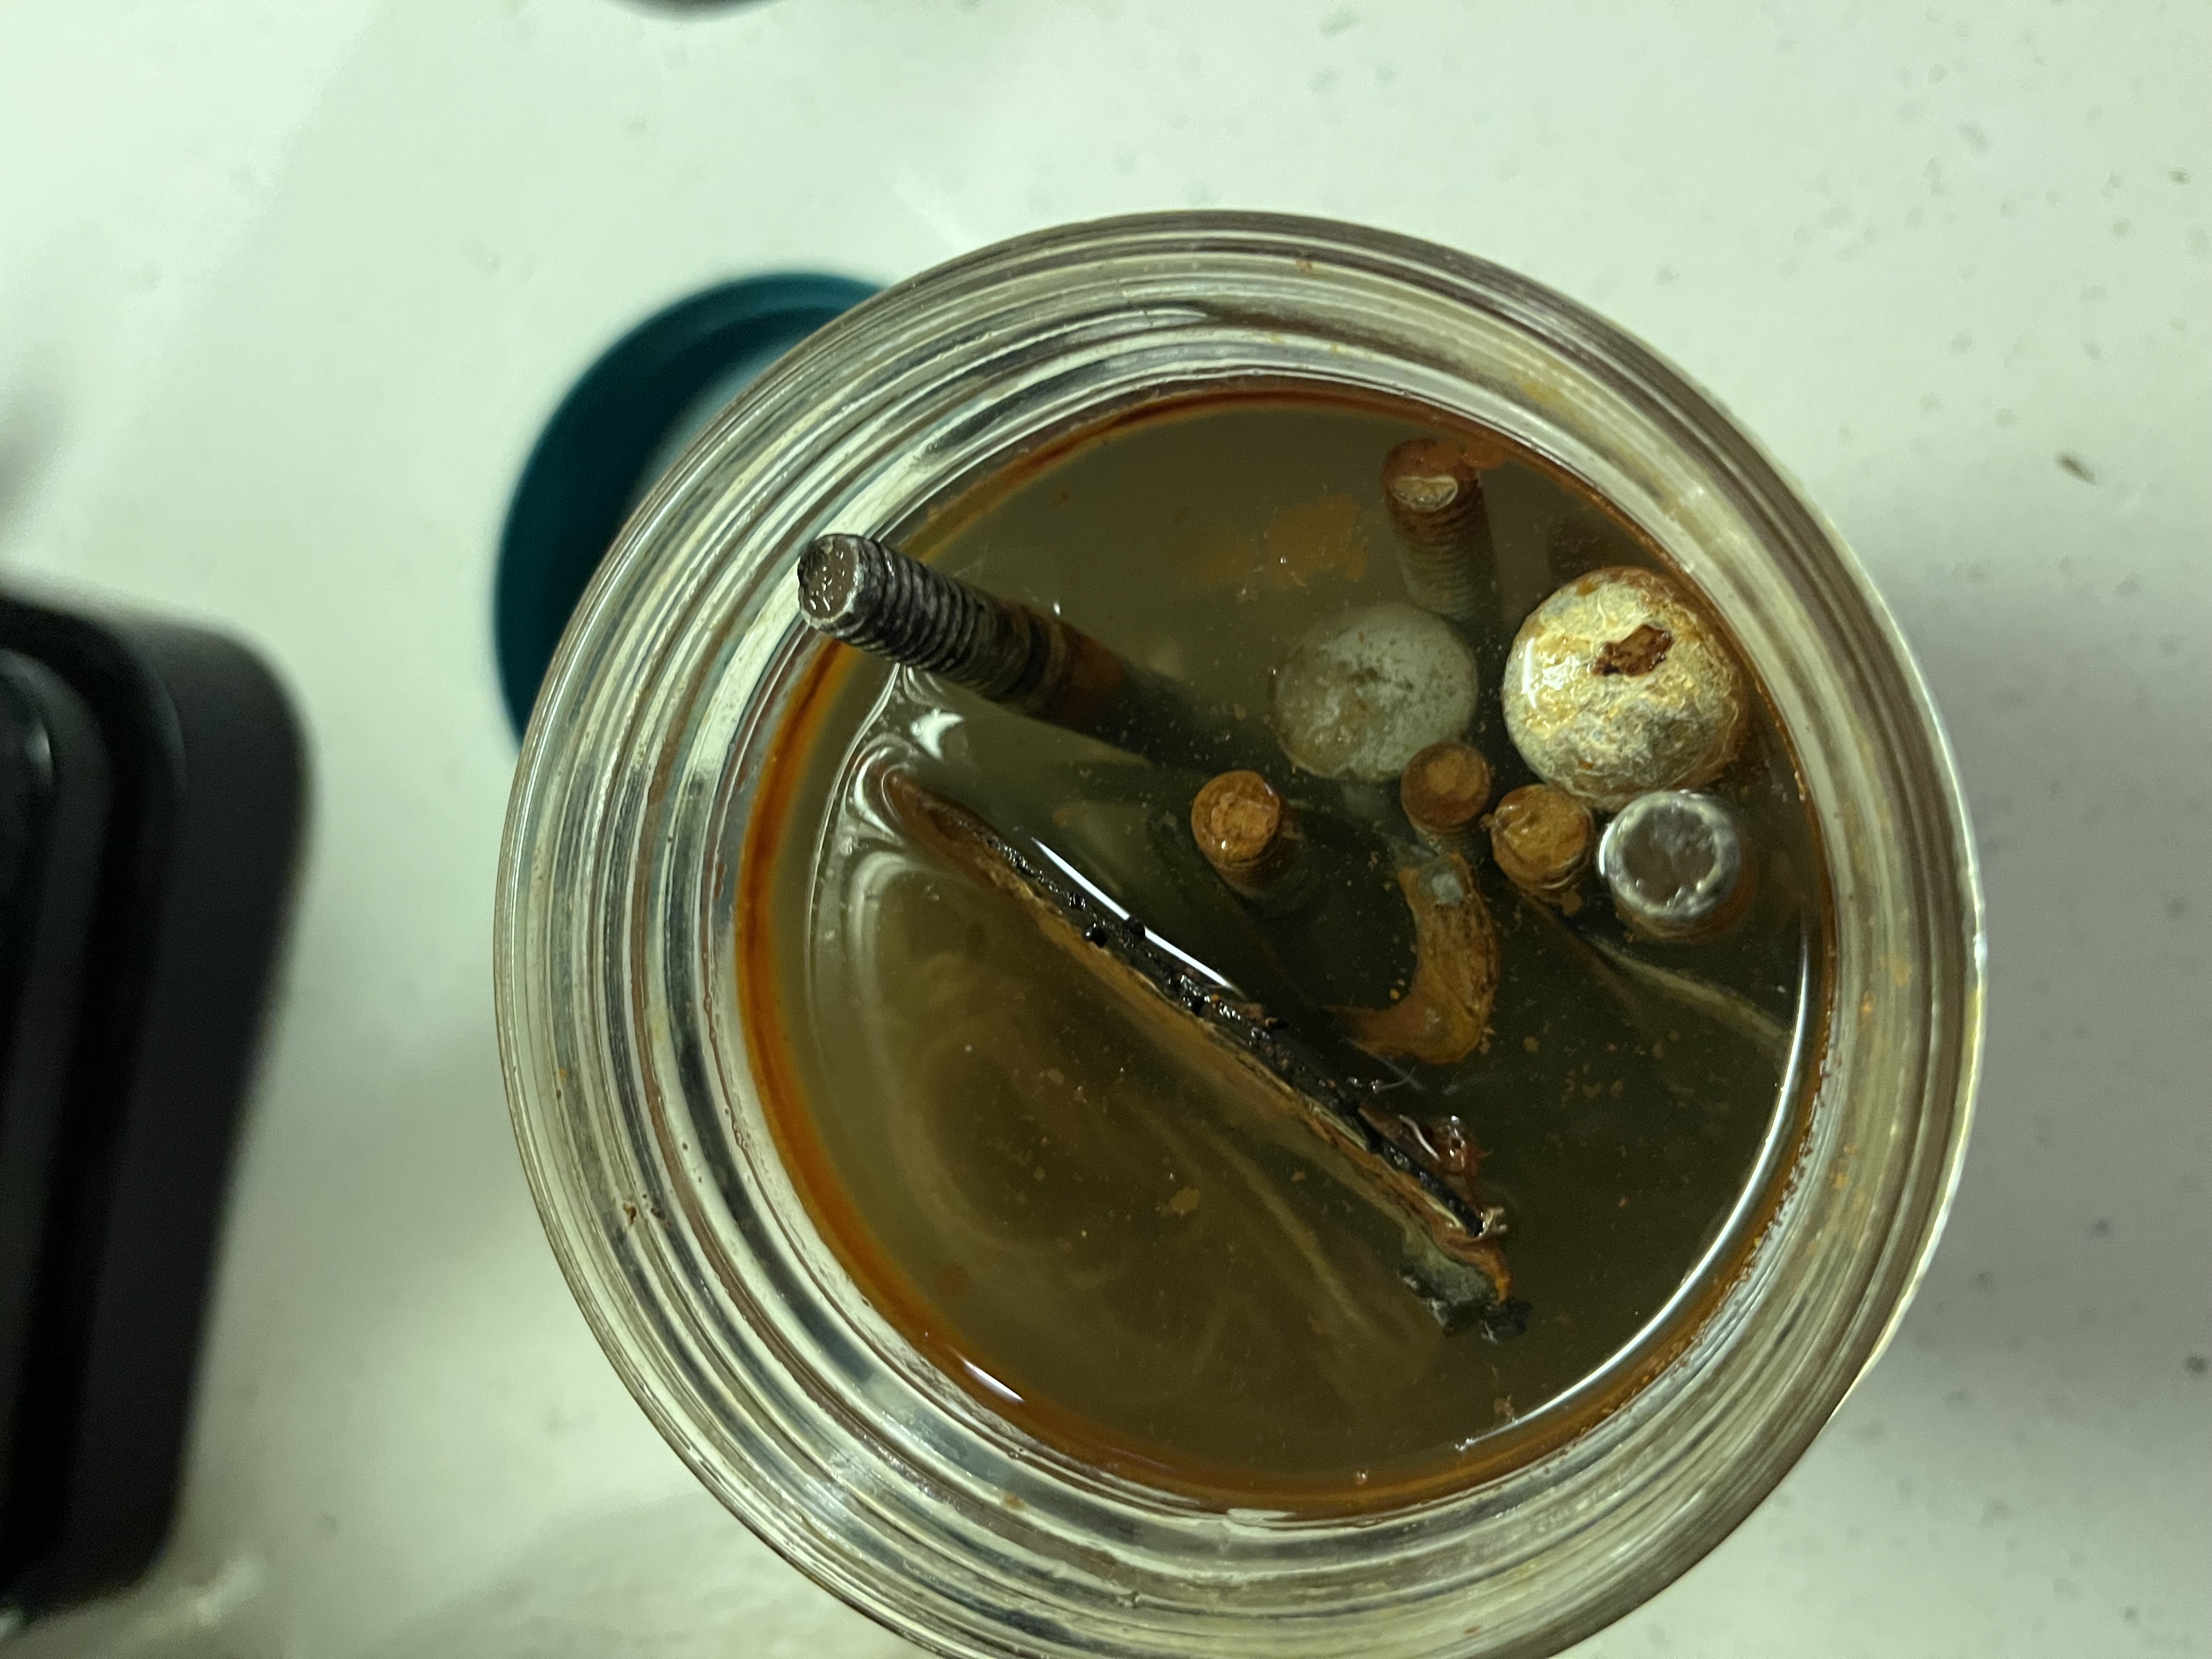
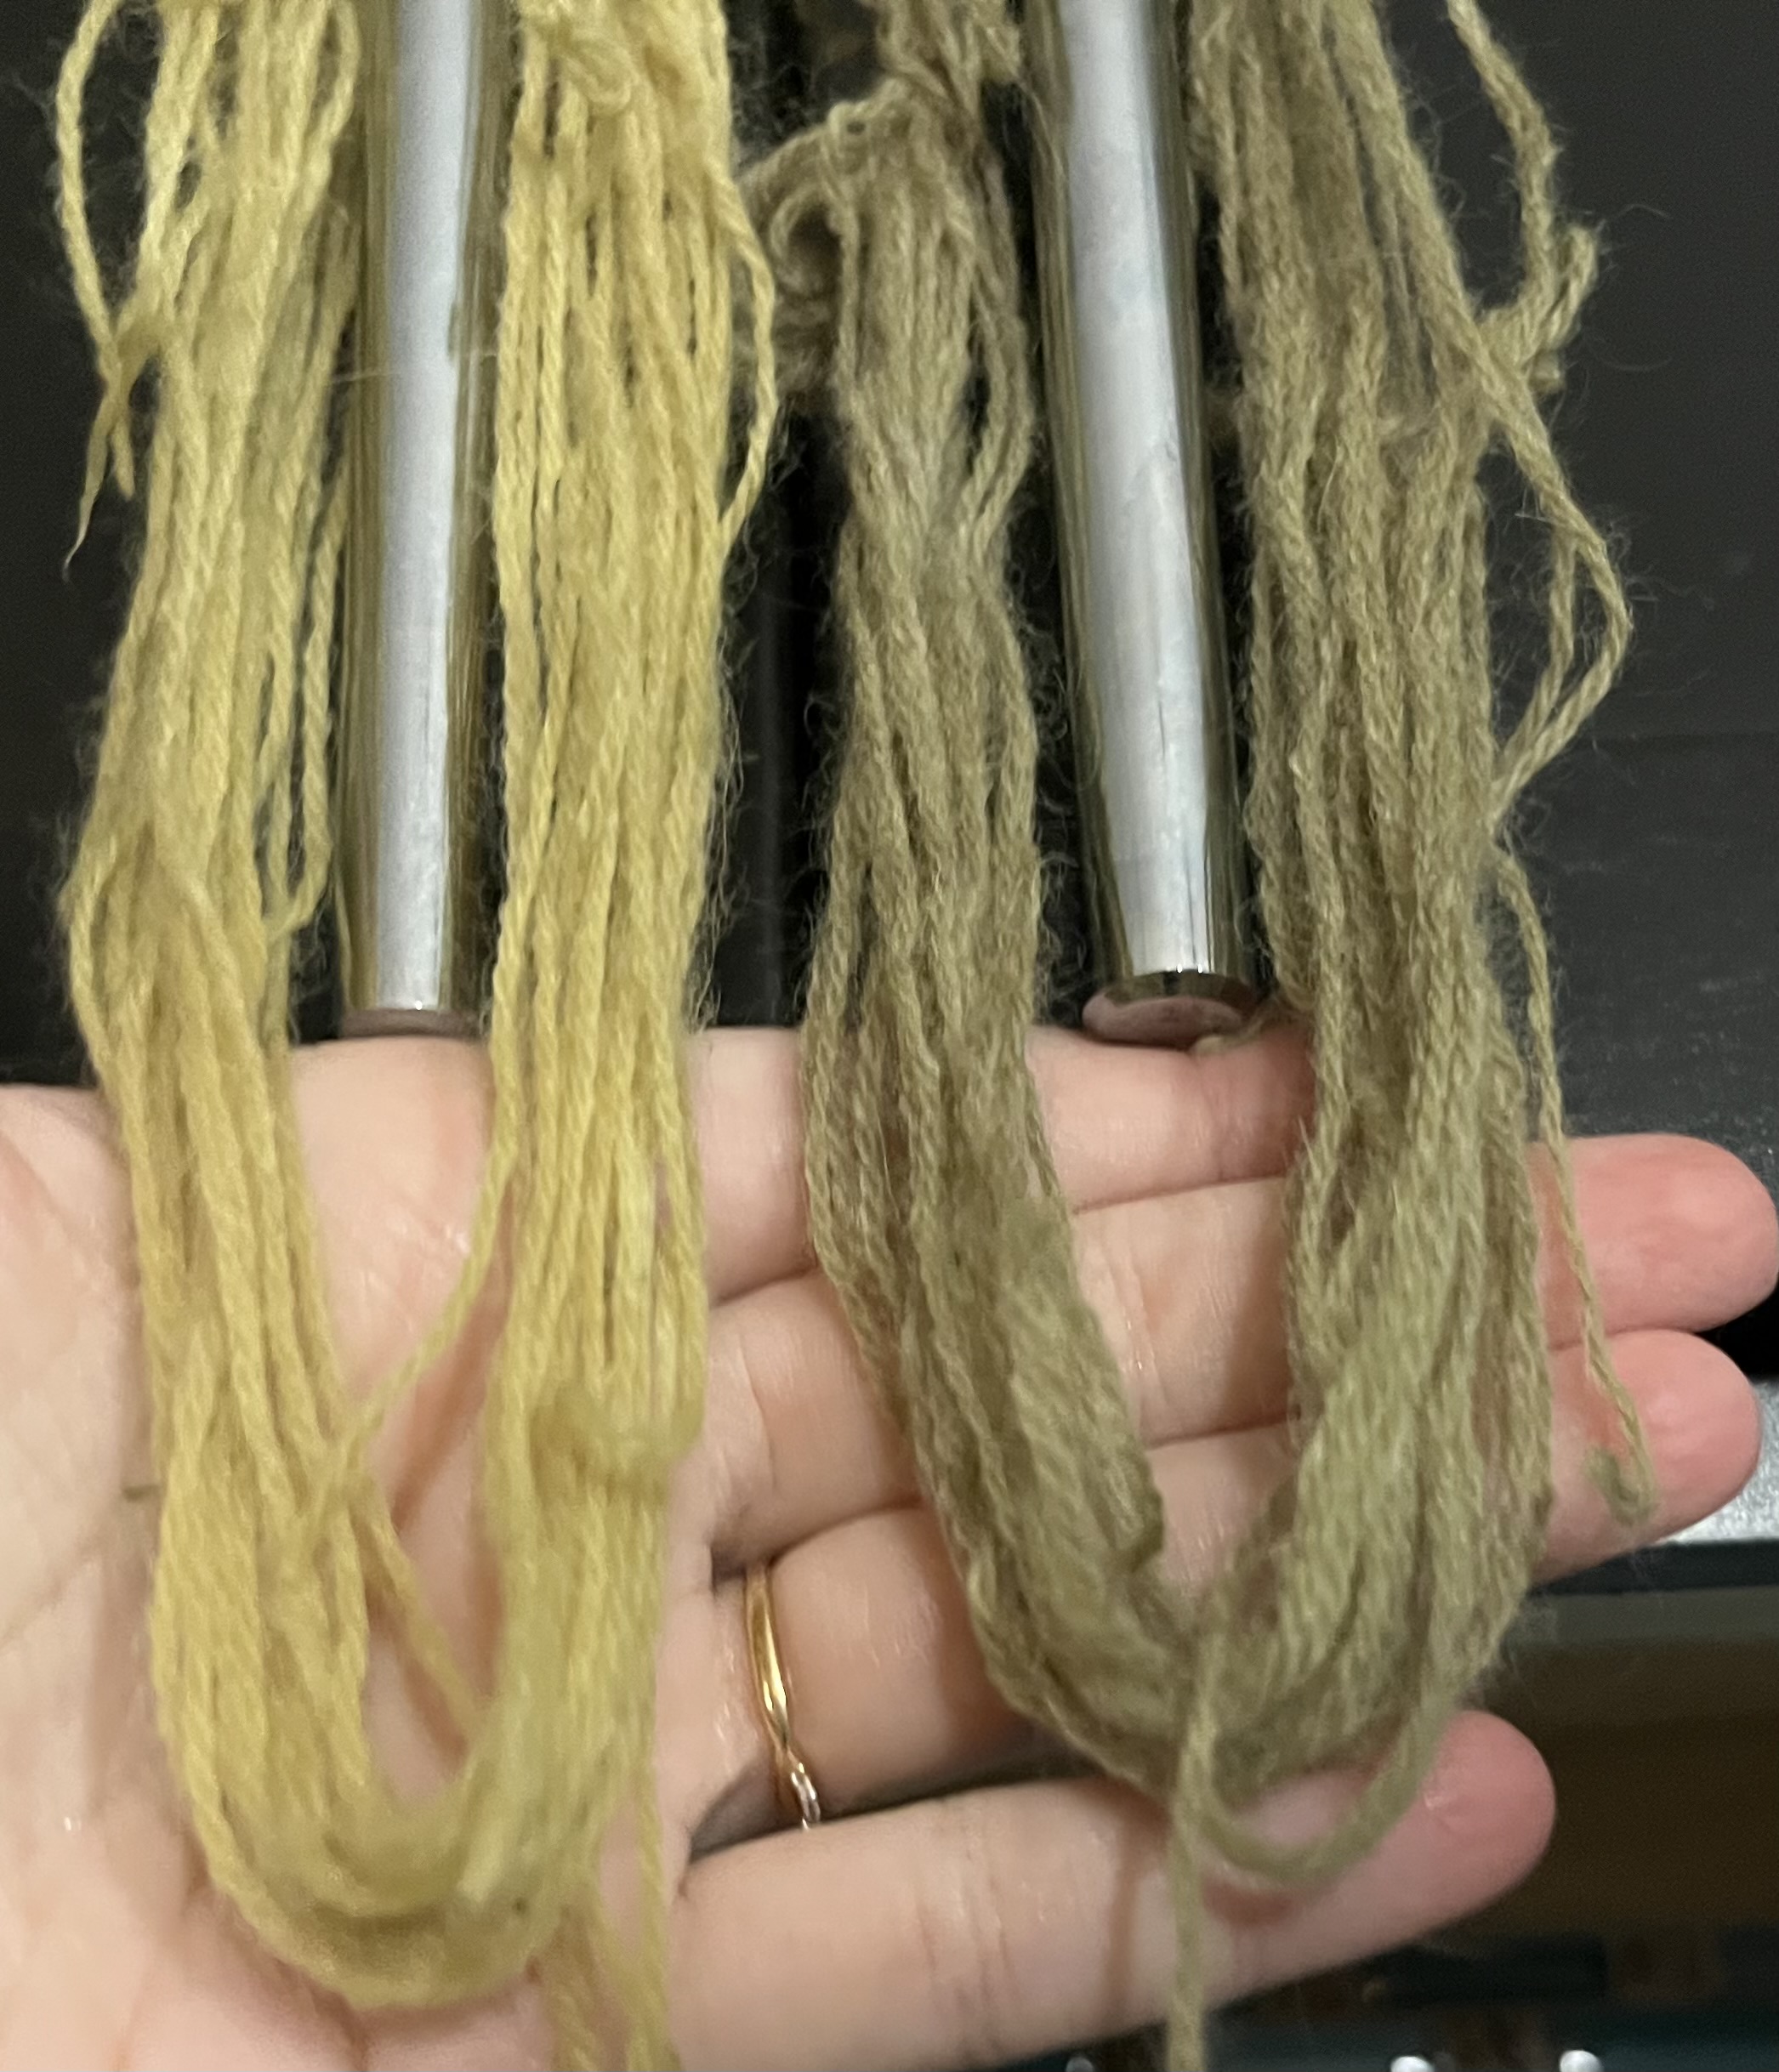
After rinsing the wool was a nice bright yellow color. I split the skein in half and put one half into an iron bath for 15 mins. I was even more pleased with this color as it came out a nice olive green. Overall I think this experiment was very successful, and I plan to try it again! 
<img src="/assets/images/IMG_1979.jpeg" alt="Photo of mason jar full of rusty water and metal." />
<img src="/assets/images/IMG_1982.jpeg" alt="Photo of yellow and green yarn side by side, the color is quite neutal toned." /></p>]]></content><author><name>Rhianna Lucas</name></author><category term="dyeing" /><category term="invasives" /><category term="tree of heaven" /><summary type="html"><![CDATA[Like heavenly bamboo (Nandina domestica) the tree of heaven (Ailanthus altissima) is invasive in Austin, so I wanted to see if it could be used as dye. A brief google search pulled up an instagram video of someone dying and using an iron after treatment to achieve a cool grey color. Any results at all was enough to convince me to try it. I picked a bunch of leaves some branches that had fallen during some recent storms. This amounted to 160g. I cut the leaves up a bit, covered them in water and set it to simmer for an hour. I expected to see some noticeable pigment in the water, but it still looked clear. I added an 11g skein of wool yarn that had been mordanted (the same batch that I used with the alcohol extract of nandina) and brought it back up to a simmer for about 30 minutes then shut off the heat and let it sit overnight. I started to see some color develop the next morning so I simmered for another hour before turning off the heat and letting it sit for another day. After rinsing the wool was a nice bright yellow color. I split the skein in half and put one half into an iron bath for 15 mins. I was even more pleased with this color as it came out a nice olive green. Overall I think this experiment was very successful, and I plan to try it again!]]></summary></entry><entry><title type="html">Frogging</title><link href="https://rhisfiberart.com/blog/2026/04/19/Frogging/" rel="alternate" type="text/html" title="Frogging" /><published>2026-04-19T00:00:00+00:00</published><updated>2026-04-19T00:00:00+00:00</updated><id>https://rhisfiberart.com/blog/2026/04/19/Frogging</id><content type="html" xml:base="https://rhisfiberart.com/blog/2026/04/19/Frogging/"><![CDATA[<p>Sometimes you are so close to the end of a project you just want to get it done. So you rush, and don’t put the time and attention to detail you should into it. And you make mistakes. Sometimes big mistakes. As in the toe of my sock is crooked mistakes, and not a little crooked, full 90 degree rotation crooked. So you do what any sane person would, and shove it out of sight for between 3 and 30 months.</p>
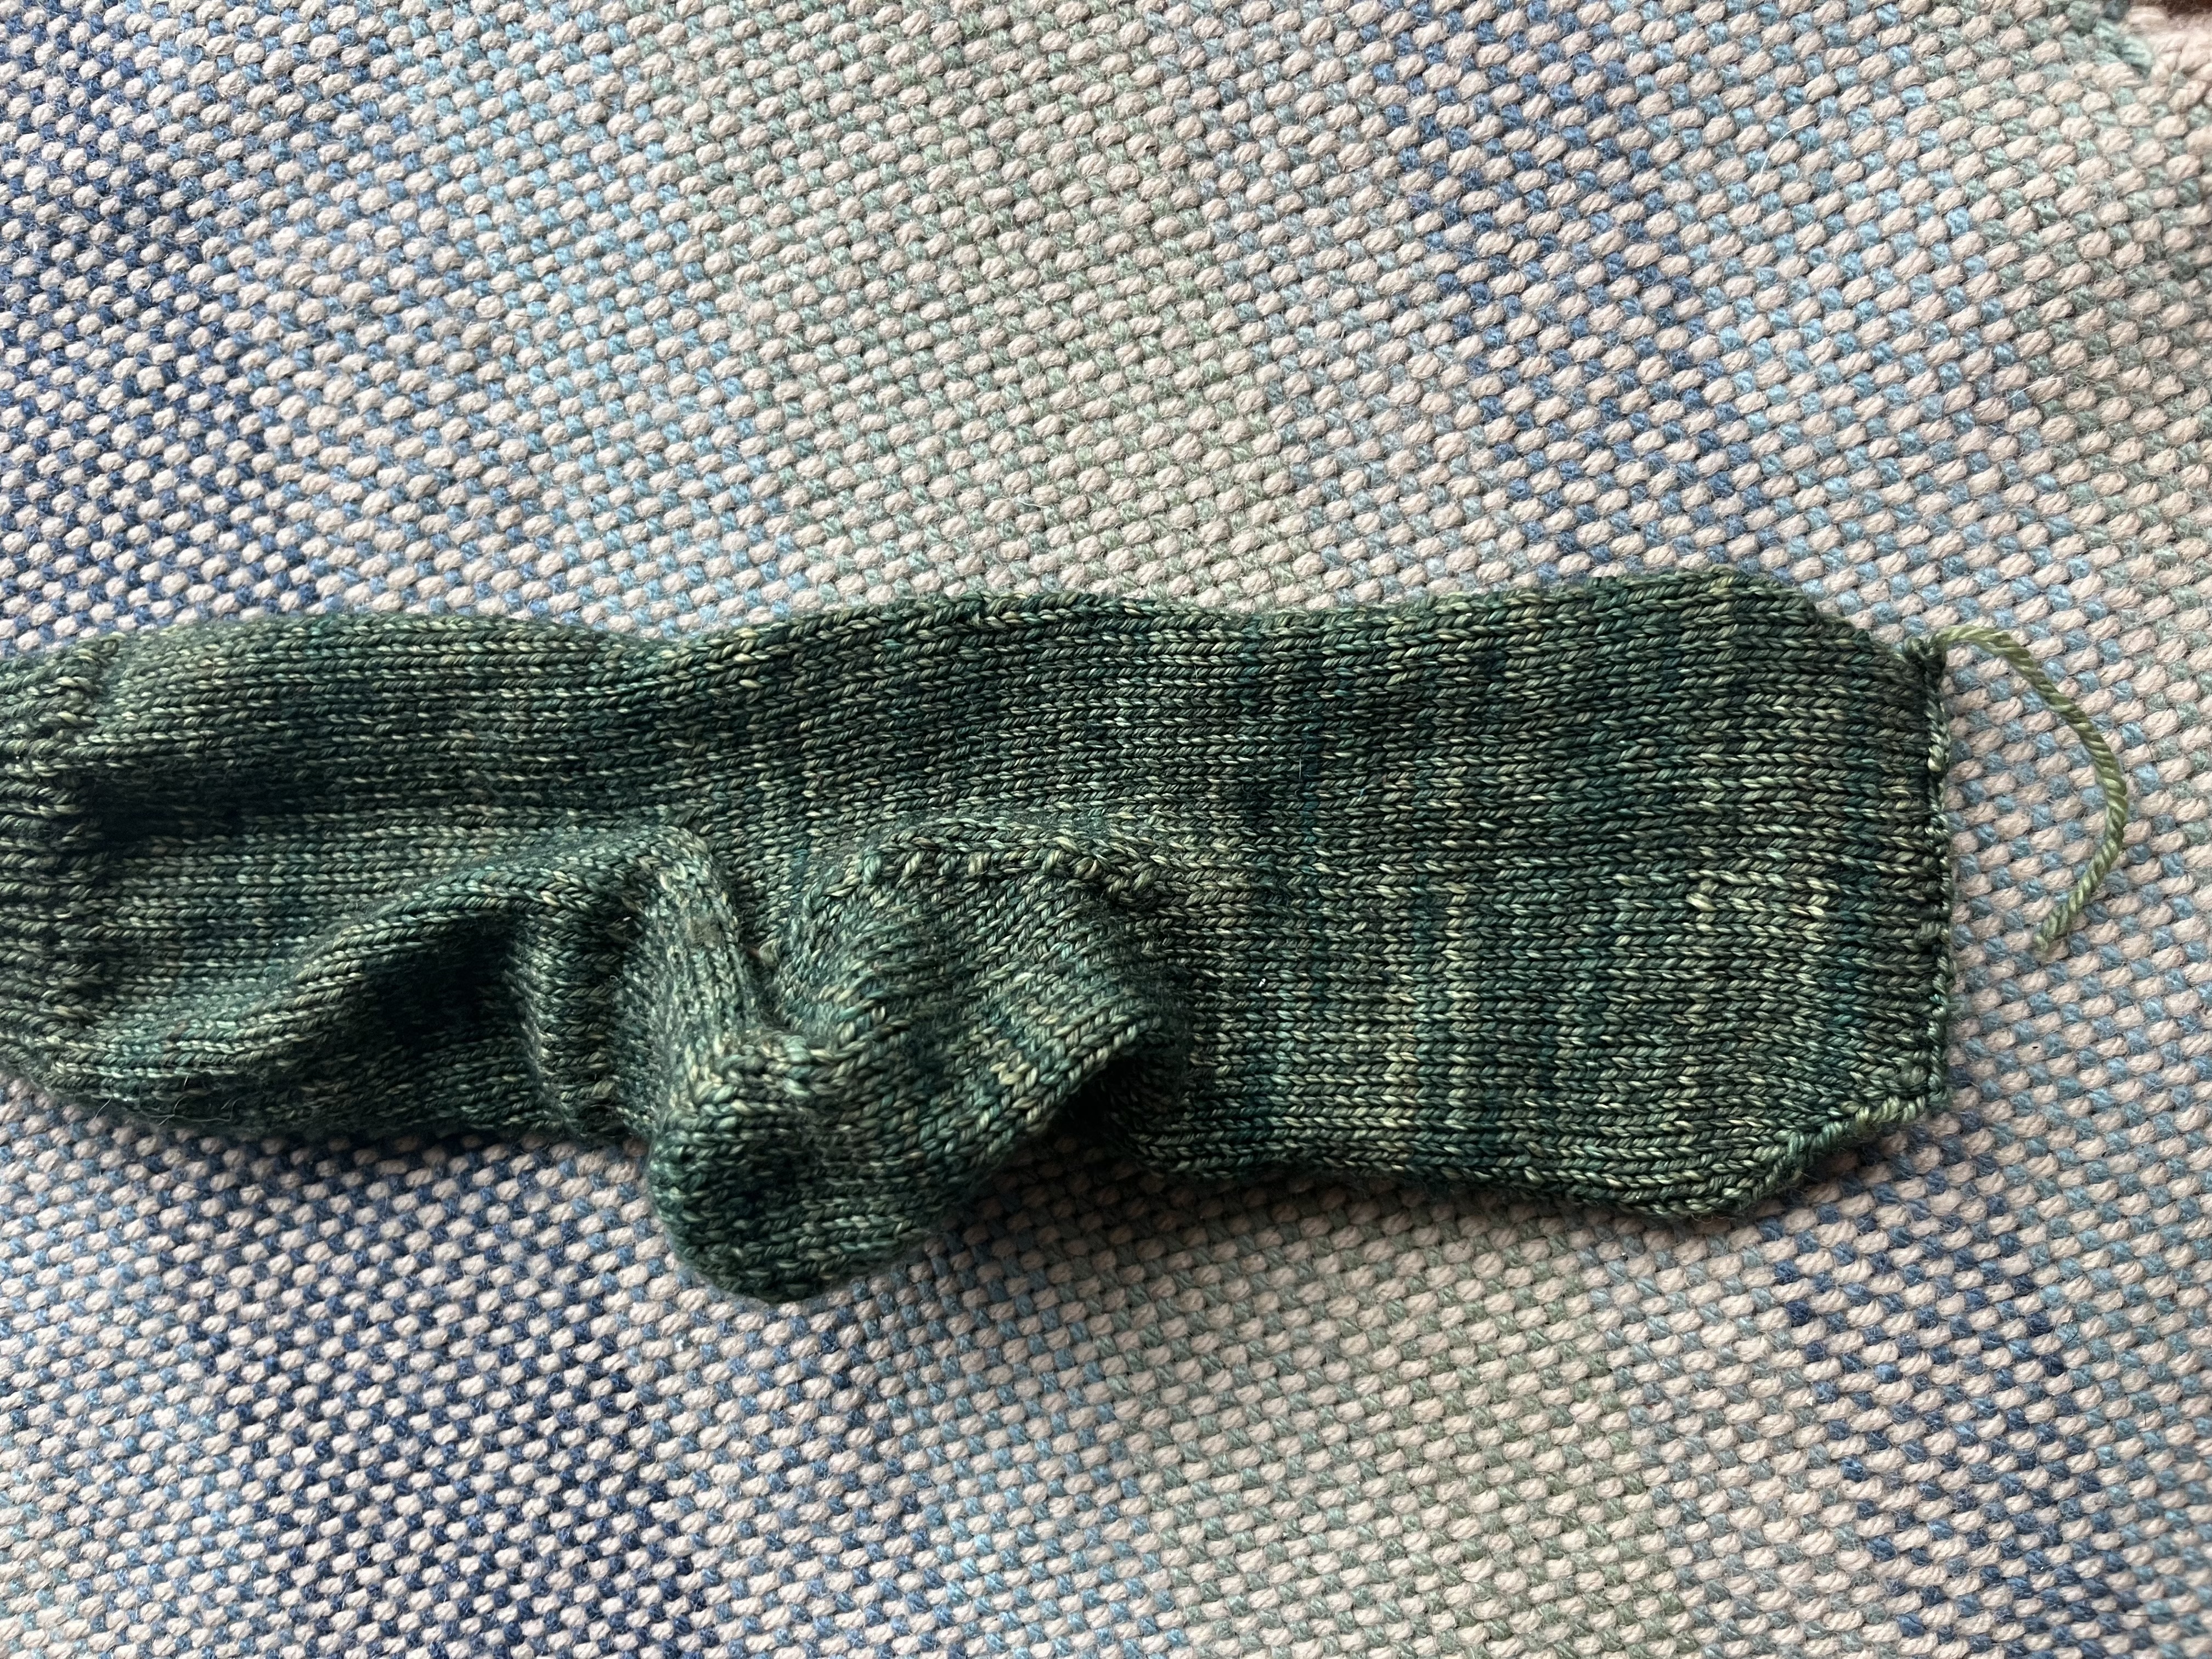
<p><img src="/assets/images/IMG_1913.jpeg" alt="Photo of a crooked sock made of green yarn." /></p>

<p>Then when you are ready you bring it back out and you frog it. For any non-knitters reading this frogging is the process of undoing your knitting by grabbing the end of the yarn and pulling. You may have heard that it is called frogging because you “rip-it rip-it”, and this is a fun explanation although unlikely the true origin. Our best guess is that the term was adopted from it’s use as a curse or disparaging term for the French which was widely used in England at the time we first see it appear in reference to fiber arts. If you want to read more on the possible origins of the word <a href="https://lordlibidan.com/why-is-it-called-frogging-anyway/?srsltid=AfmBOors9YAIRpTCgRIcvS3CK0SOH0VOtRxNgw1gBpUNn9hWapFZieIo">Lord Libidan</a> has a great blog post on it. So I frogged my crooked sock, pulling and pulling all the way back to before the heel. 
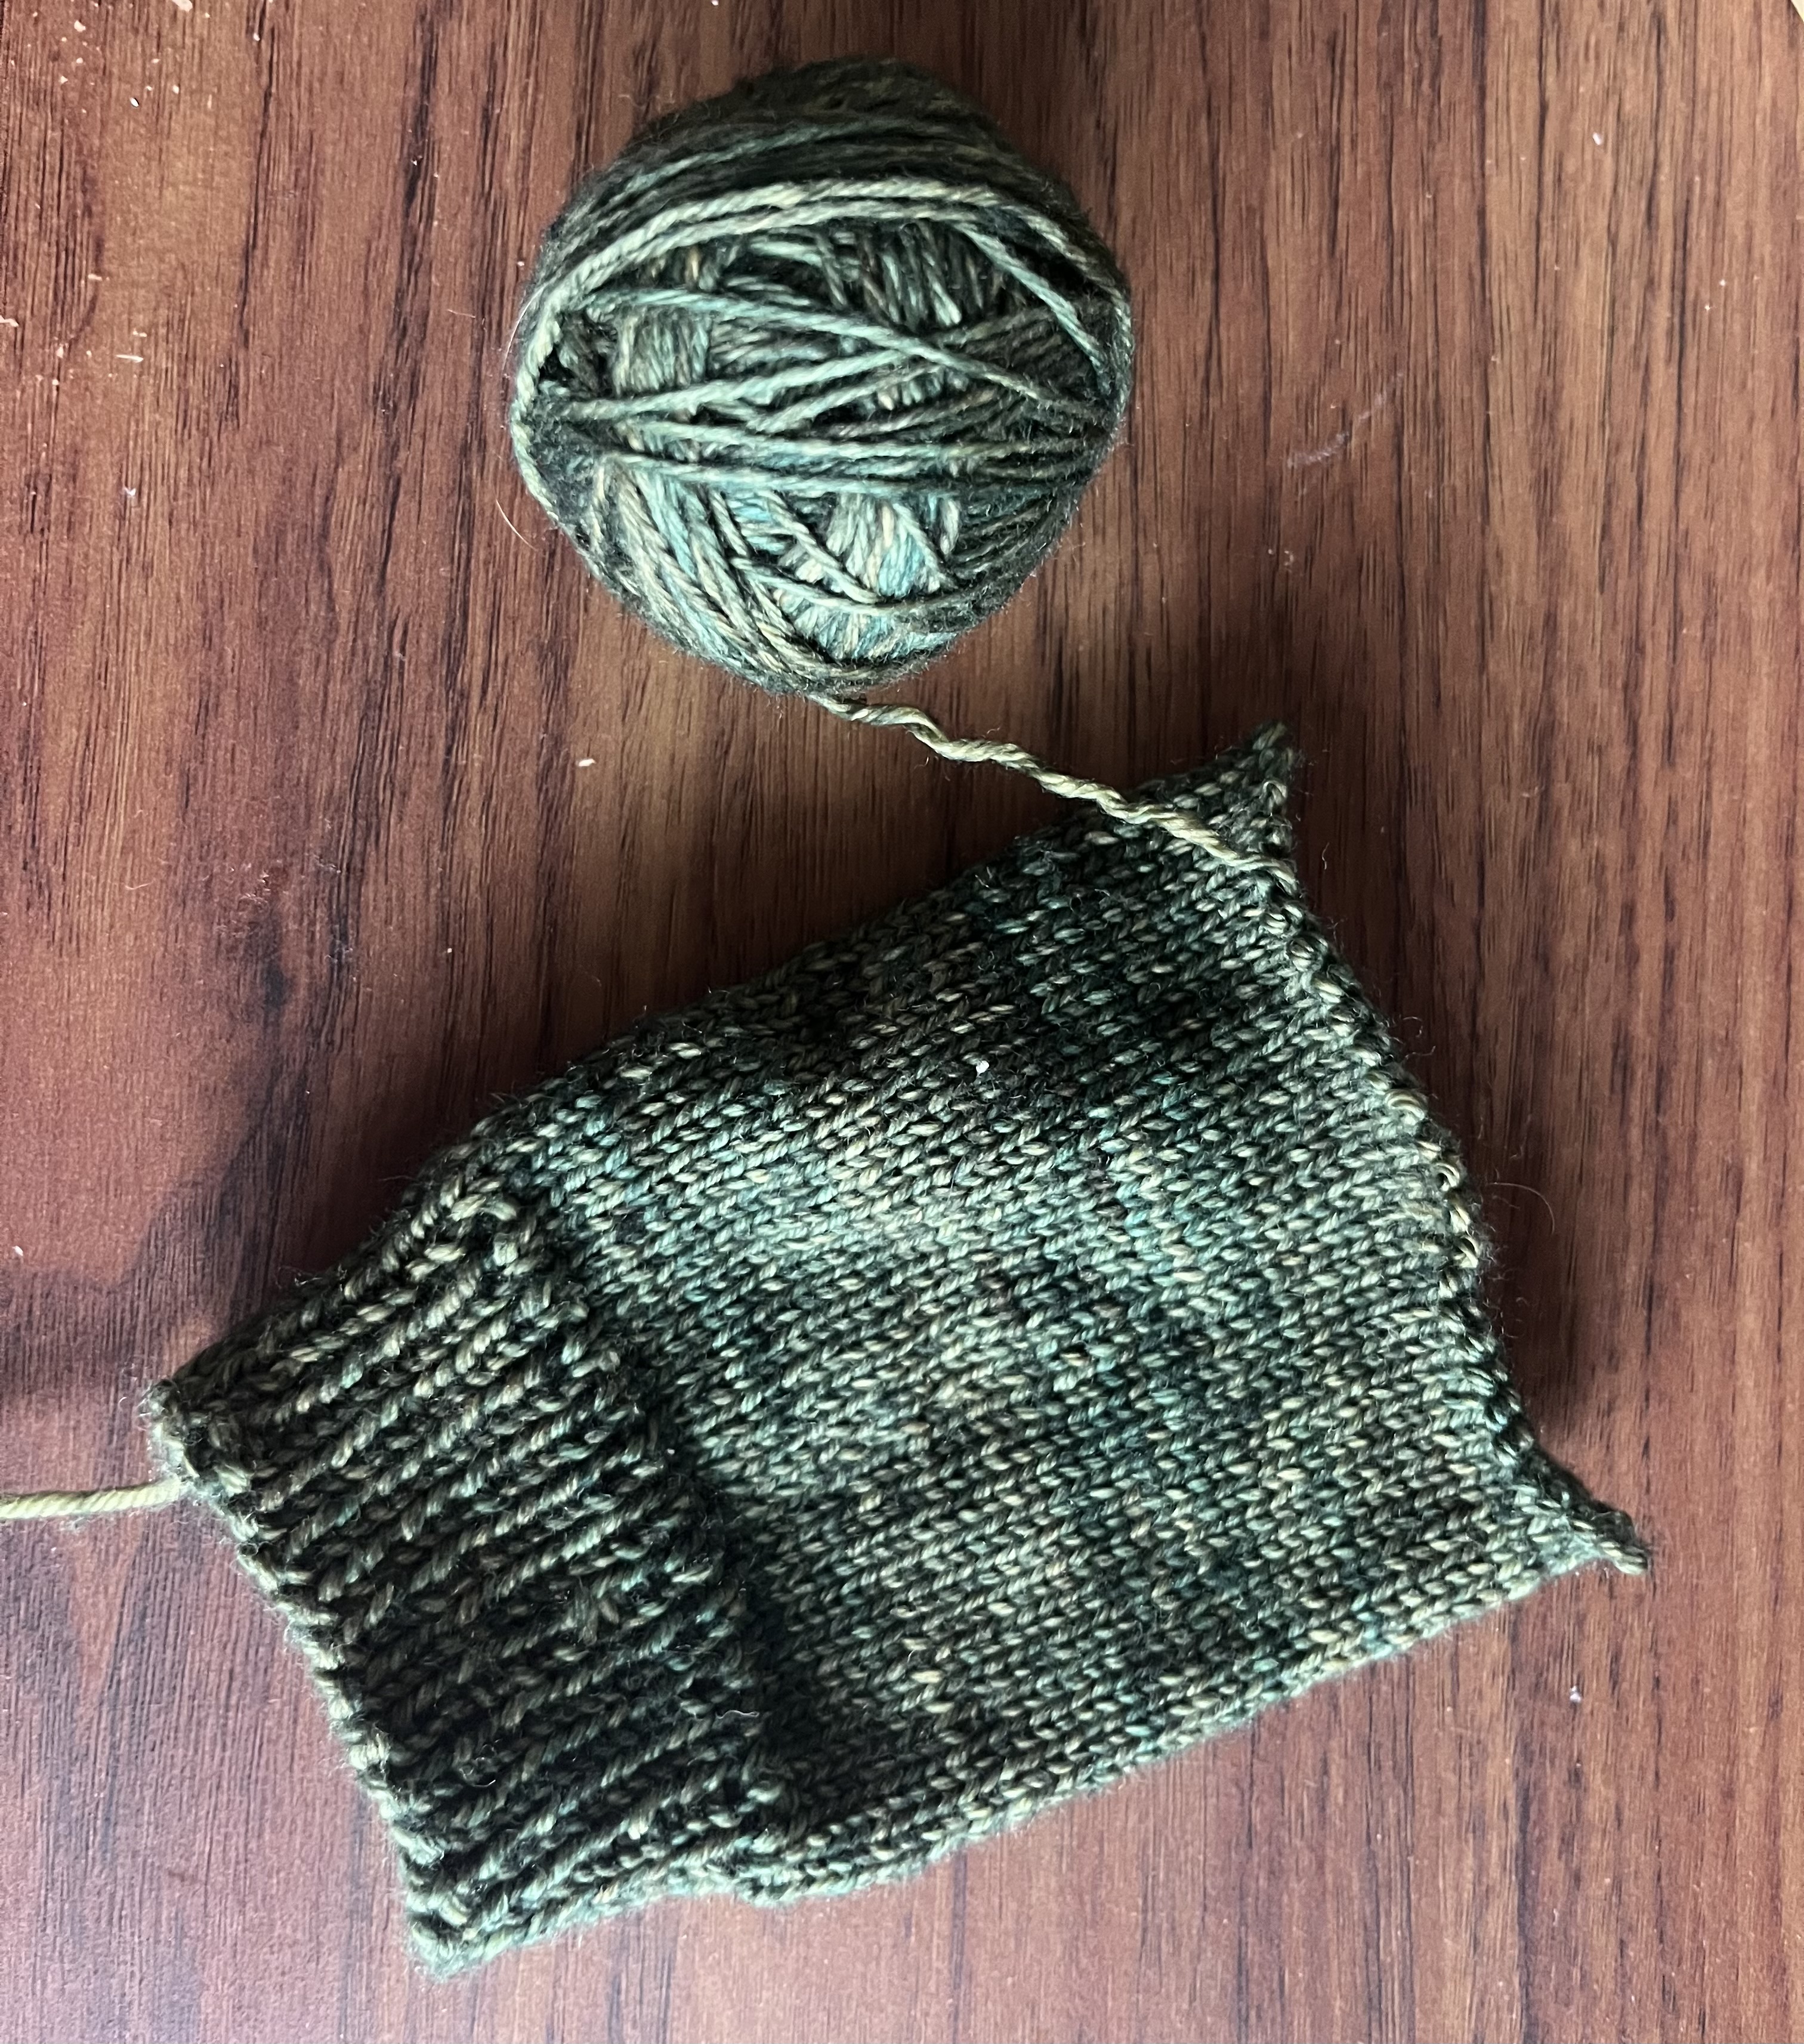
<img src="/assets/images/IMG_1916.jpeg" alt="Photo of the sock unravled back to only a few inches and the yarn wound into a ball." /></p>

<p>Why didn’t I just frog the toe? I picked now to do this because I was in need of a portable project that is so simple I barely need to look as I work. I don’t want to be thinking about where to put the heel and then actually need to do the heel, so I have decided to try an afterthought heel. For an afterthought heel you knit the whole sock as a tube then come back and open it up to add the heel. If this goes well I think it will be my new favorite way to make socks! 
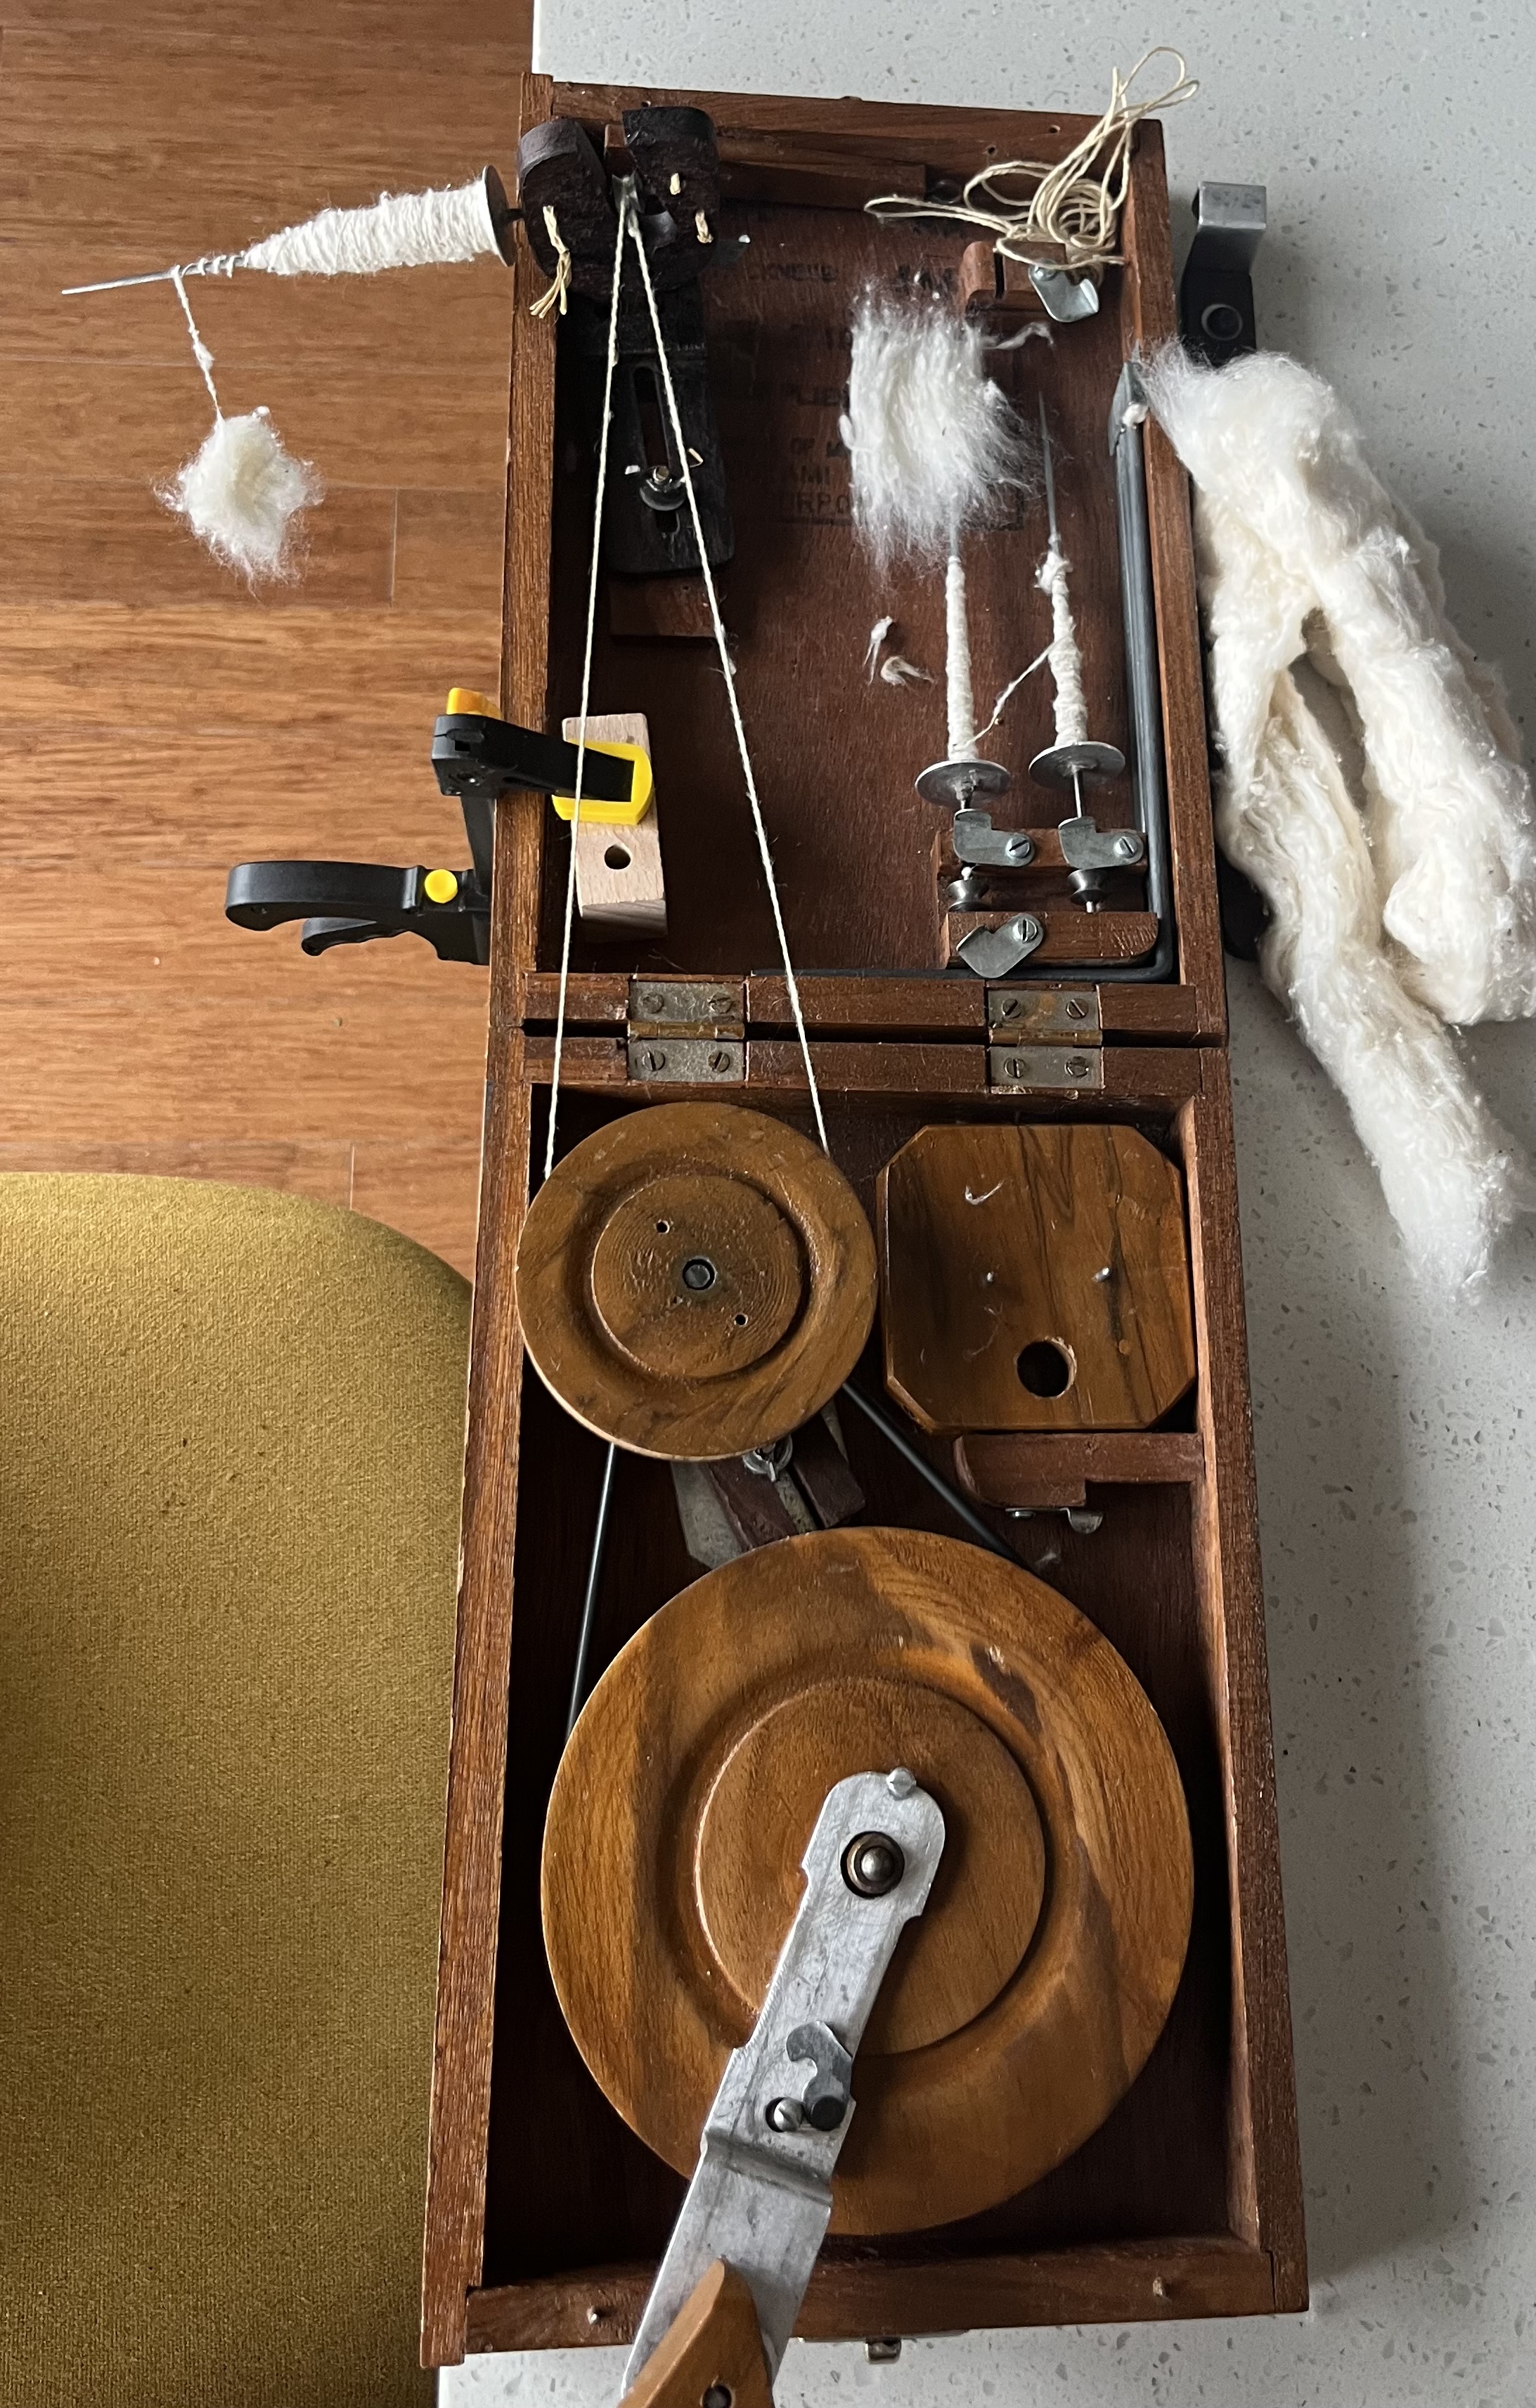
<img src="/assets/images/IMG_1913.jpeg" alt="Photo of the top of the sock now safely on knitting needles." /></p>]]></content><author><name>Rhianna Lucas</name></author><category term="knitting" /><summary type="html"><![CDATA[Sometimes you are so close to the end of a project you just want to get it done. So you rush, and don’t put the time and attention to detail you should into it. And you make mistakes. Sometimes big mistakes. As in the toe of my sock is crooked mistakes, and not a little crooked, full 90 degree rotation crooked. So you do what any sane person would, and shove it out of sight for between 3 and 30 months.]]></summary></entry><entry><title type="html">Spinning silk on a Charkha</title><link href="https://rhisfiberart.com/blog/2026/04/14/Spinning-Silk-on-a-Charkha/" rel="alternate" type="text/html" title="Spinning silk on a Charkha" /><published>2026-04-14T00:00:00+00:00</published><updated>2026-04-14T00:00:00+00:00</updated><id>https://rhisfiberart.com/blog/2026/04/14/Spinning-Silk-on-a-Charkha</id><content type="html" xml:base="https://rhisfiberart.com/blog/2026/04/14/Spinning-Silk-on-a-Charkha/"><![CDATA[<p>The book charkha is in my humble opinion the most elegantly designed piece of equipment I have ever come across. When out in public spinning on it strangers frequently stop to marvel and inquire as to how it works. Starting from your right the larger wheel, which is still only five inches in diameter, is connected to a handle which is slotted on over two pins and has a loose knob to allow you to easily spin it. This larger wheel connects to the smaller one (three inches diameter) via a rubber drive band. The smaller wheel is then connected across to a spindle on the far left with a cotton string. The metal spindle sits neatly into a wooden bracket pushing against the pull of the string with a spring creating just the right tension for the spindle to spin. There are holes in the bracket to thread straw or twine through so the bracket is protected from the wear of the spindle spinning. This system creates about an 80:1 gear ratio, meaning every one circle you make with the handle will spin the tip of your spindle will spin 80 times. That is fast! The traditional European style spinning wheels typically range from a 5:1 to 20:1 ratio. Why so fast? 
<img src="/assets/images/IMG_1919.jpeg" alt="Photo of Charkha" />
The speed you spin at depends on the staple length of your fiber. Fibers with long staple lengths can be spun slower/less and fibers with short staple length need to be spun faster/more to hold together. Charkhas are made to spin cotton which has a very short staple length, hence the 80:1 ratio. Many spinners used to European style wheels are often intimidate by book charkhas, because you only have one hand for fiber management while the other hand spins the wheel. However I encourage them to try it, because with such a short staple length I find one hand is plenty to draft with. 
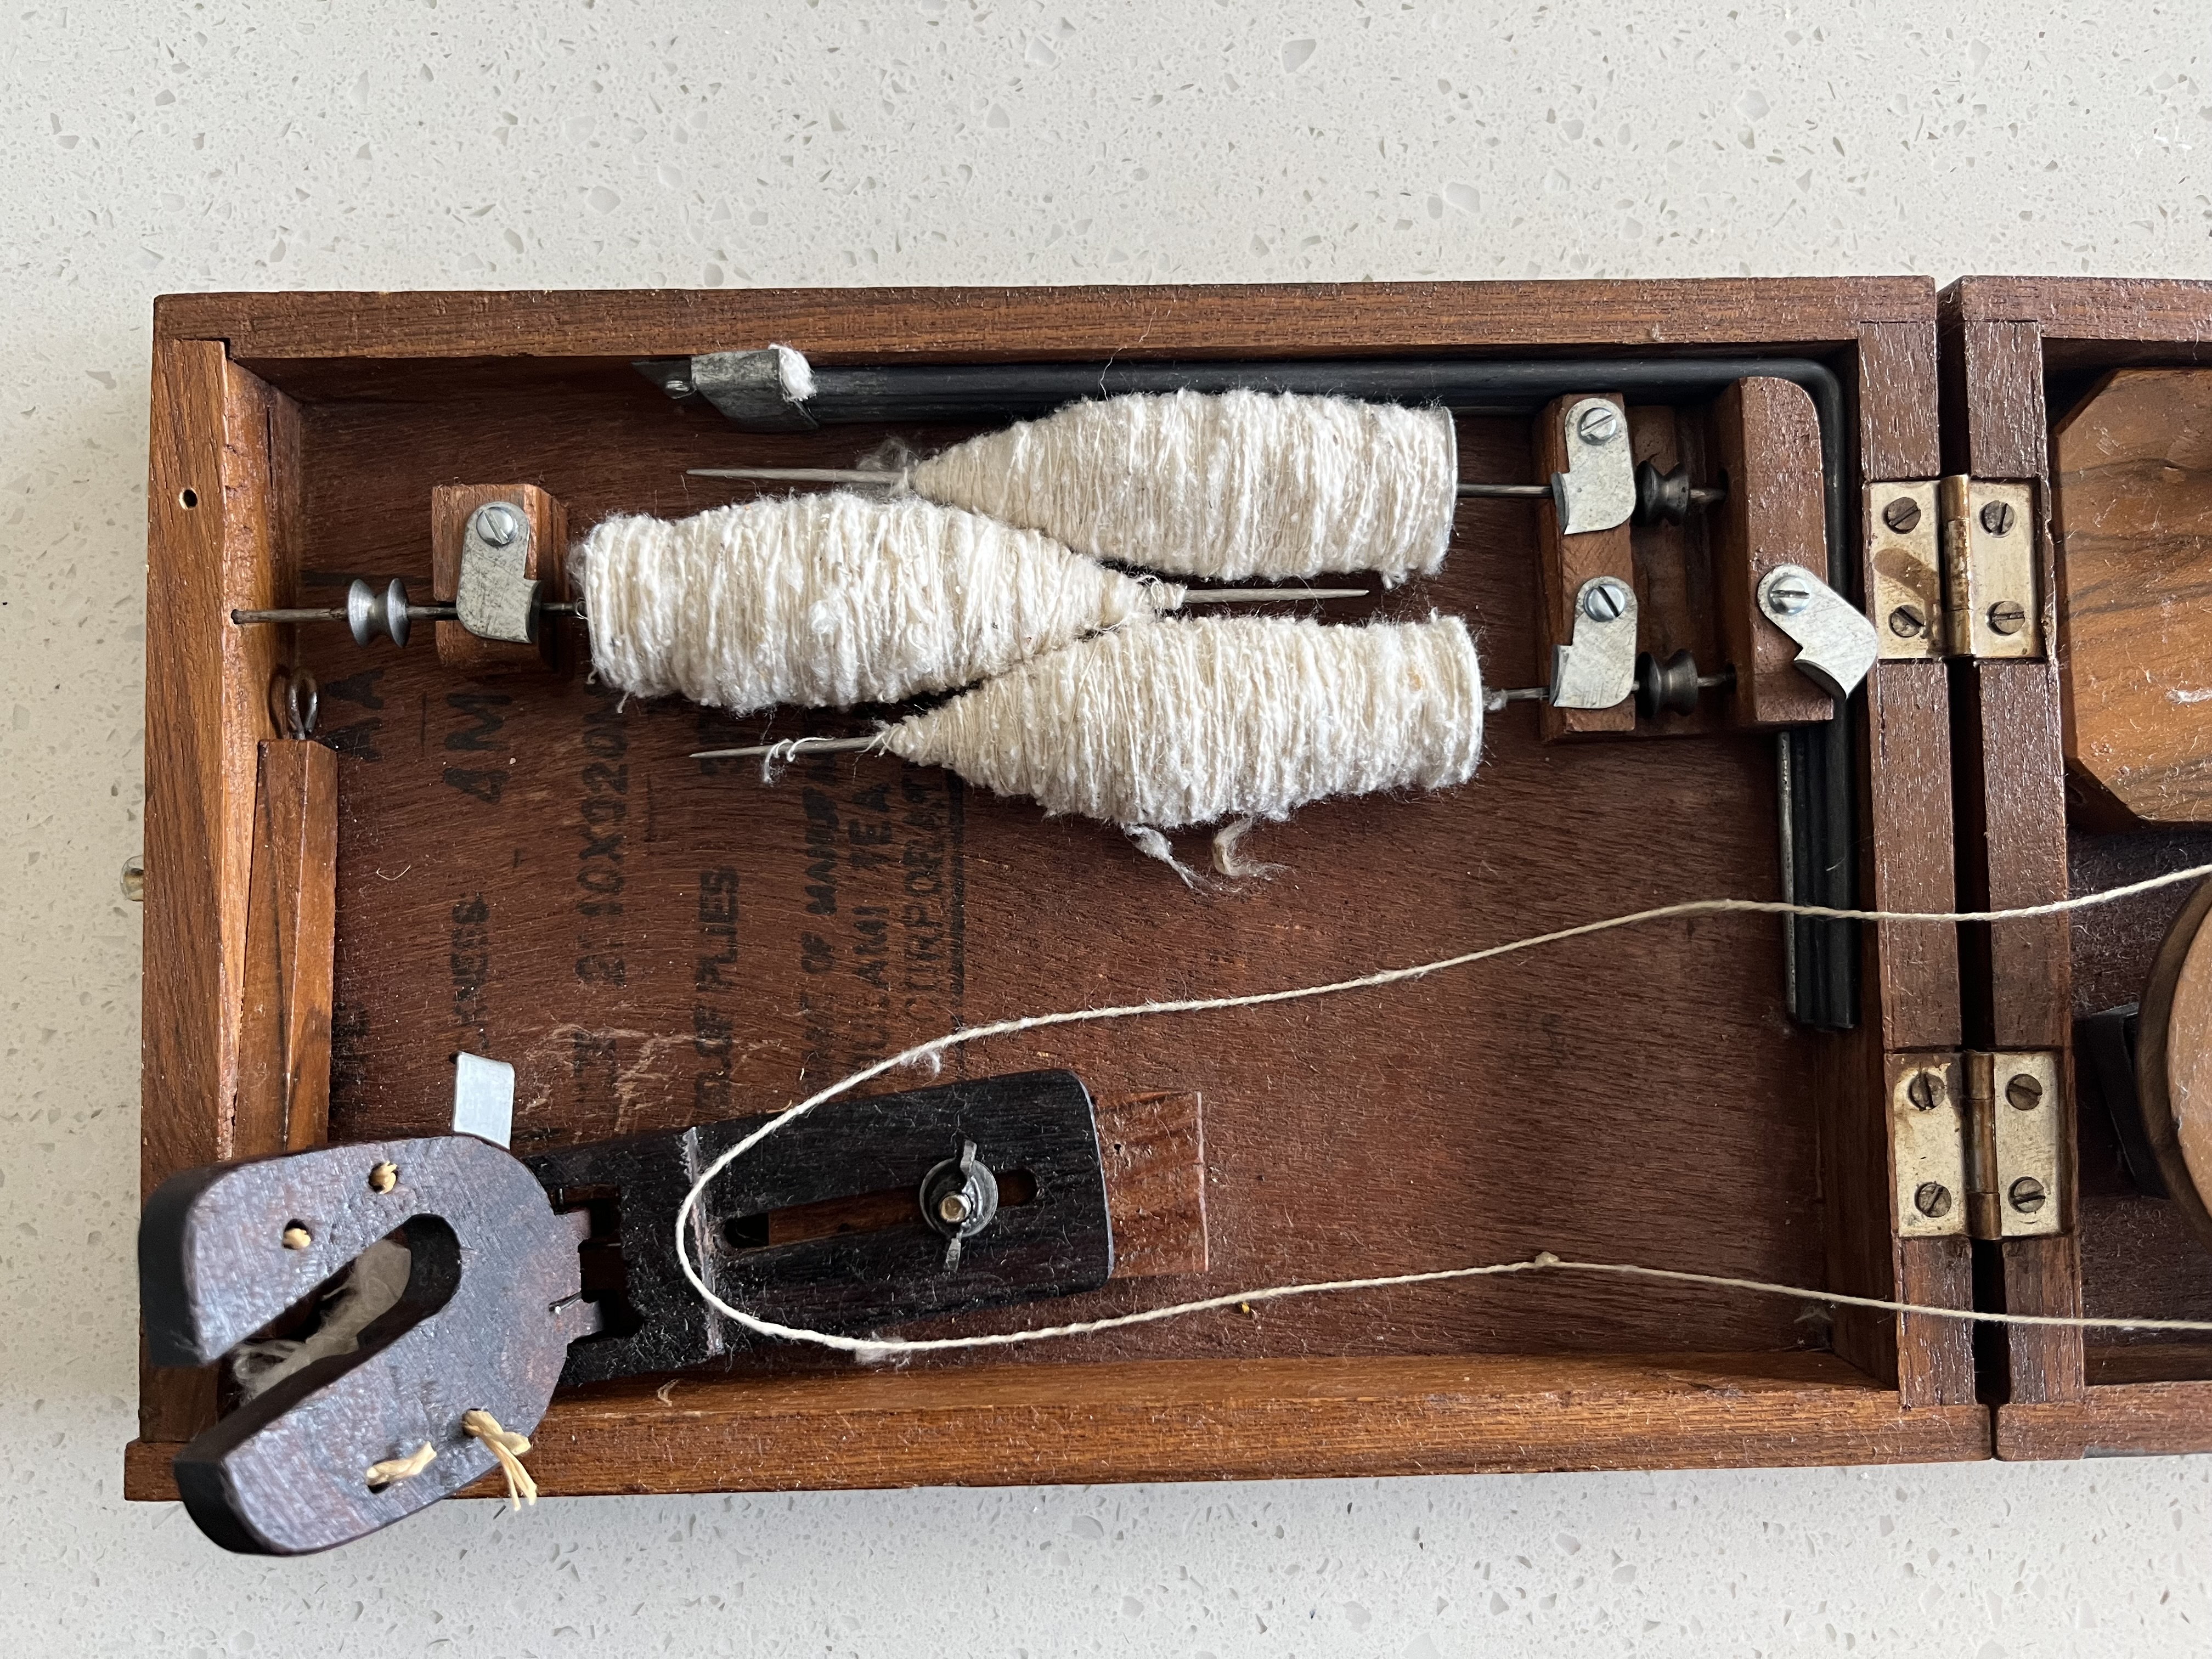
<img src="/assets/images/IMG_1894.jpeg" alt="Photo of Charkha" />
So this long winded explanation of the mechanics puts us all on the same page of wondering if the charkha is built for spinning very short fibers like cotton, what on earth am I doing spinning silk with it? 
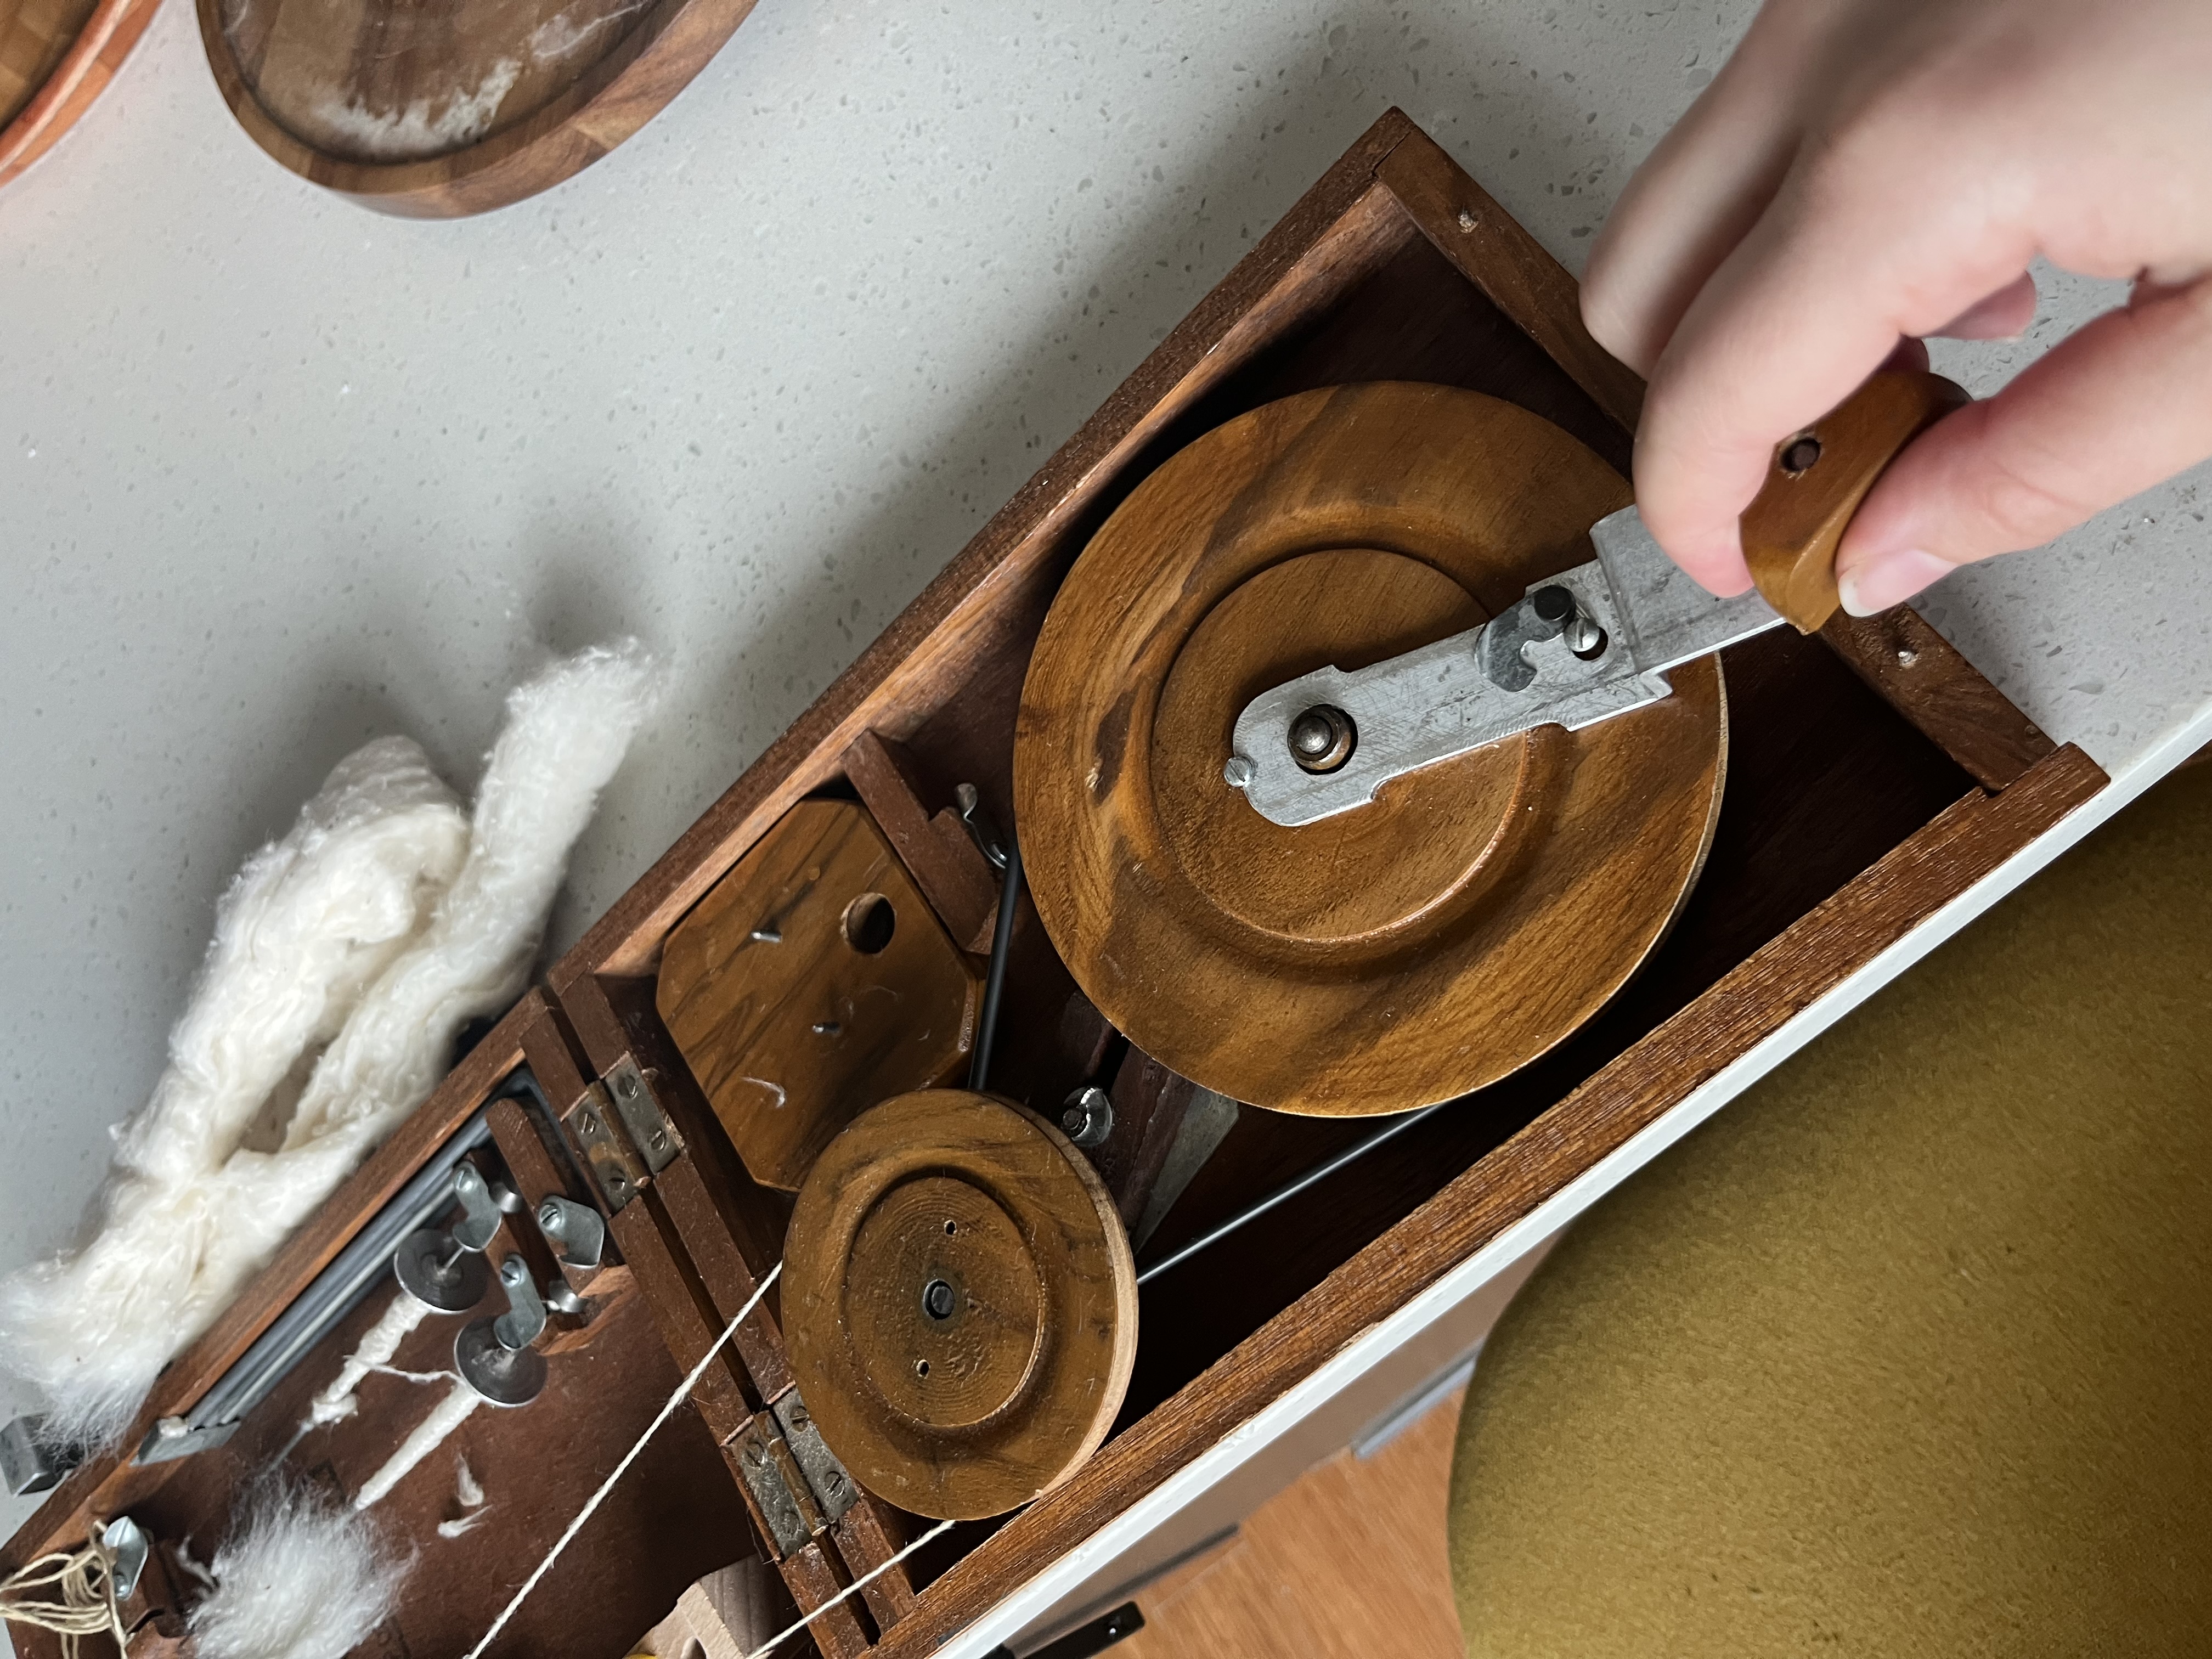
<img src="/assets/images/IMG_1923.jpeg" alt="Photo of Charkha" />
I found a big bag of roving at the creative reuse center that was tied shut and had “silk” written on the bad with sharpie, I figured I would give it a go and grabbed it. But when I tried spinning it on my drop spindle I got no where. The fibers were bourette silk, which made from the short by product fibers of silk processing. With such short and slippery fibers no matter the spindle or technique I could barely get it twisted into singles and I was not having a good time. The bag then got shoved in to storage box and forgotten about. 
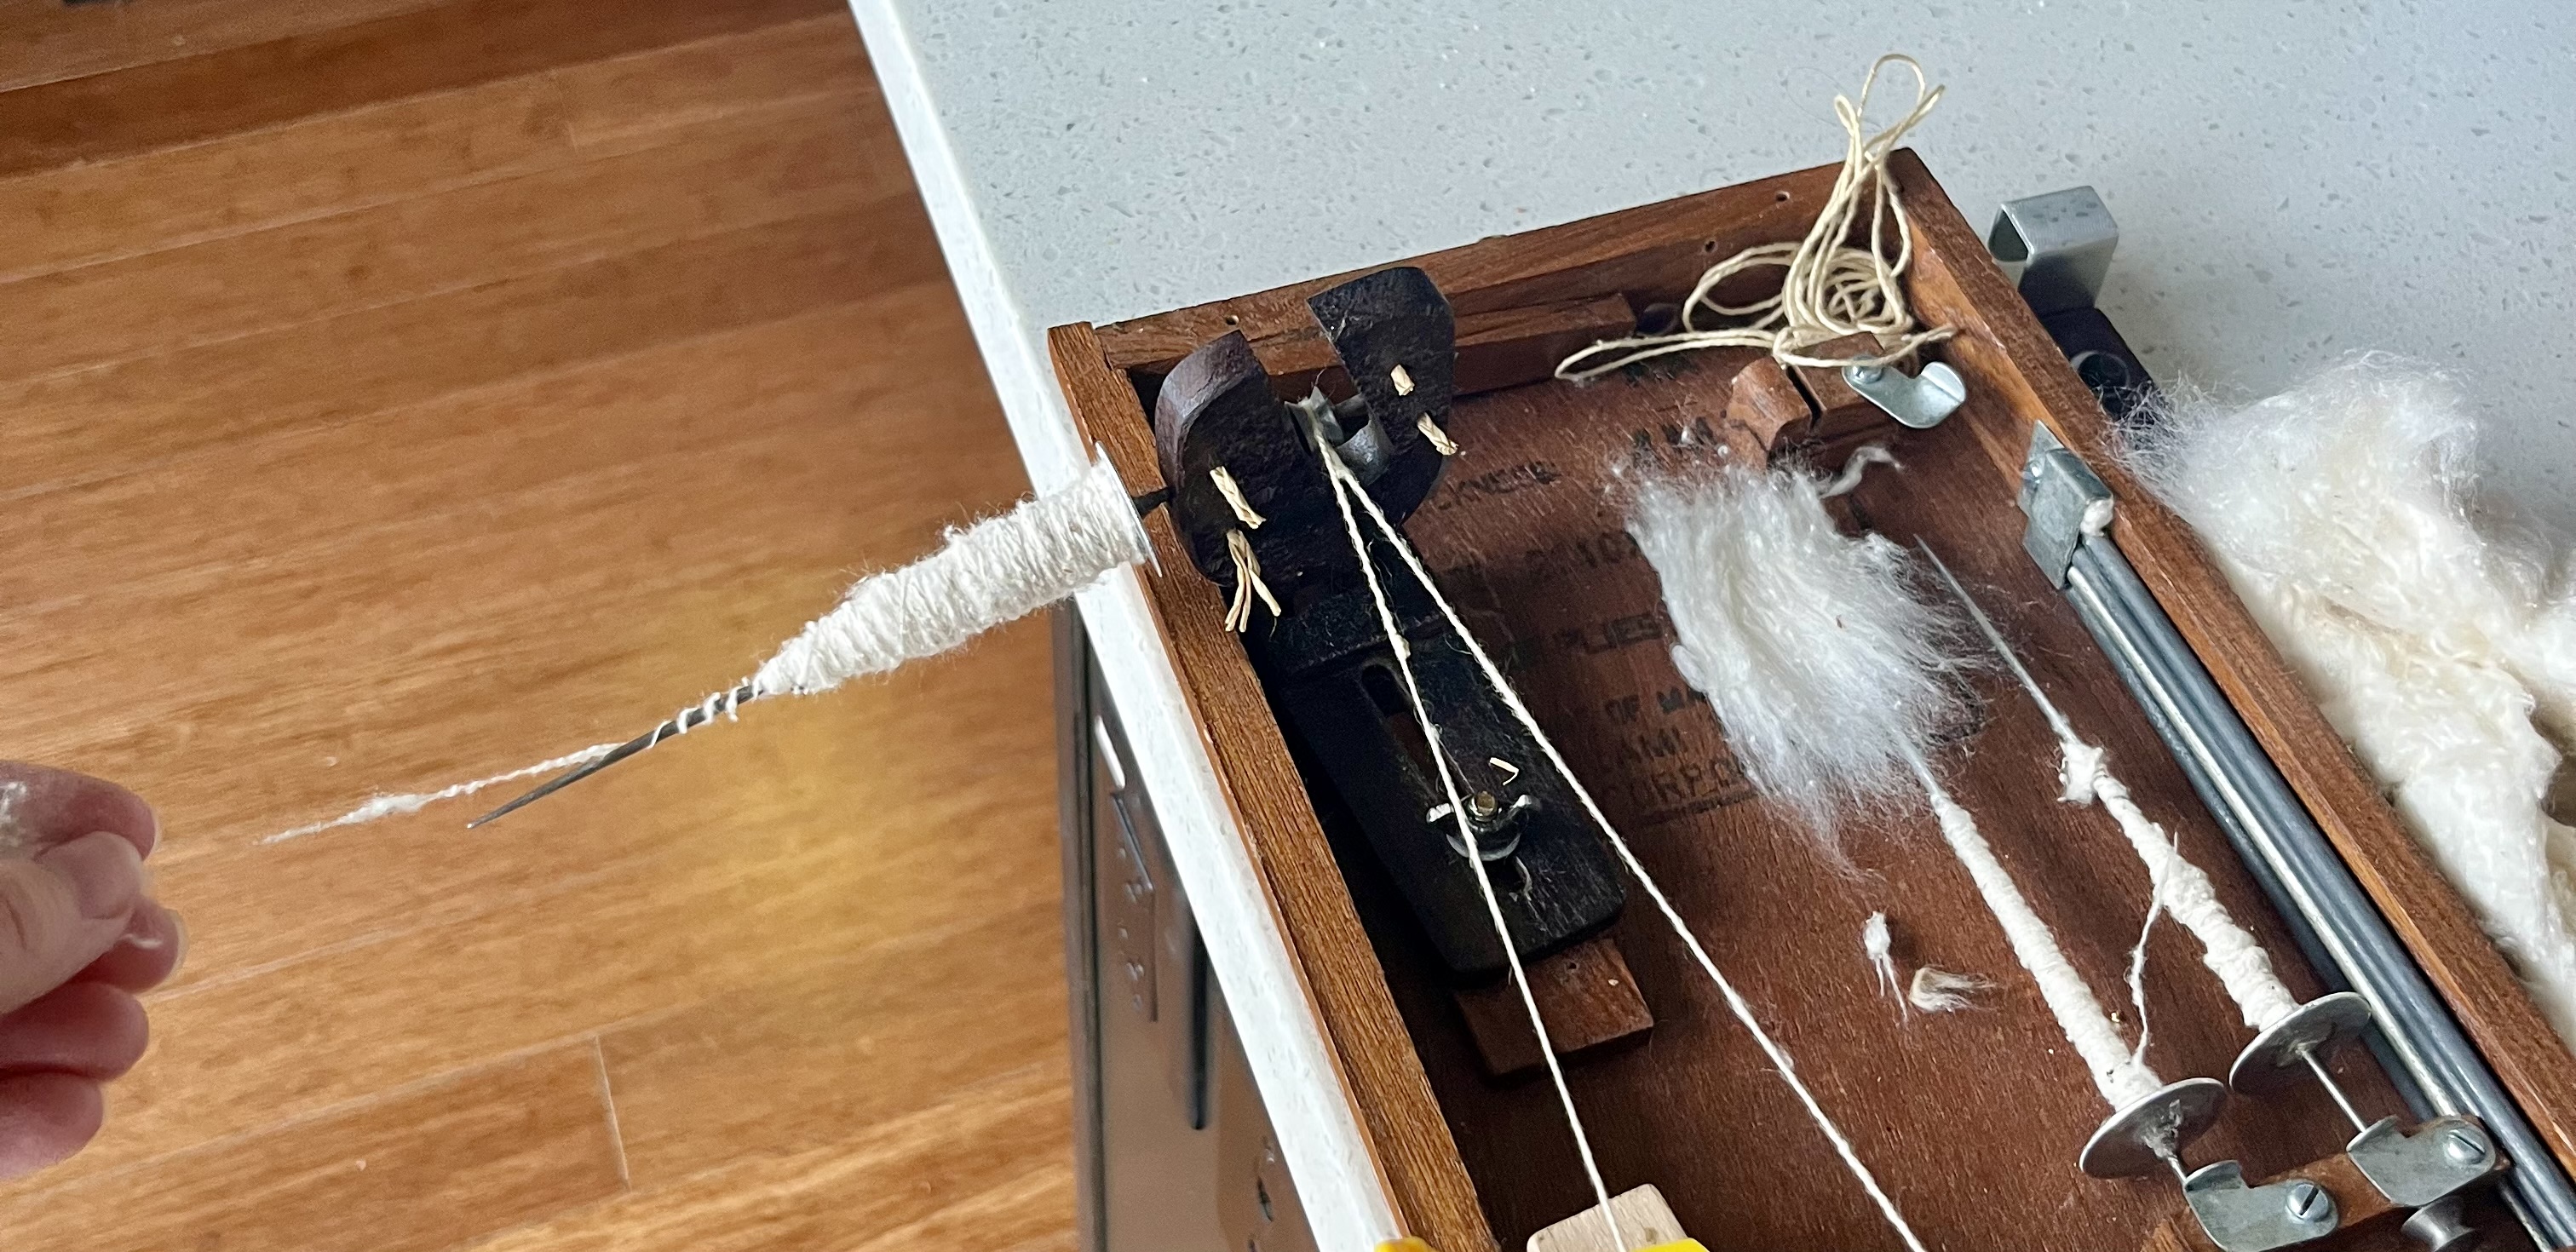
<img src="/assets/images/IMG_1922.jpeg" alt="Photo of Charkha" />
Then I bought my charkha and decided to give spinning the bourette silk another try, and it was a match made in heaven. The charka spins fast enough to lock the short fibers together. The horizontal draft direction minimizes the tension on the fibers before there is twist, meaning the slippery silk is less likely to slide apart and break as your spinning. And the long draw pulls beautifully from the roving after a small bit of fluffing. The two work perfectly together and it is so much fun to spin! I am currently chain plying using a drop spindle and trying to get 750 yards of finished yarn to weave with (a future post). I will keep you updated, but I still have at least 300 yards to go. 
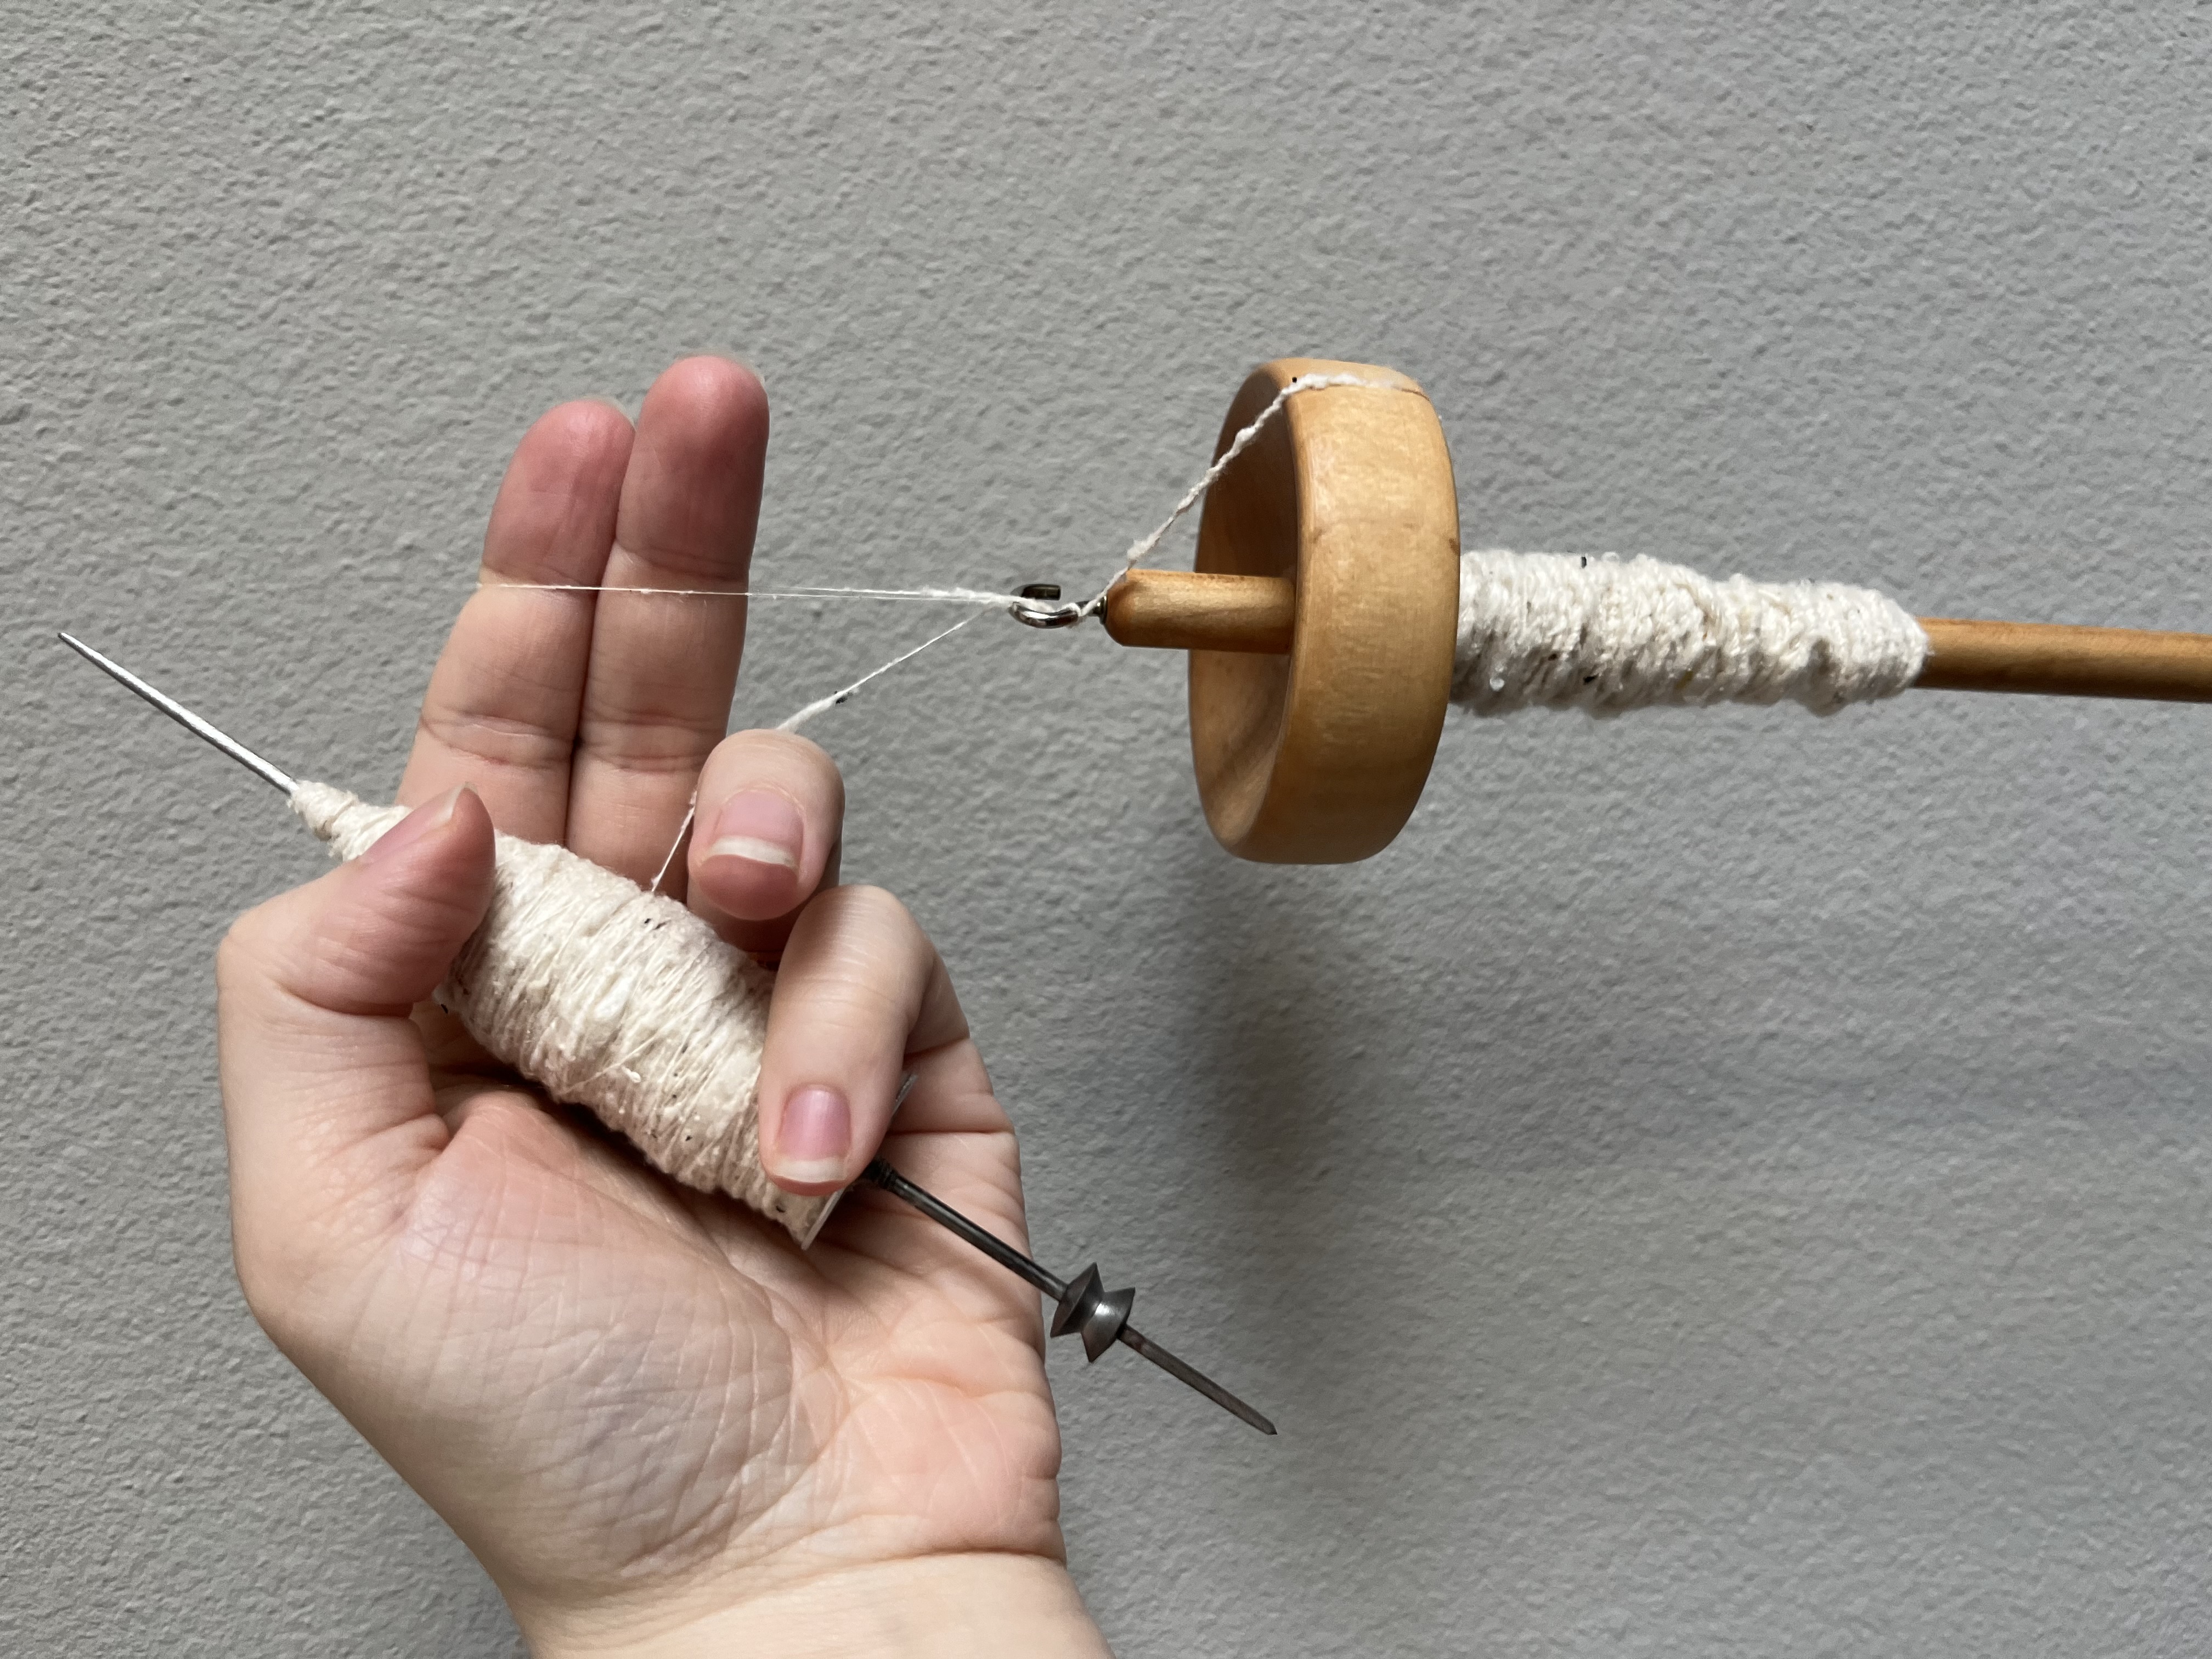
<img src="/assets/images/IMG_1896.jpeg" alt="Photo of Drop Spindle" /></p>]]></content><author><name>Rhianna Lucas</name></author><category term="spinning" /><category term="silk" /><category term="charkha" /><summary type="html"><![CDATA[The book charkha is in my humble opinion the most elegantly designed piece of equipment I have ever come across. When out in public spinning on it strangers frequently stop to marvel and inquire as to how it works. Starting from your right the larger wheel, which is still only five inches in diameter, is connected to a handle which is slotted on over two pins and has a loose knob to allow you to easily spin it. This larger wheel connects to the smaller one (three inches diameter) via a rubber drive band. The smaller wheel is then connected across to a spindle on the far left with a cotton string. The metal spindle sits neatly into a wooden bracket pushing against the pull of the string with a spring creating just the right tension for the spindle to spin. There are holes in the bracket to thread straw or twine through so the bracket is protected from the wear of the spindle spinning. This system creates about an 80:1 gear ratio, meaning every one circle you make with the handle will spin the tip of your spindle will spin 80 times. That is fast! The traditional European style spinning wheels typically range from a 5:1 to 20:1 ratio. Why so fast? The speed you spin at depends on the staple length of your fiber. Fibers with long staple lengths can be spun slower/less and fibers with short staple length need to be spun faster/more to hold together. Charkhas are made to spin cotton which has a very short staple length, hence the 80:1 ratio. Many spinners used to European style wheels are often intimidate by book charkhas, because you only have one hand for fiber management while the other hand spins the wheel. However I encourage them to try it, because with such a short staple length I find one hand is plenty to draft with. So this long winded explanation of the mechanics puts us all on the same page of wondering if the charkha is built for spinning very short fibers like cotton, what on earth am I doing spinning silk with it? I found a big bag of roving at the creative reuse center that was tied shut and had “silk” written on the bad with sharpie, I figured I would give it a go and grabbed it. But when I tried spinning it on my drop spindle I got no where. The fibers were bourette silk, which made from the short by product fibers of silk processing. With such short and slippery fibers no matter the spindle or technique I could barely get it twisted into singles and I was not having a good time. The bag then got shoved in to storage box and forgotten about. Then I bought my charkha and decided to give spinning the bourette silk another try, and it was a match made in heaven. The charka spins fast enough to lock the short fibers together. The horizontal draft direction minimizes the tension on the fibers before there is twist, meaning the slippery silk is less likely to slide apart and break as your spinning. And the long draw pulls beautifully from the roving after a small bit of fluffing. The two work perfectly together and it is so much fun to spin! I am currently chain plying using a drop spindle and trying to get 750 yards of finished yarn to weave with (a future post). I will keep you updated, but I still have at least 300 yards to go.]]></summary></entry><entry><title type="html">Some Recent Weaves</title><link href="https://rhisfiberart.com/blog/2026/04/05/Some-Recent-Weaves/" rel="alternate" type="text/html" title="Some Recent Weaves" /><published>2026-04-05T00:00:00+00:00</published><updated>2026-04-05T00:00:00+00:00</updated><id>https://rhisfiberart.com/blog/2026/04/05/Some-Recent-Weaves</id><content type="html" xml:base="https://rhisfiberart.com/blog/2026/04/05/Some-Recent-Weaves/"><![CDATA[<p>These are photos from a few of my recent weaving projects. 
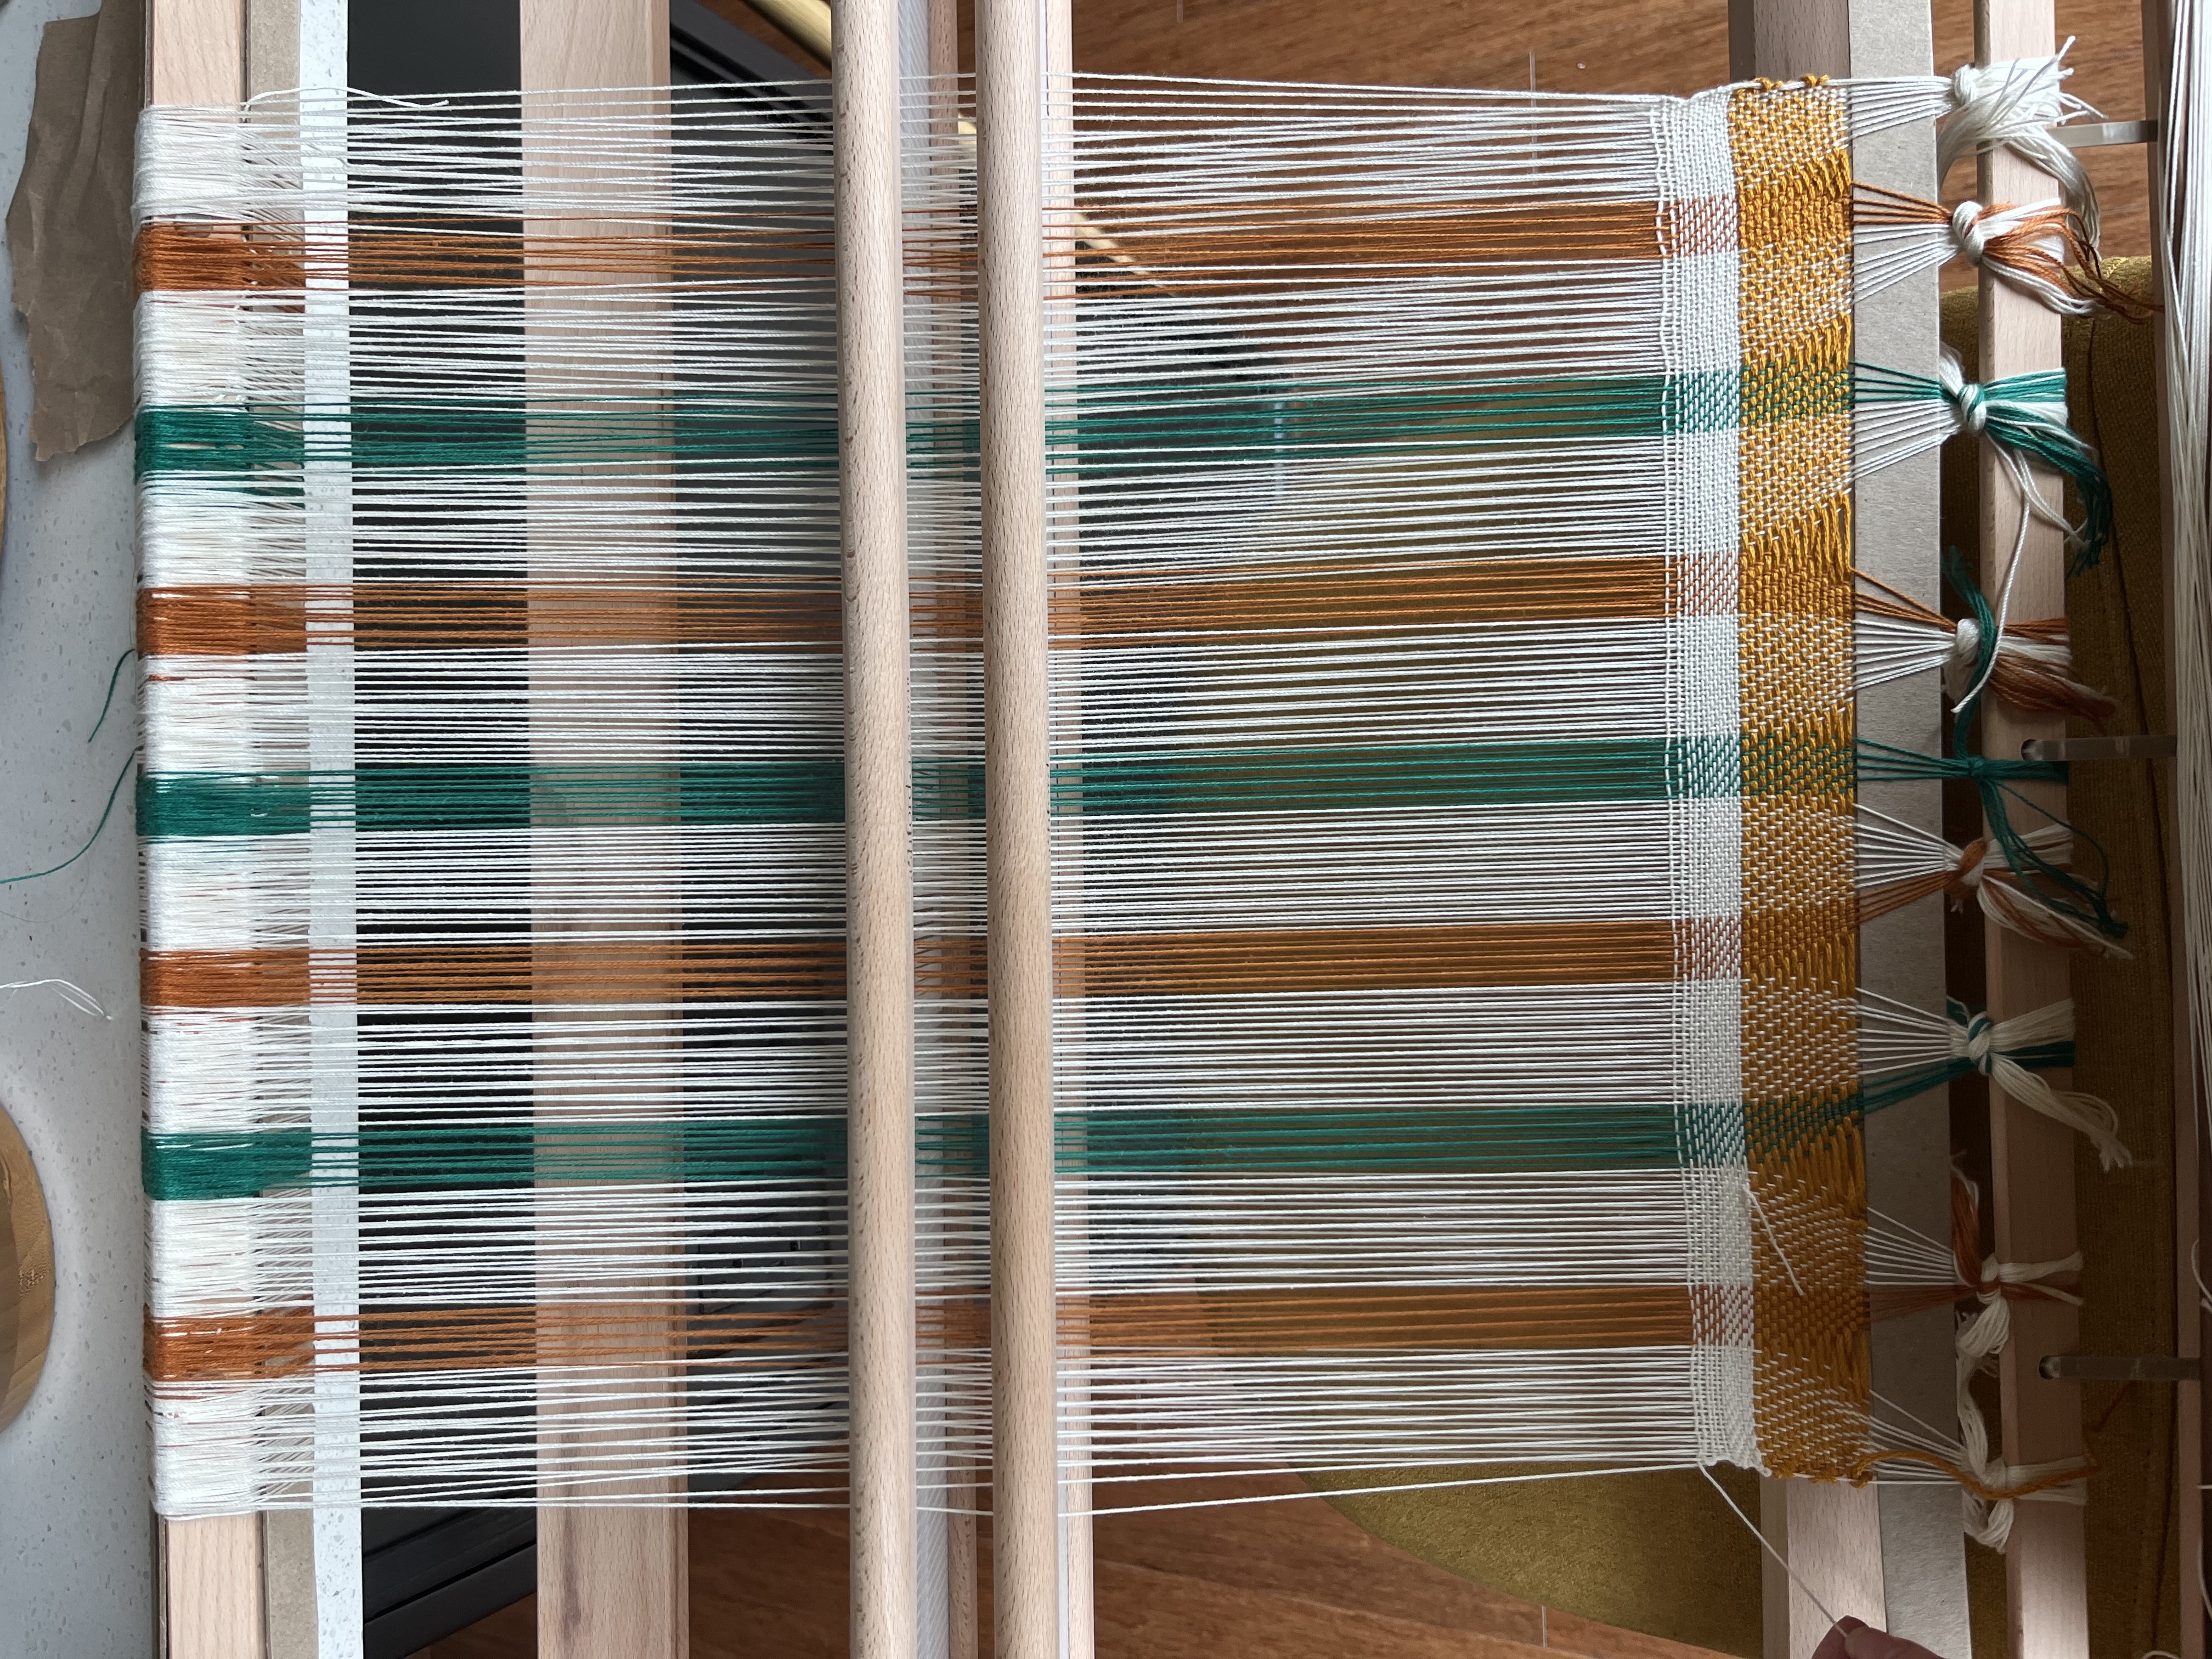
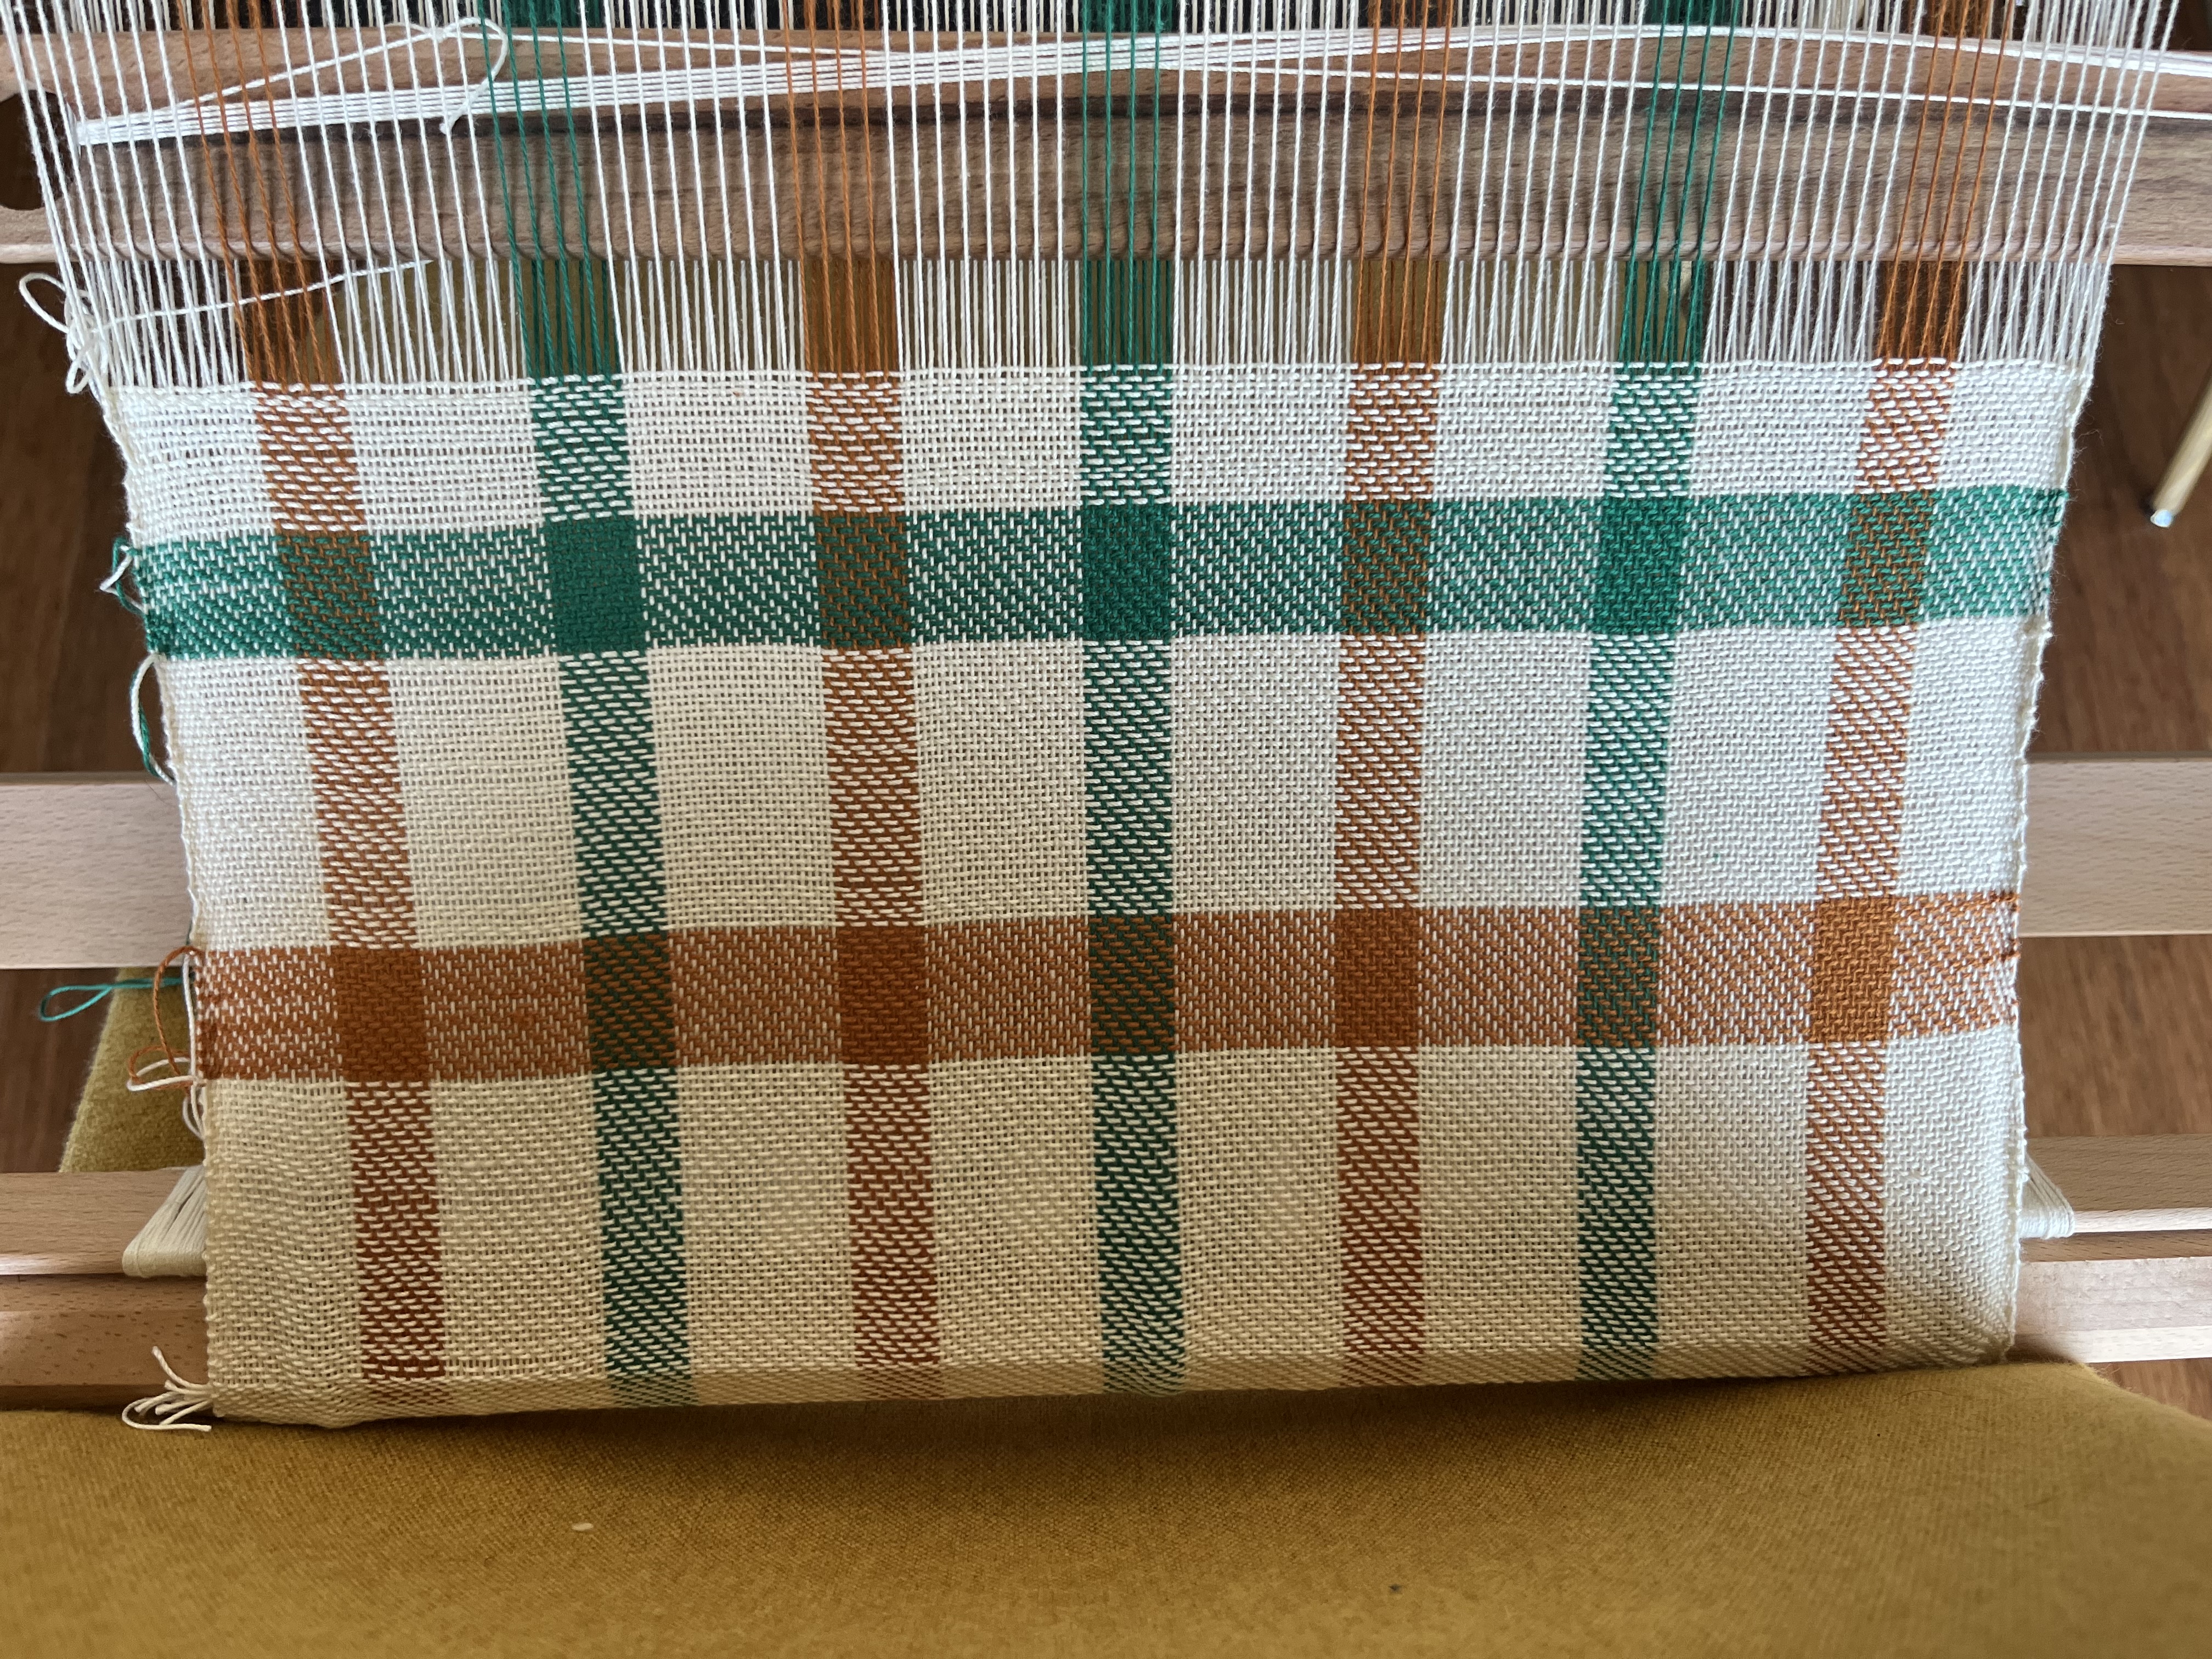
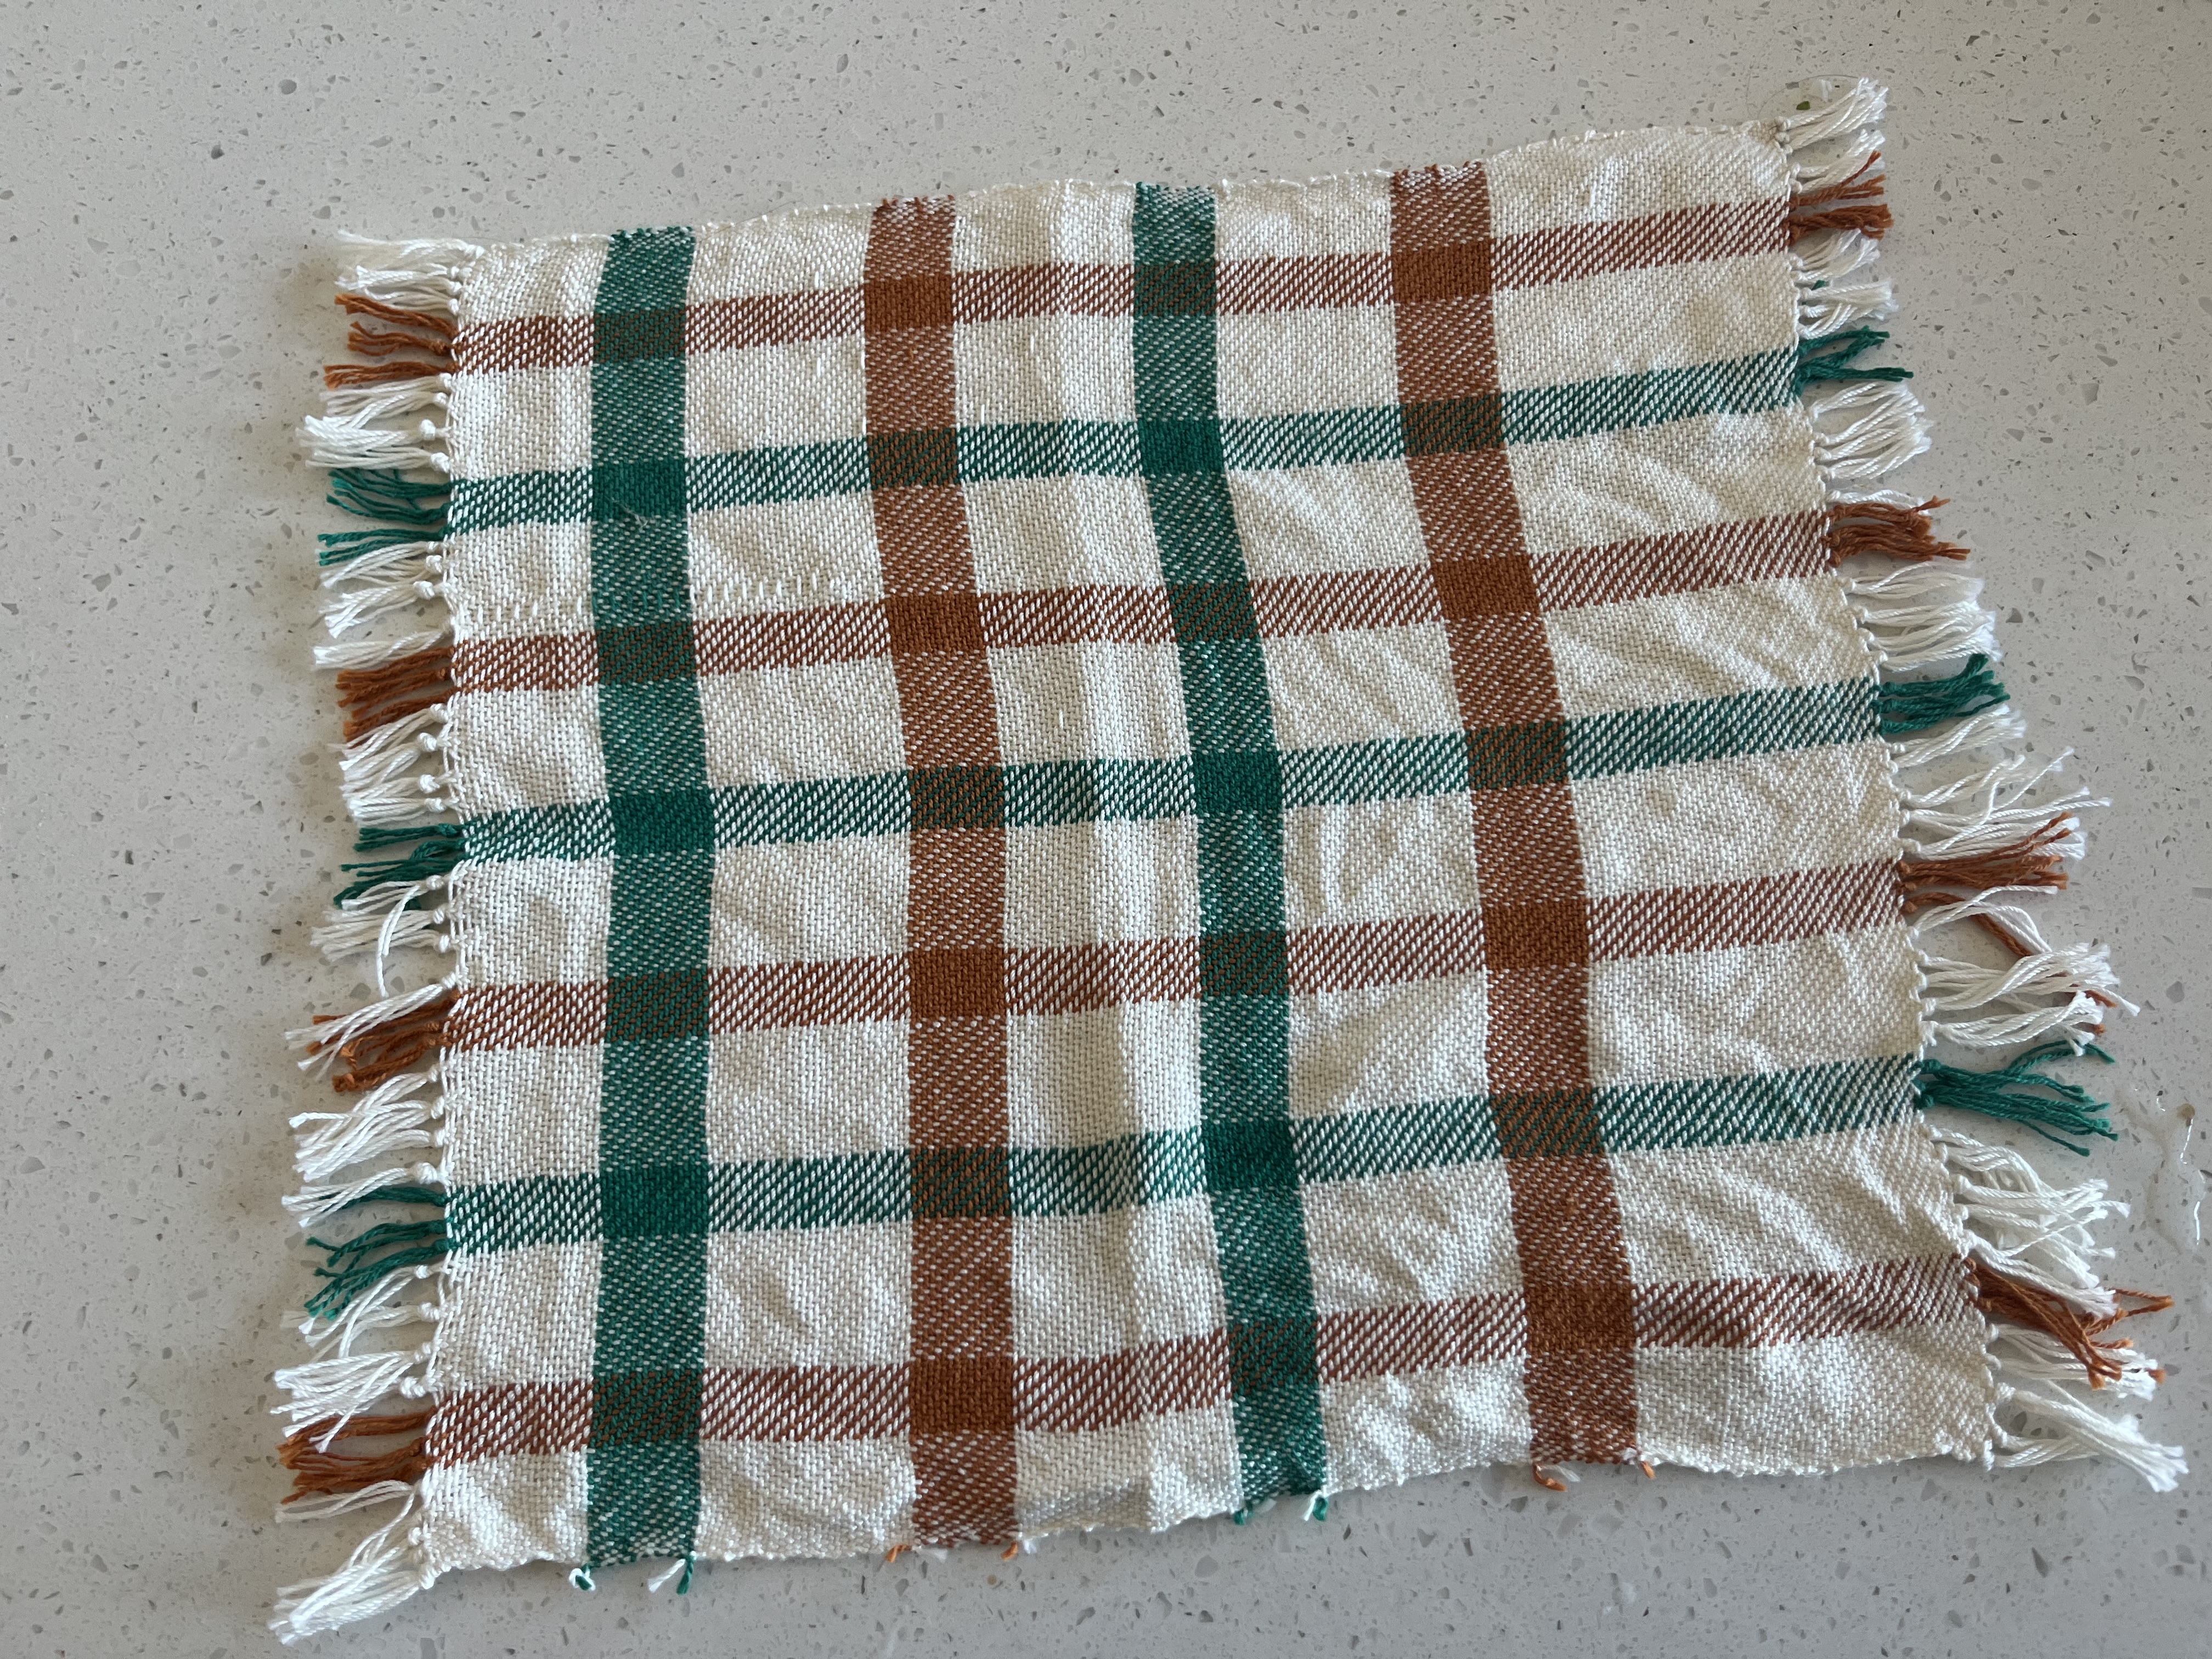
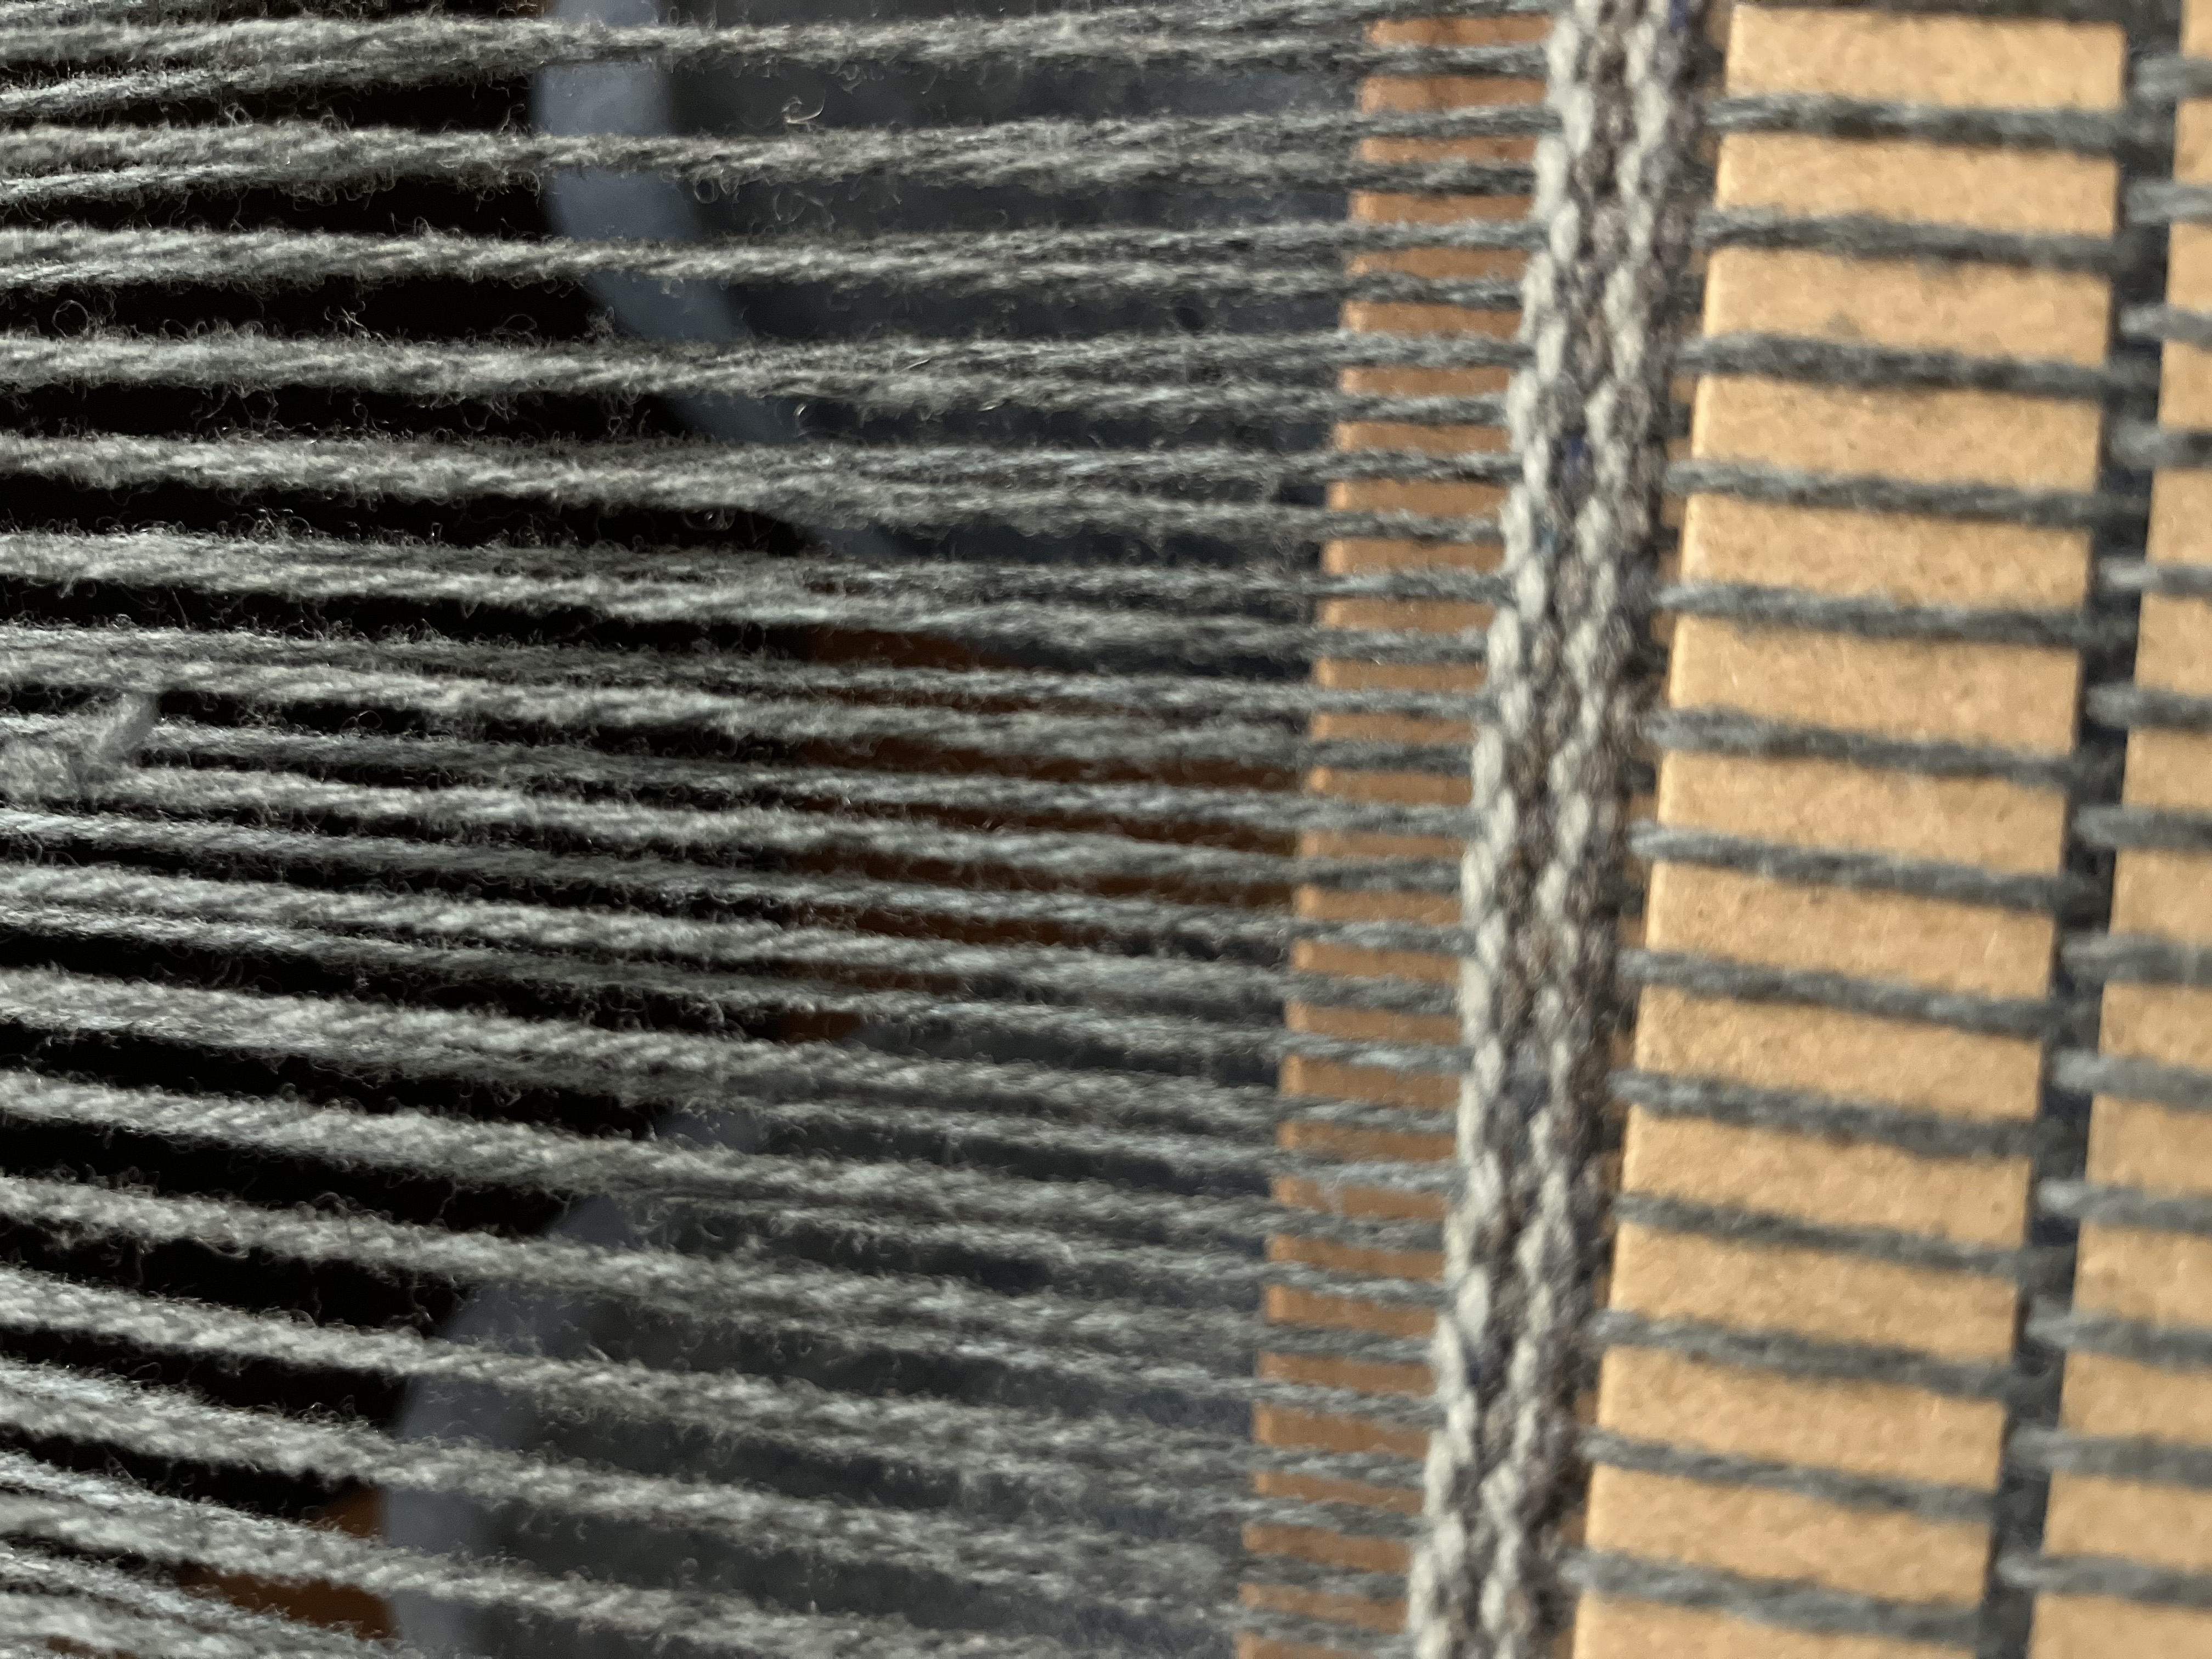
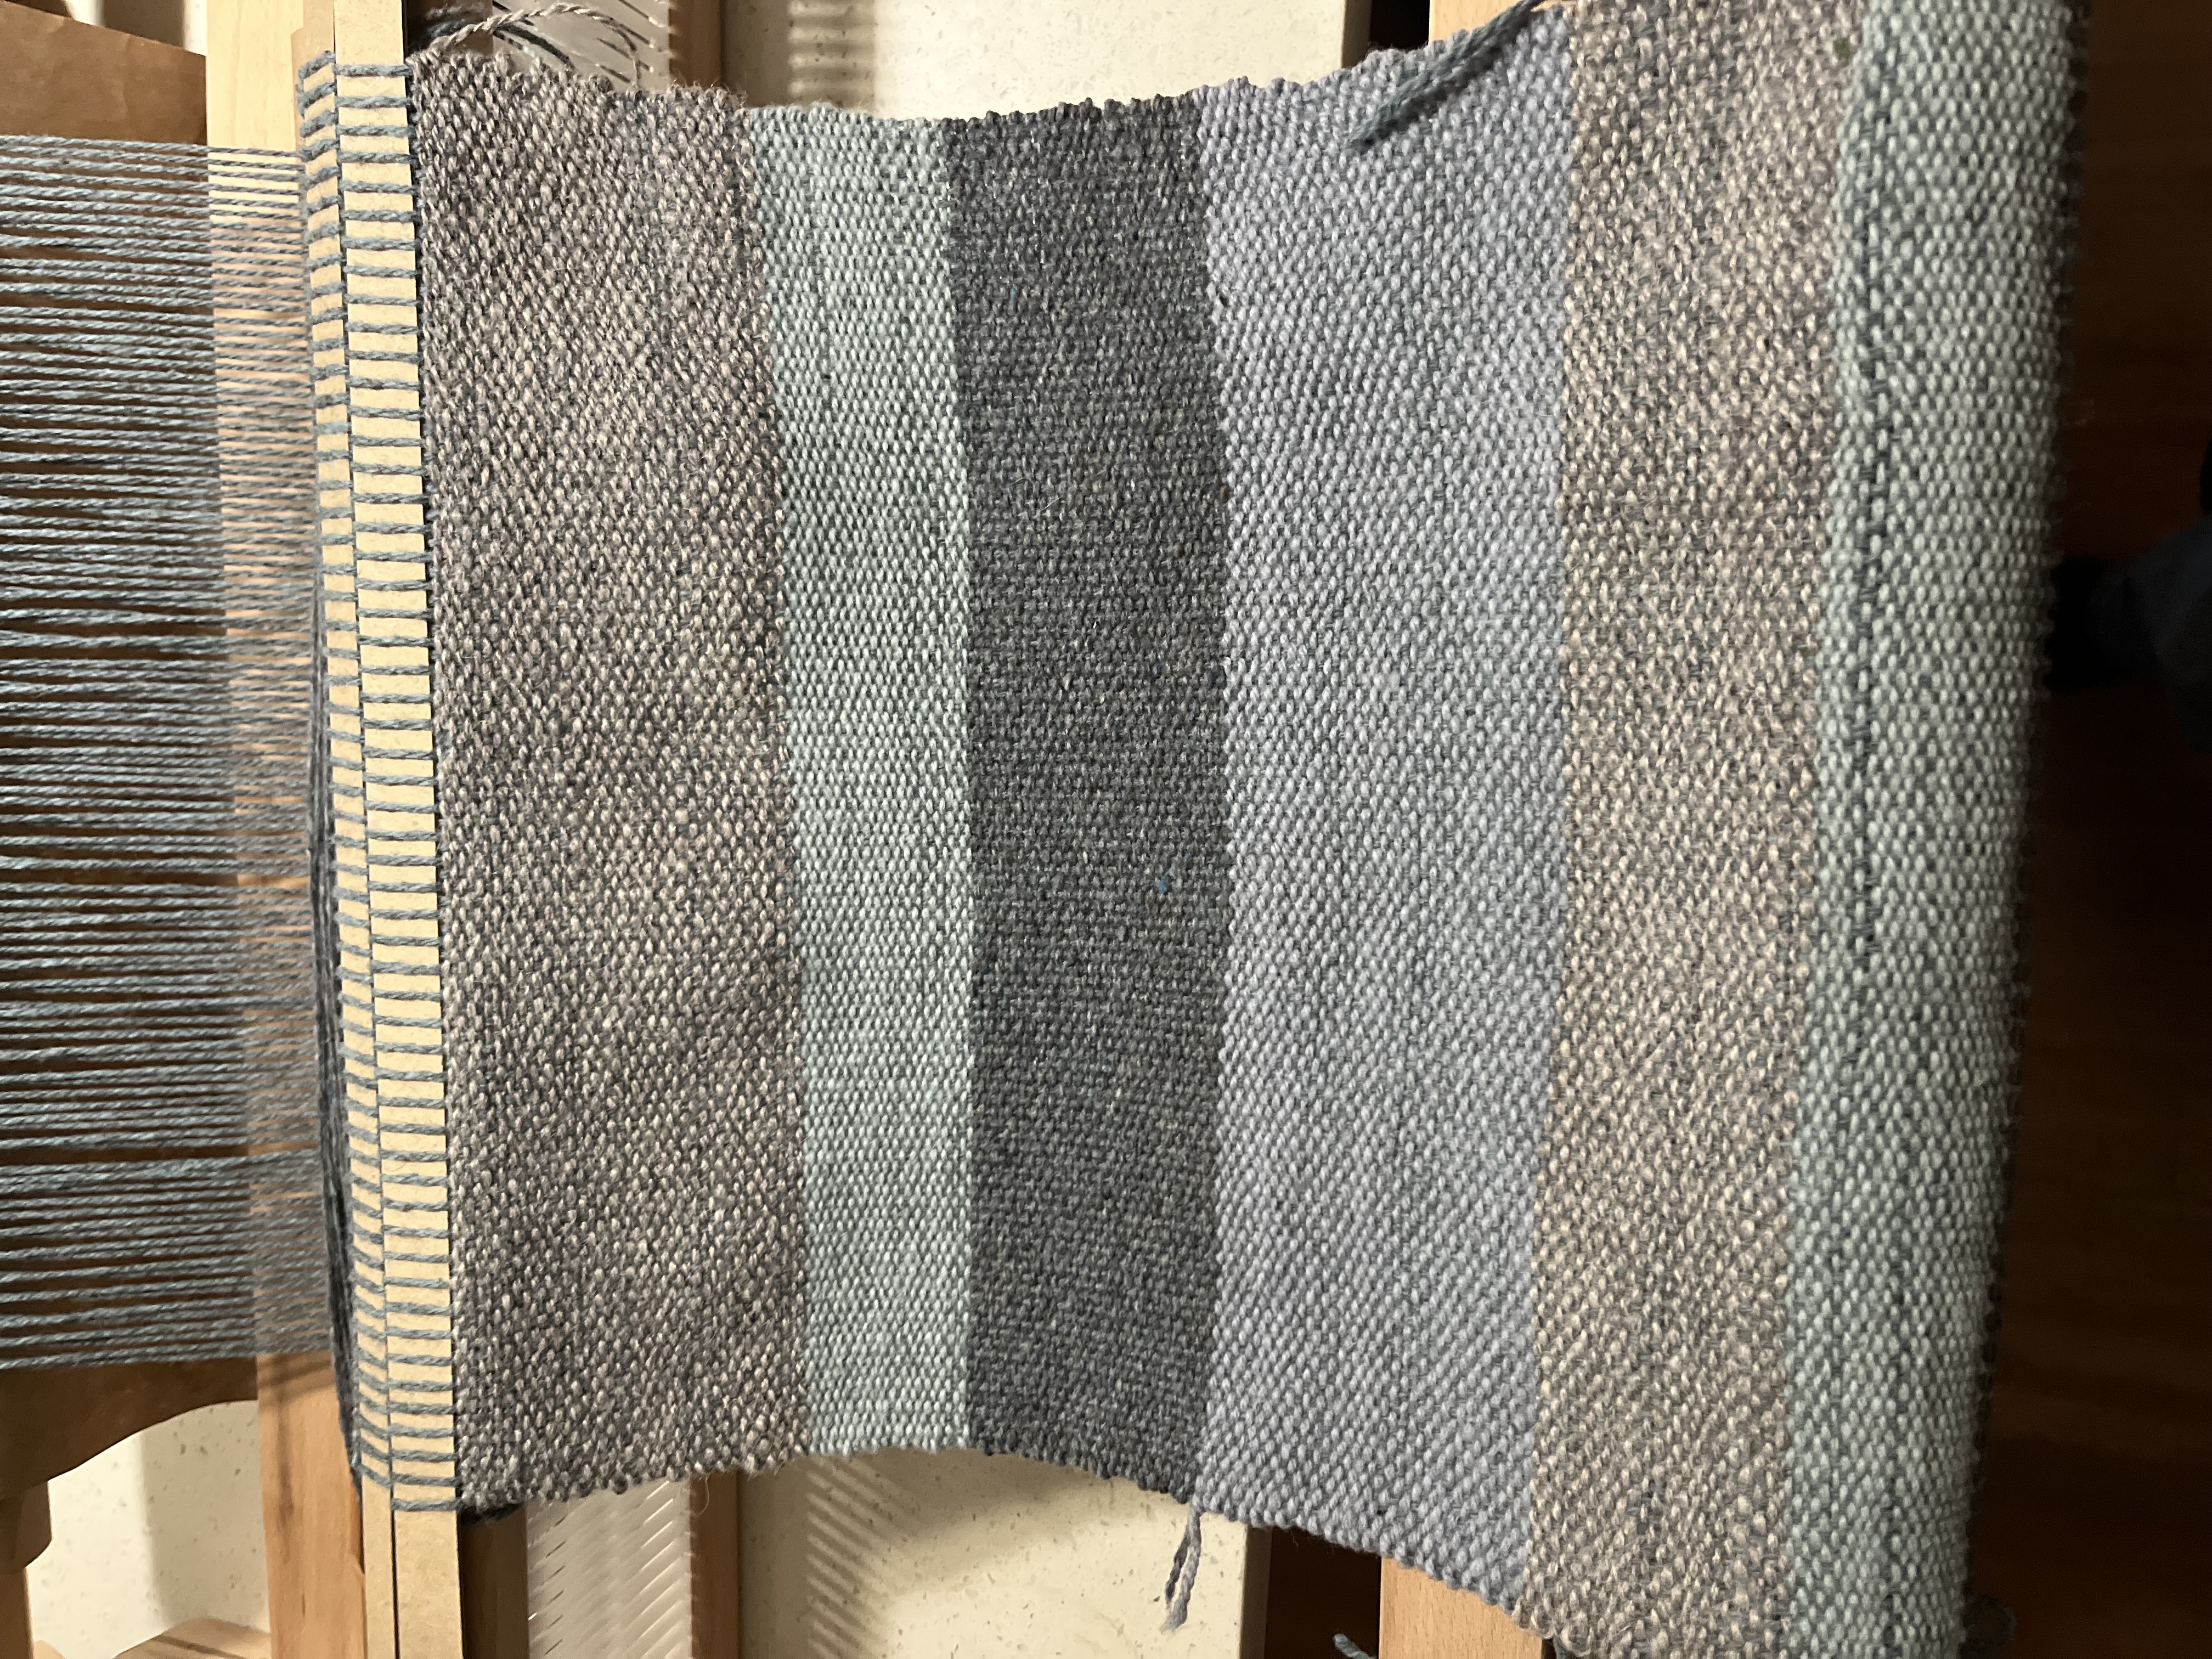
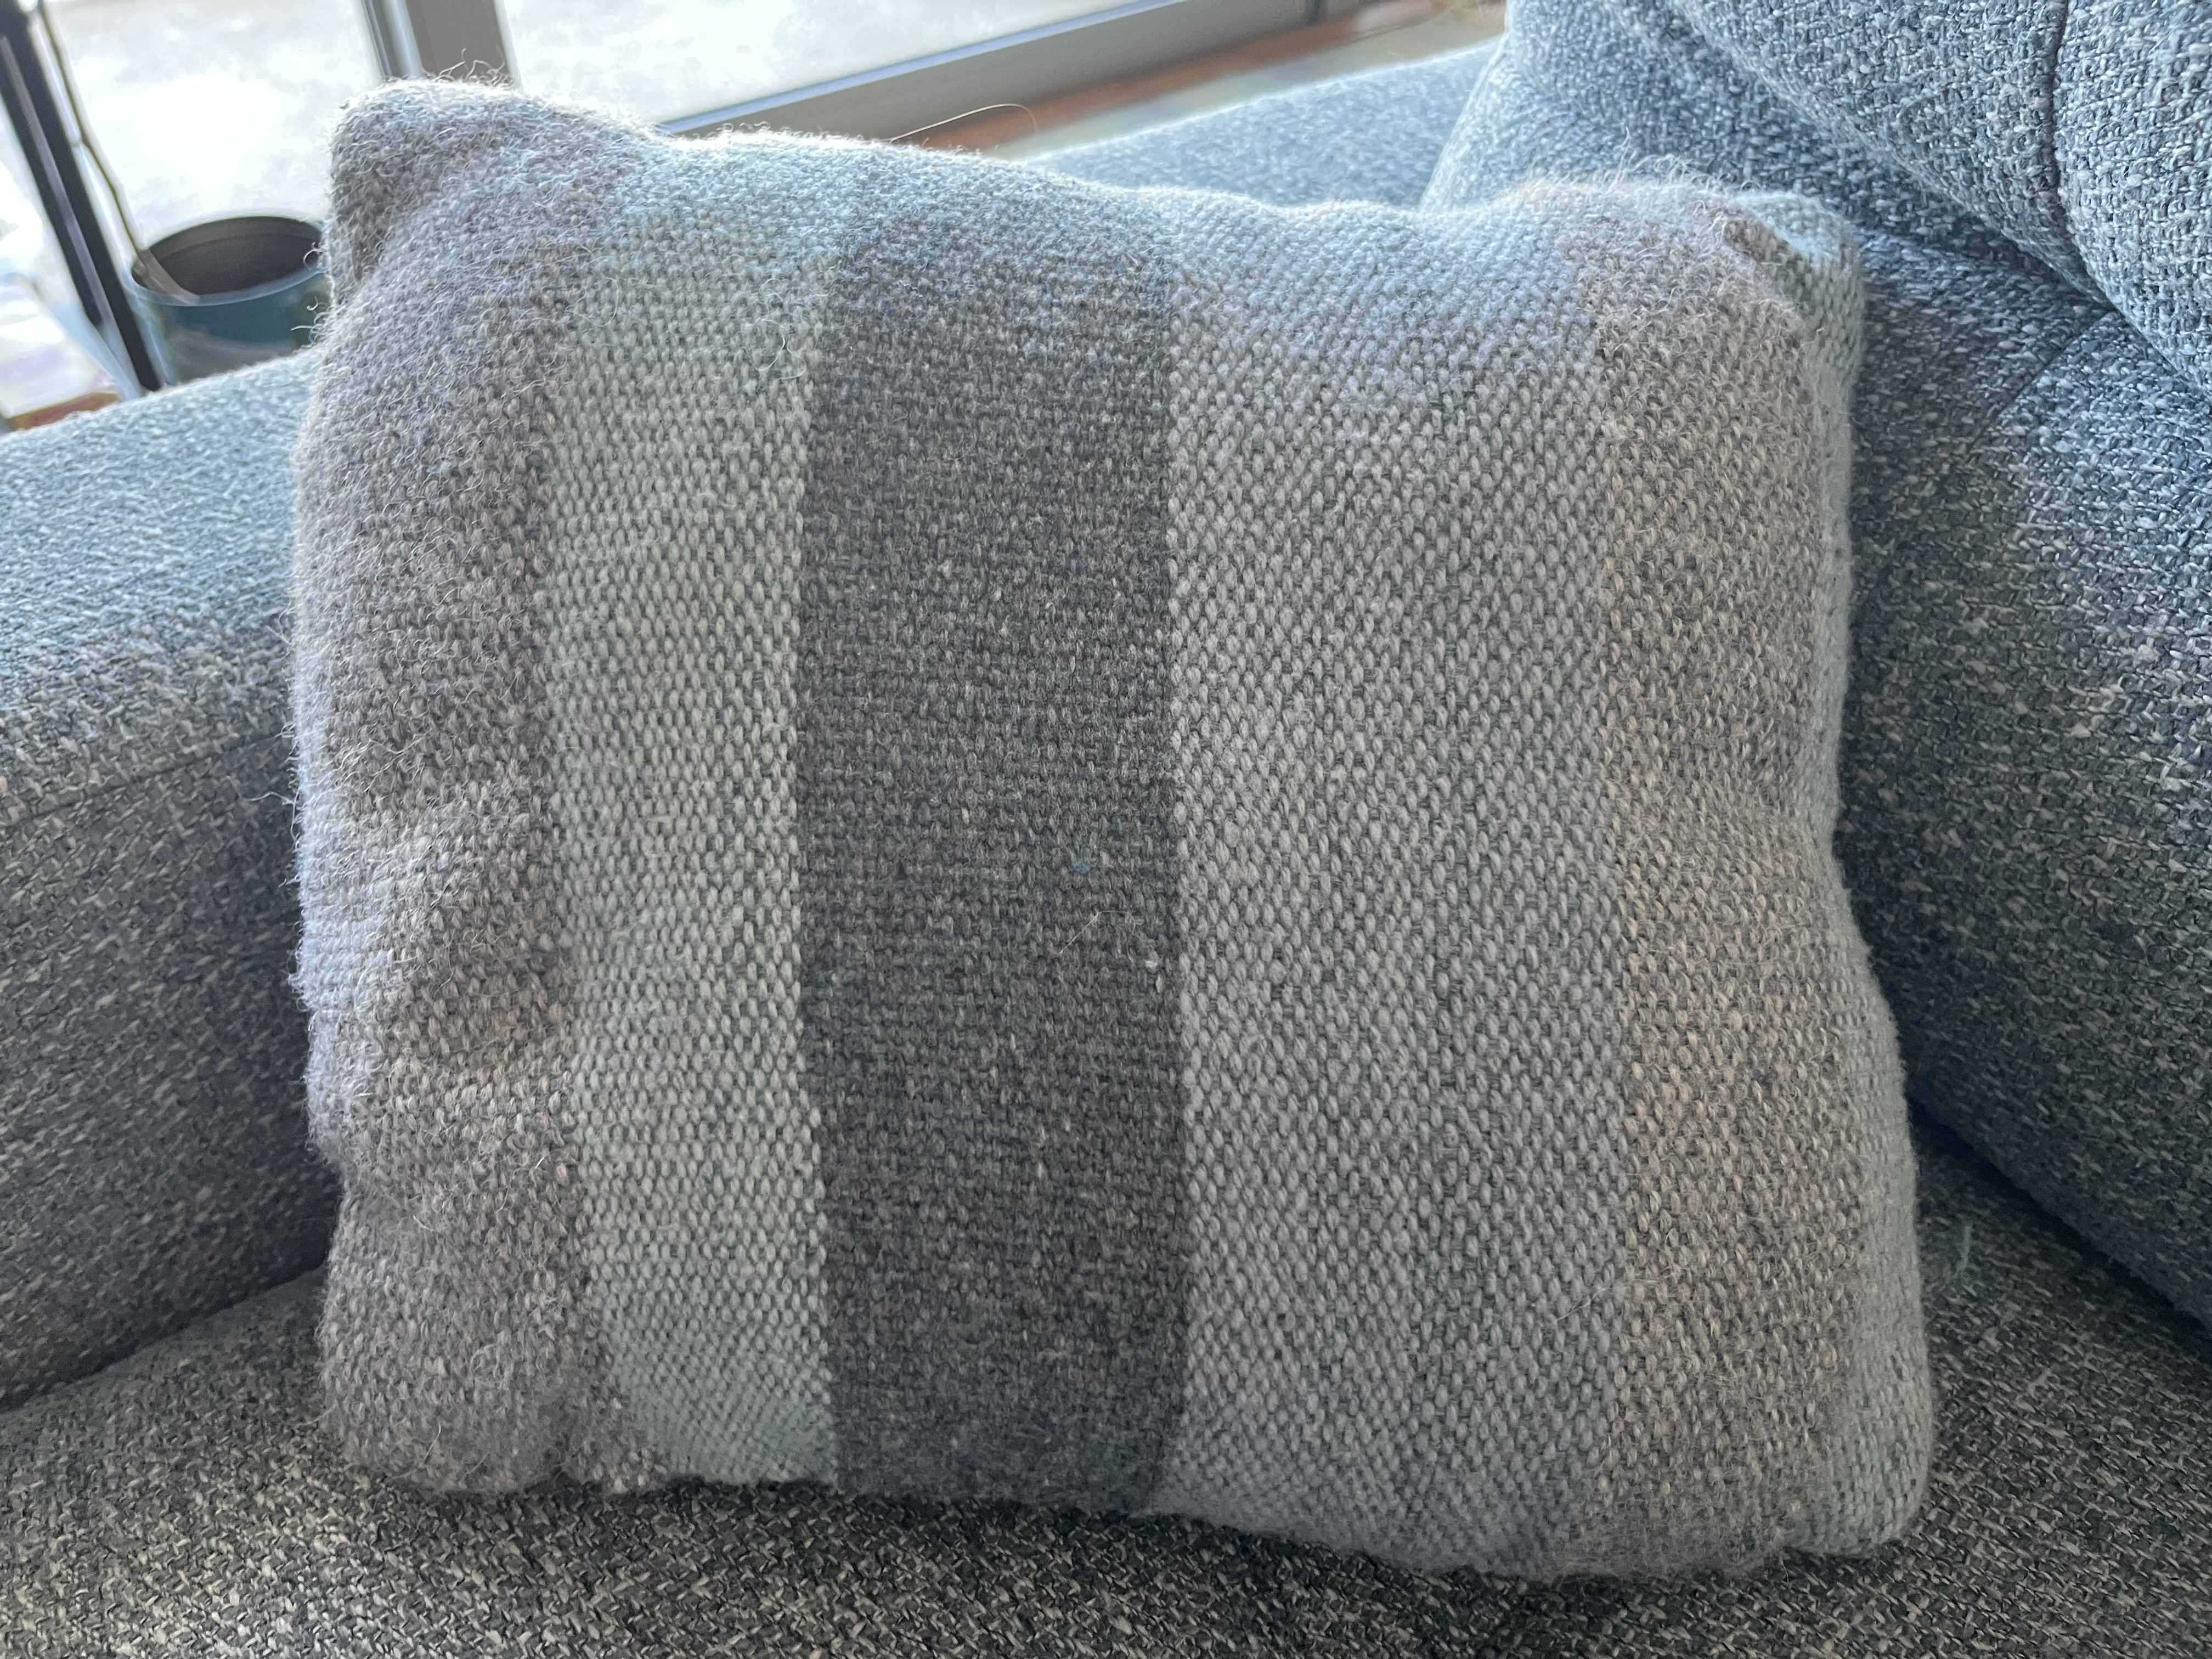
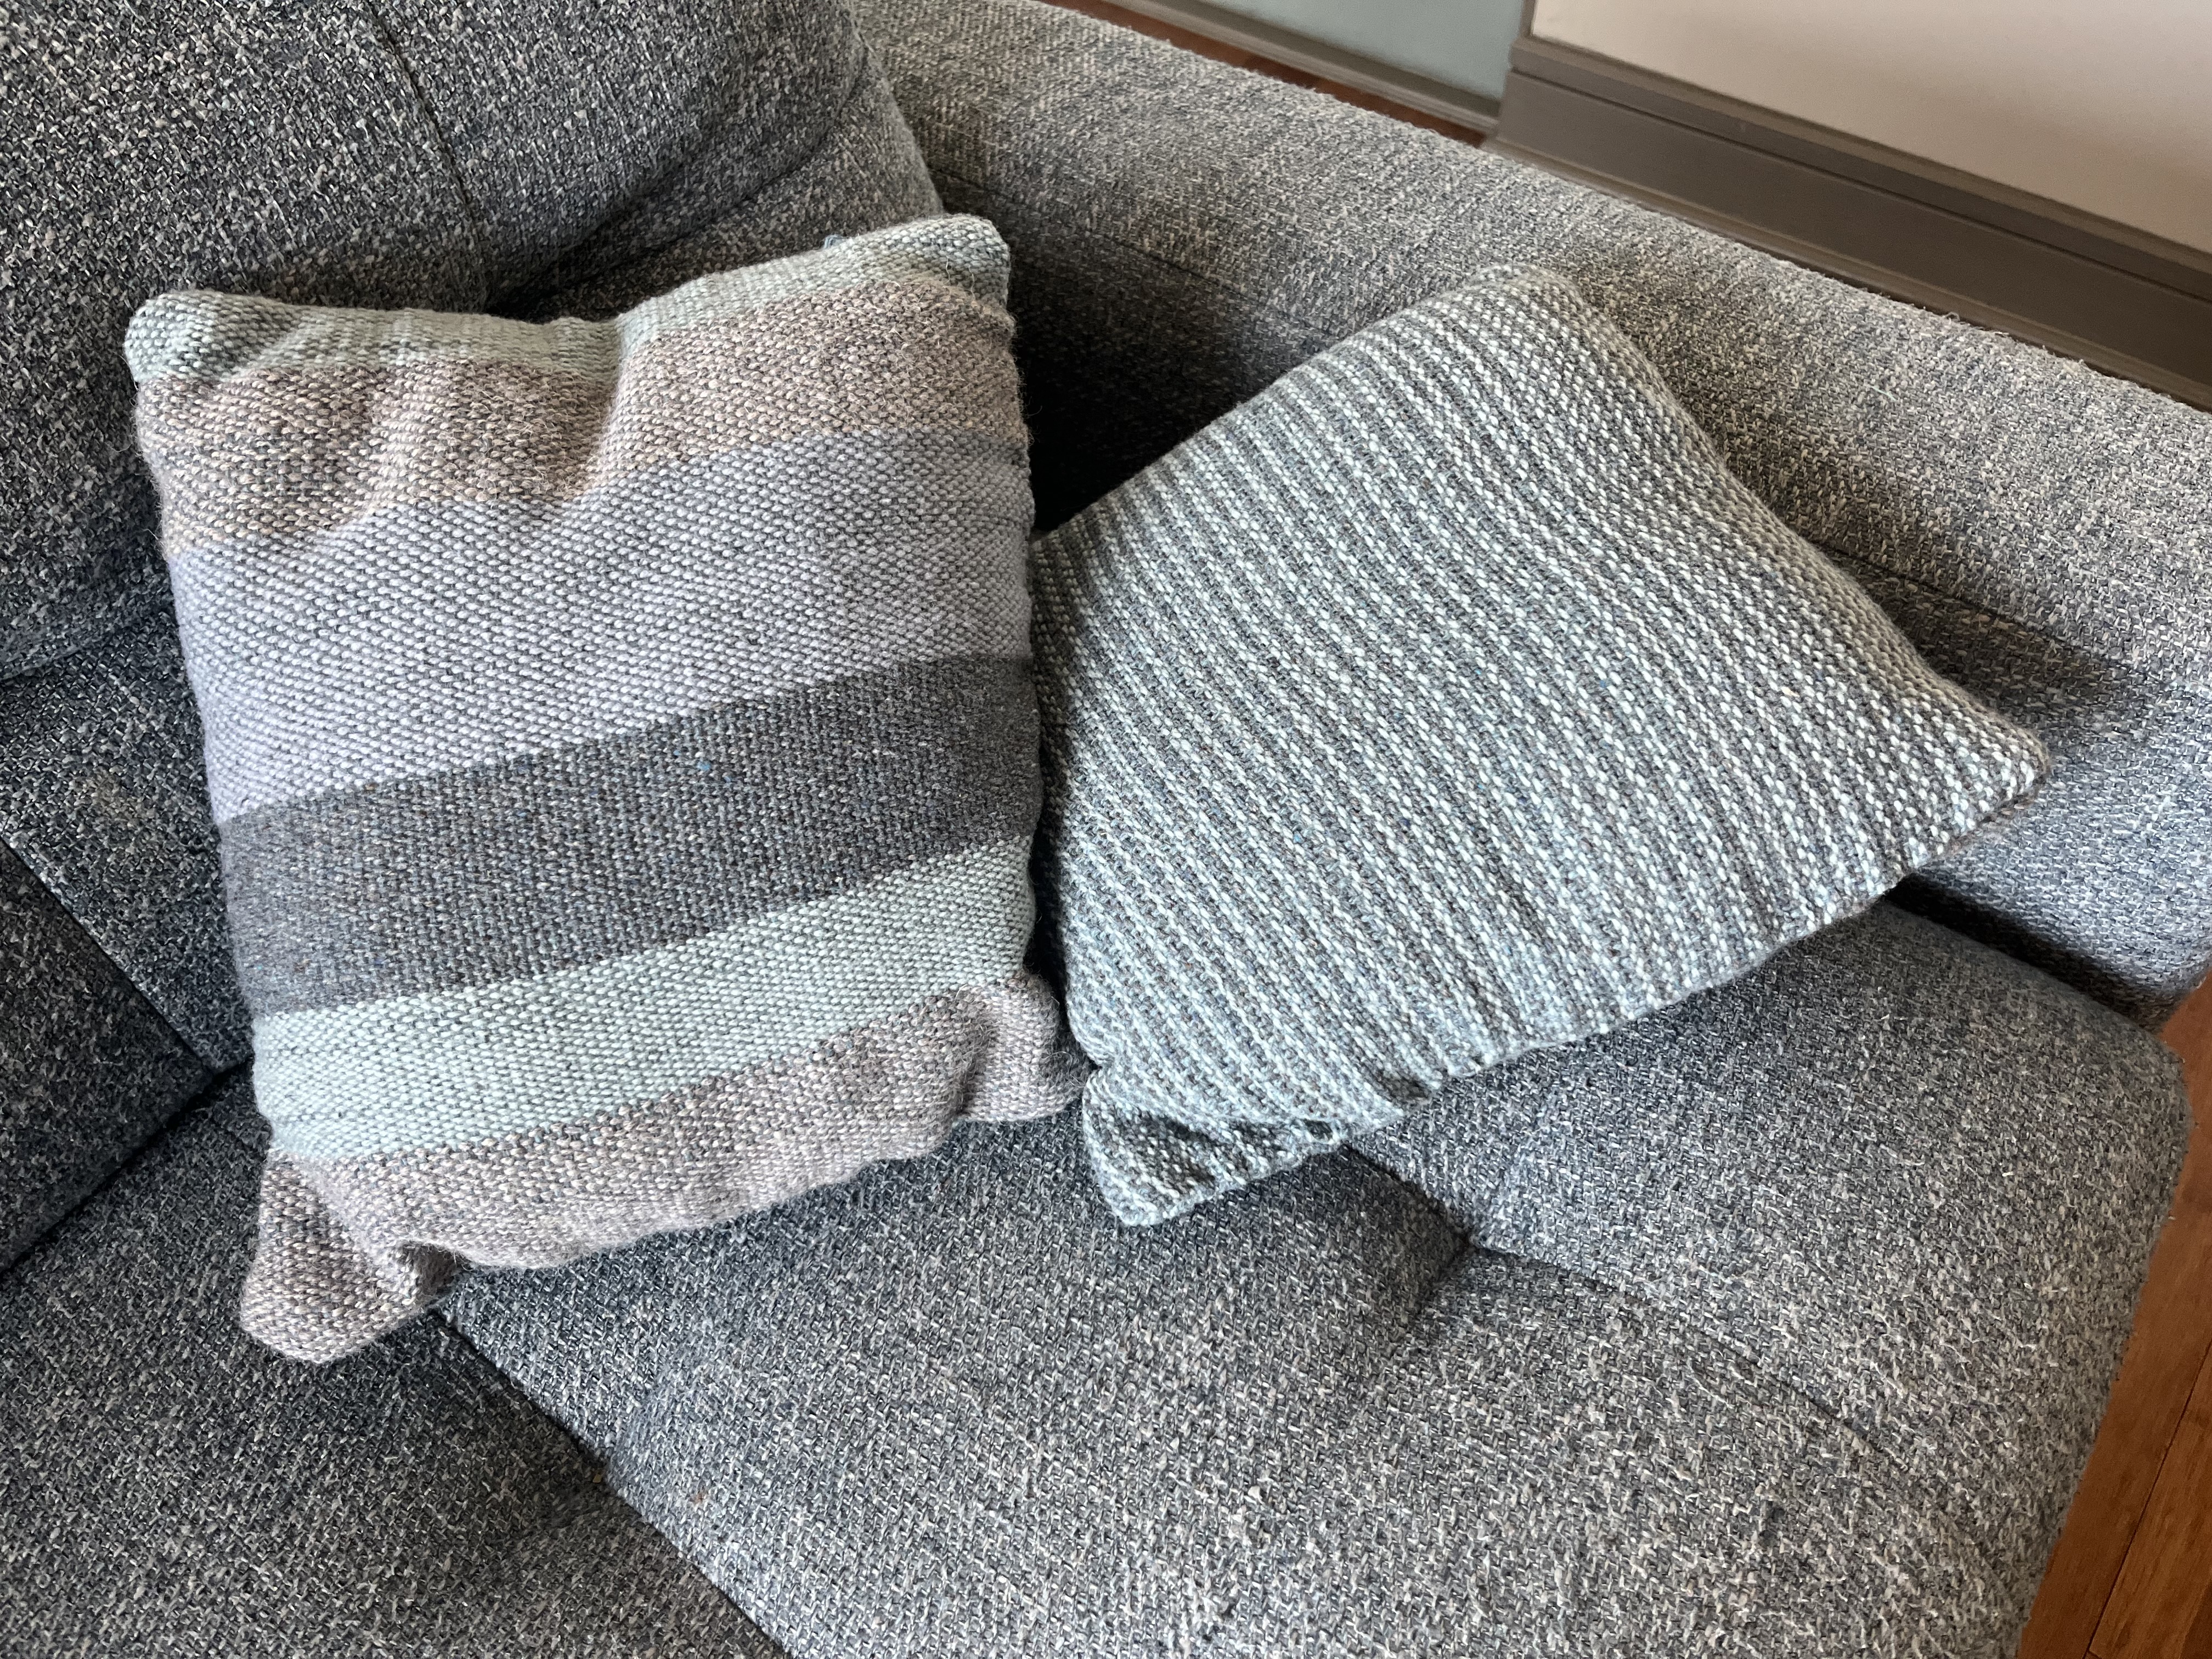
The pillows are a mix of blue and gray wool I got at the Studio Tour garage sale. The washcloth is a 2/1 twill pattern with cotton that I got from a craft exchange (the white) and a local yarn store in my home town (the green and orange). I love the results from both projects, and hope you do as well!</p>

<p><img src="/assets/images/IMG_1739.jpeg" alt="Photo of a warped loom with white, green, and orange." />
<img src="/assets/images/IMG_1744.jpeg" alt="Photo of loom with some weaving on it." />
<img src="/assets/images/IMG_1756.jpeg" alt="Photo of finished wash cloth." /></p>

<p><img src="/assets/images/IMG_1646.jpeg" alt="Photo of loom warped with a blue gray wool yarn." />
<img src="/assets/images/IMG_1647.jpeg" alt="Photo of same loom with some progress on weaving." />
<img src="/assets/images/IMG_1791.jpeg" alt="Phot0 of one finished pillow, there are large stripes of blue and gray." />
<img src="/assets/images/IMG_1660.jpeg" alt="Photo og both pillows, the back has pinstripes" /></p>]]></content><author><name>Rhianna Lucas</name></author><category term="weaving" /><category term="ridgid heddle" /><summary type="html"><![CDATA[These are photos from a few of my recent weaving projects. The pillows are a mix of blue and gray wool I got at the Studio Tour garage sale. The washcloth is a 2/1 twill pattern with cotton that I got from a craft exchange (the white) and a local yarn store in my home town (the green and orange). I love the results from both projects, and hope you do as well!]]></summary></entry></feed>