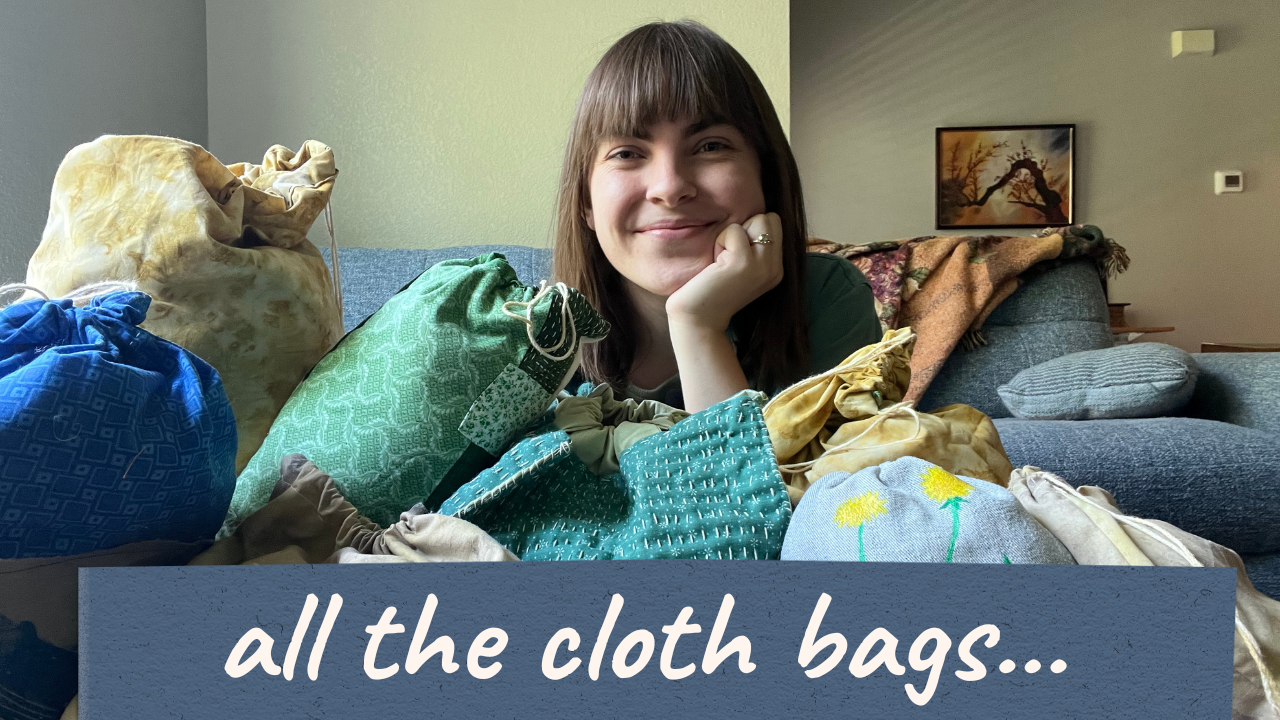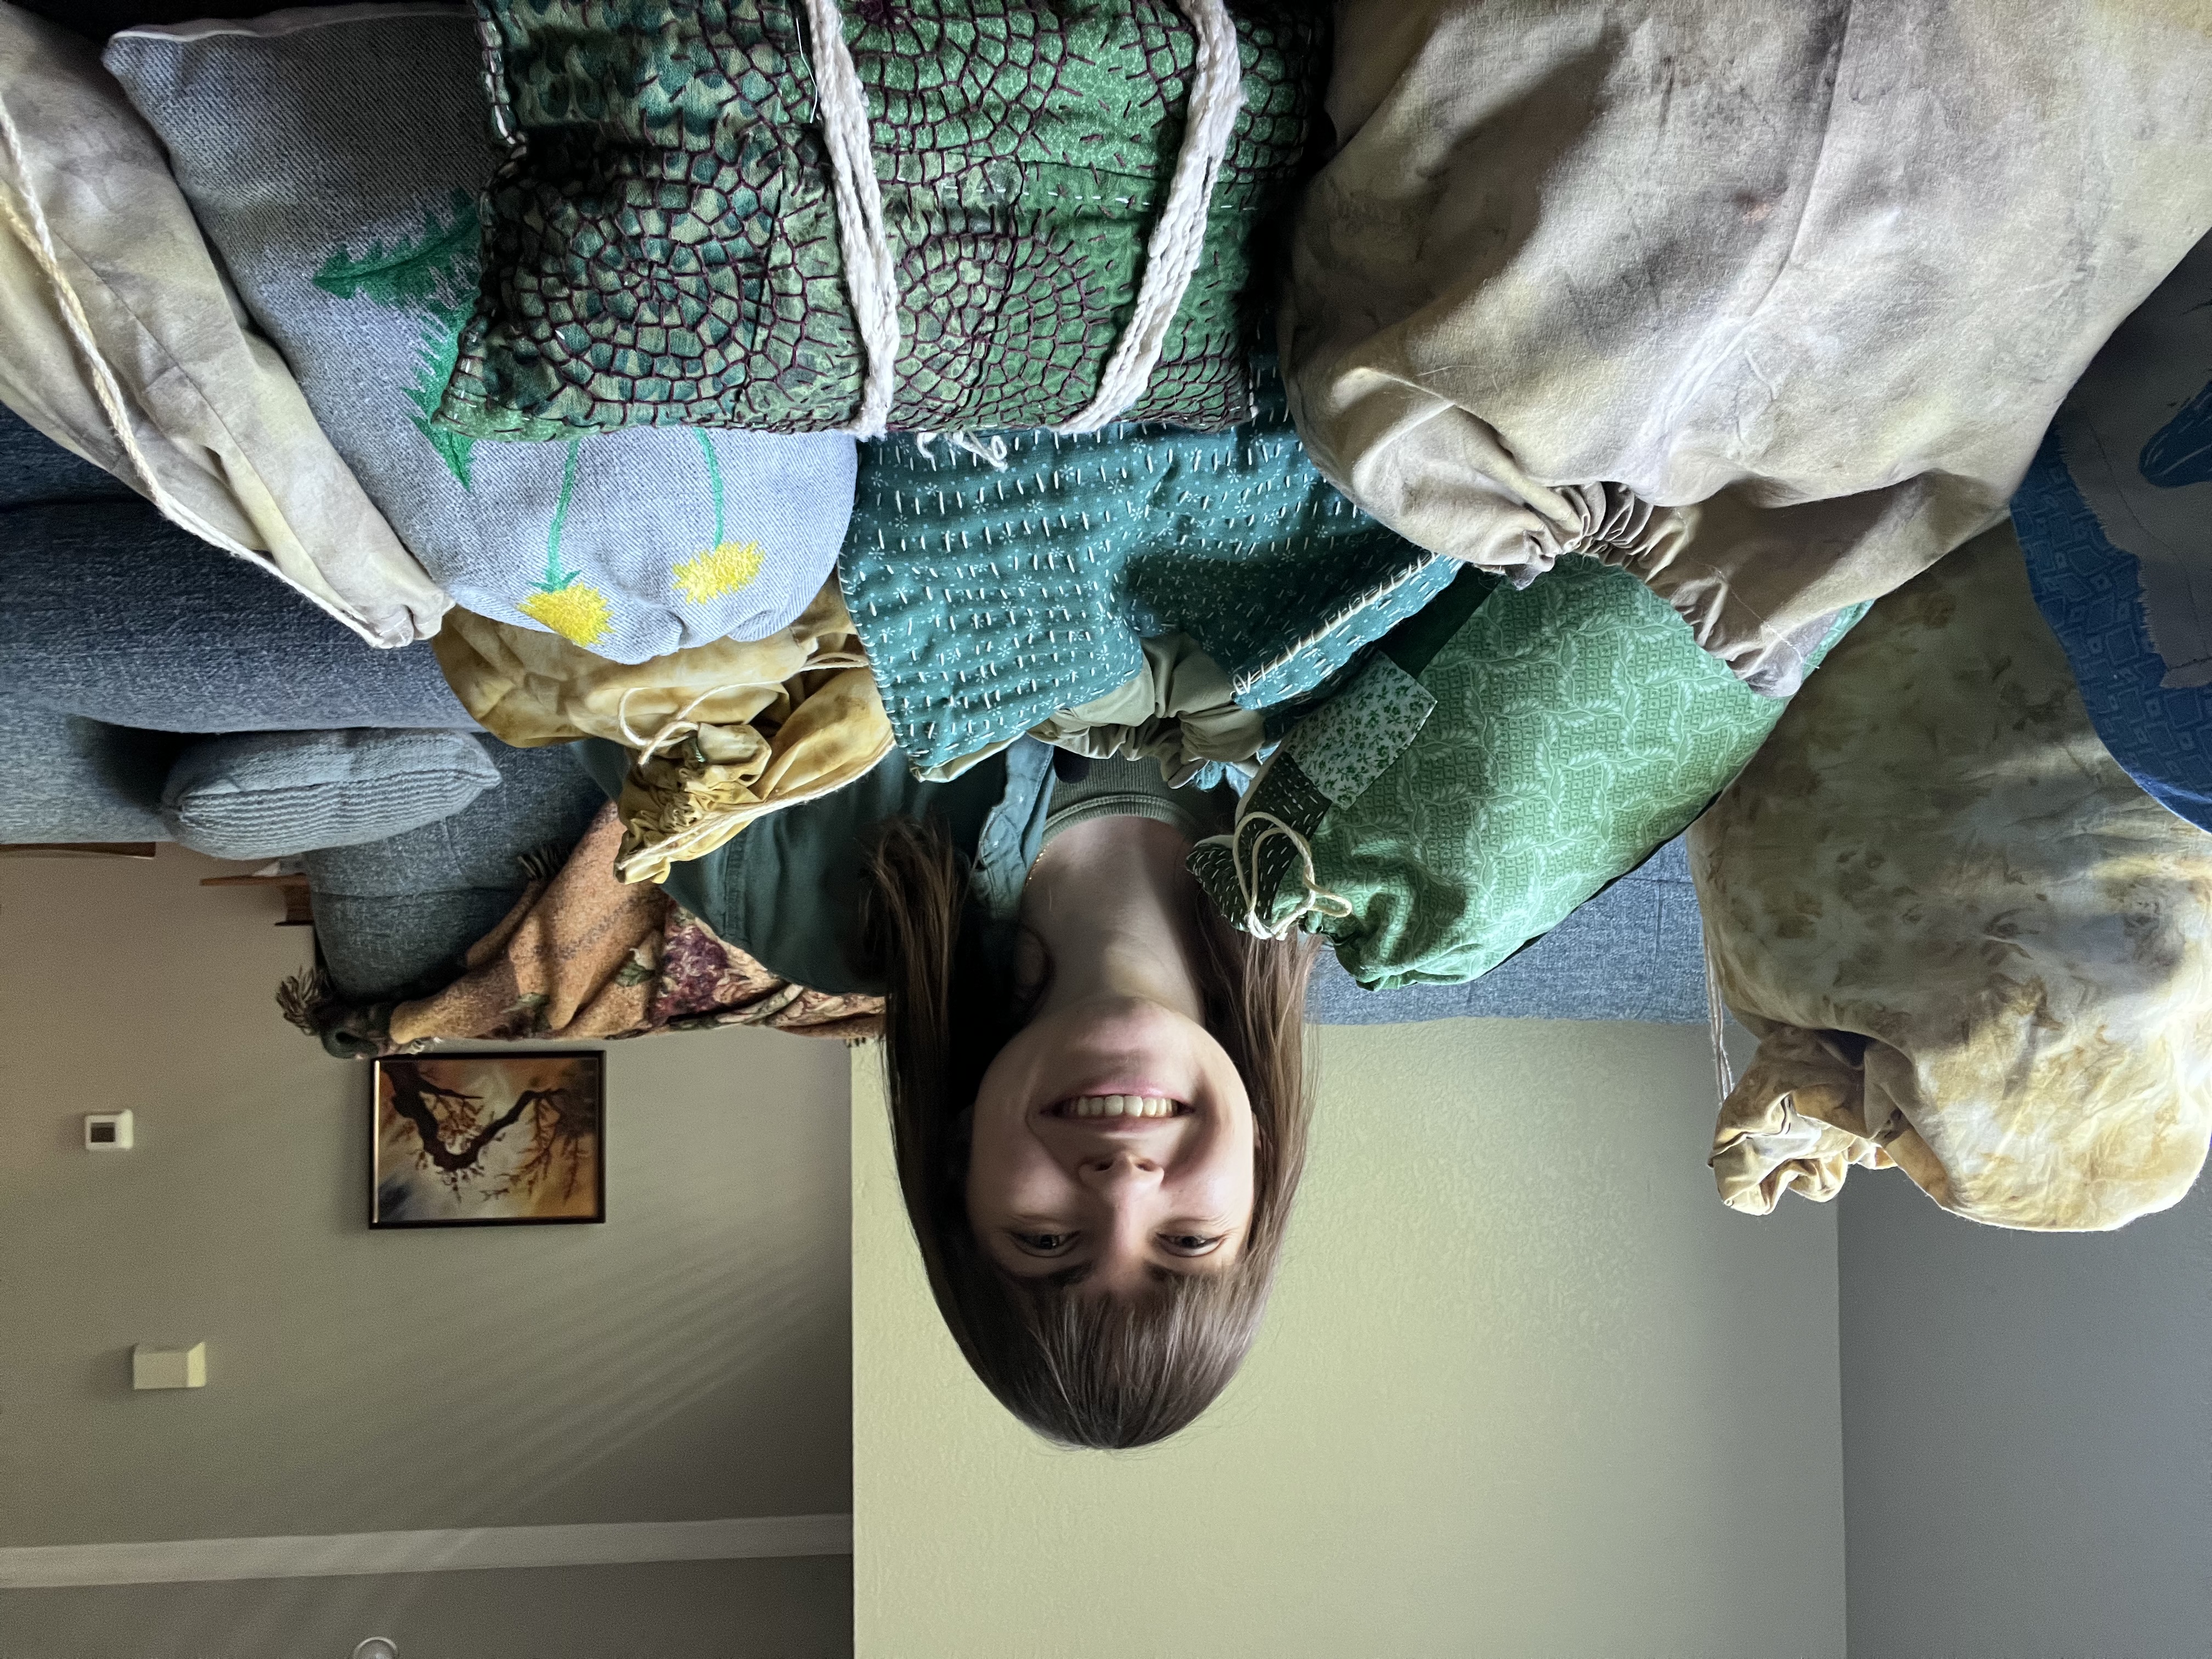
I was going through my craft supplies and realized I need a little more organization that I had, which is a perfect opportunity for one of my favorite little projects: cloth bags!
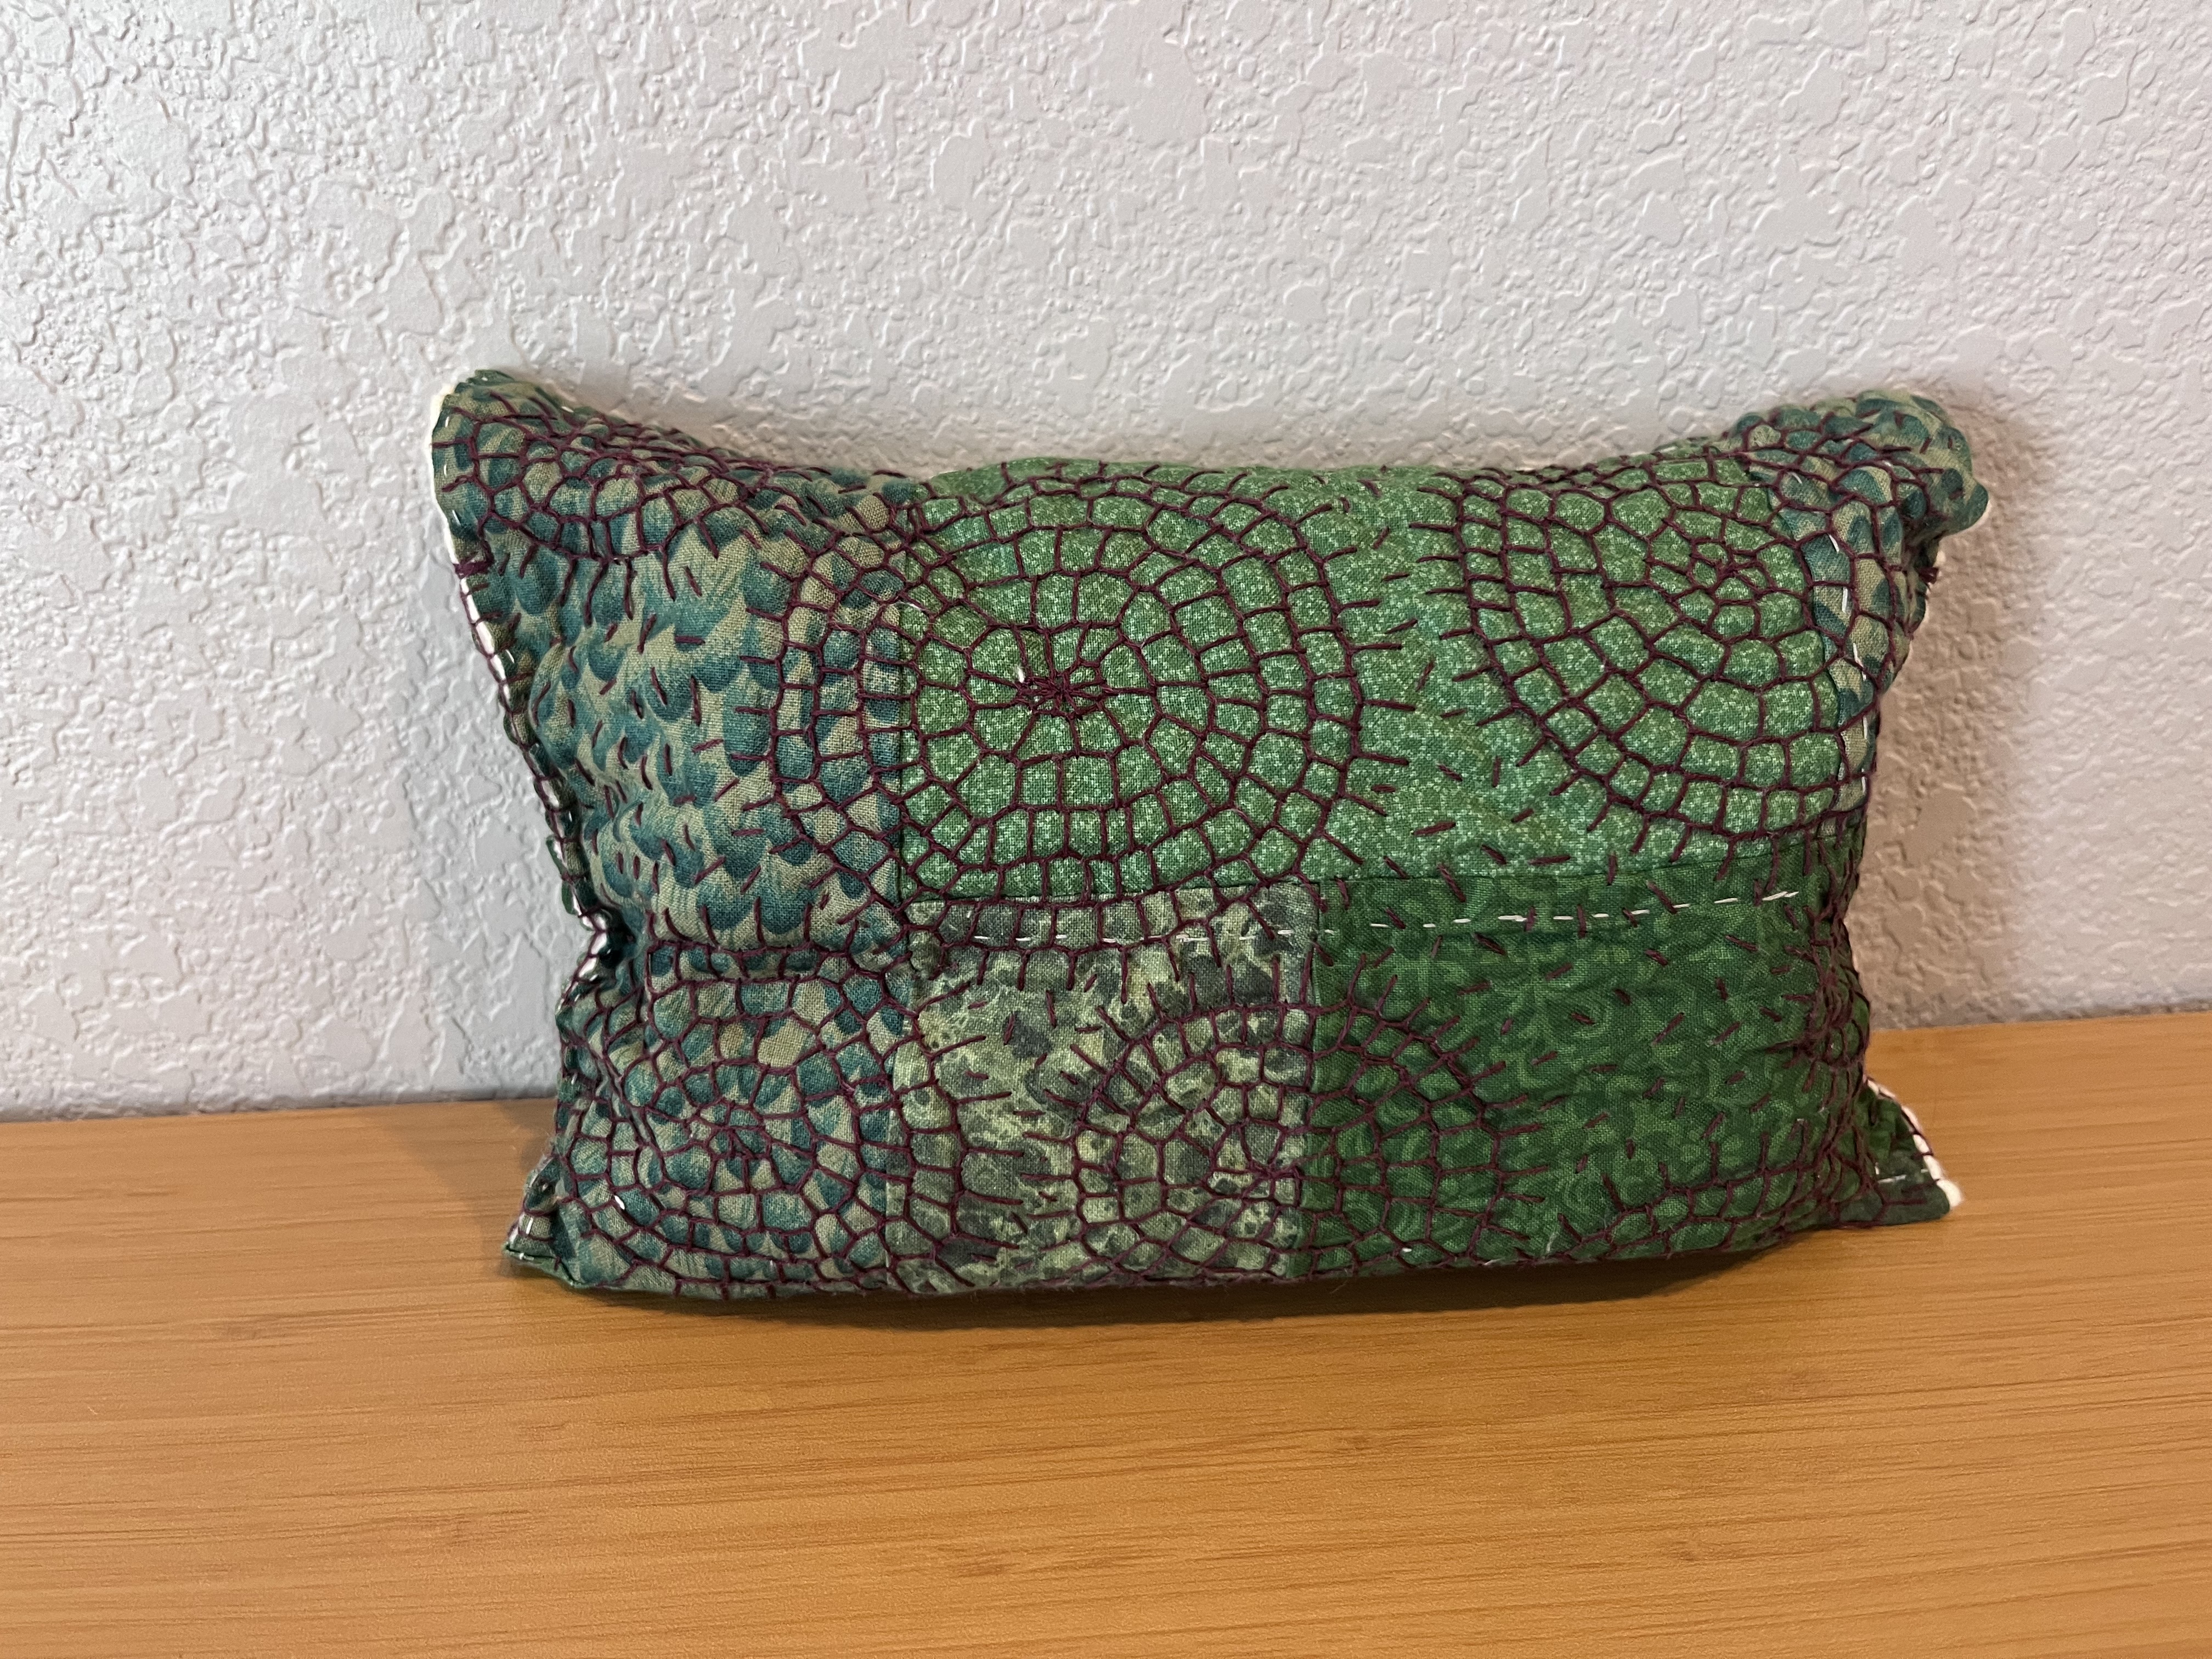
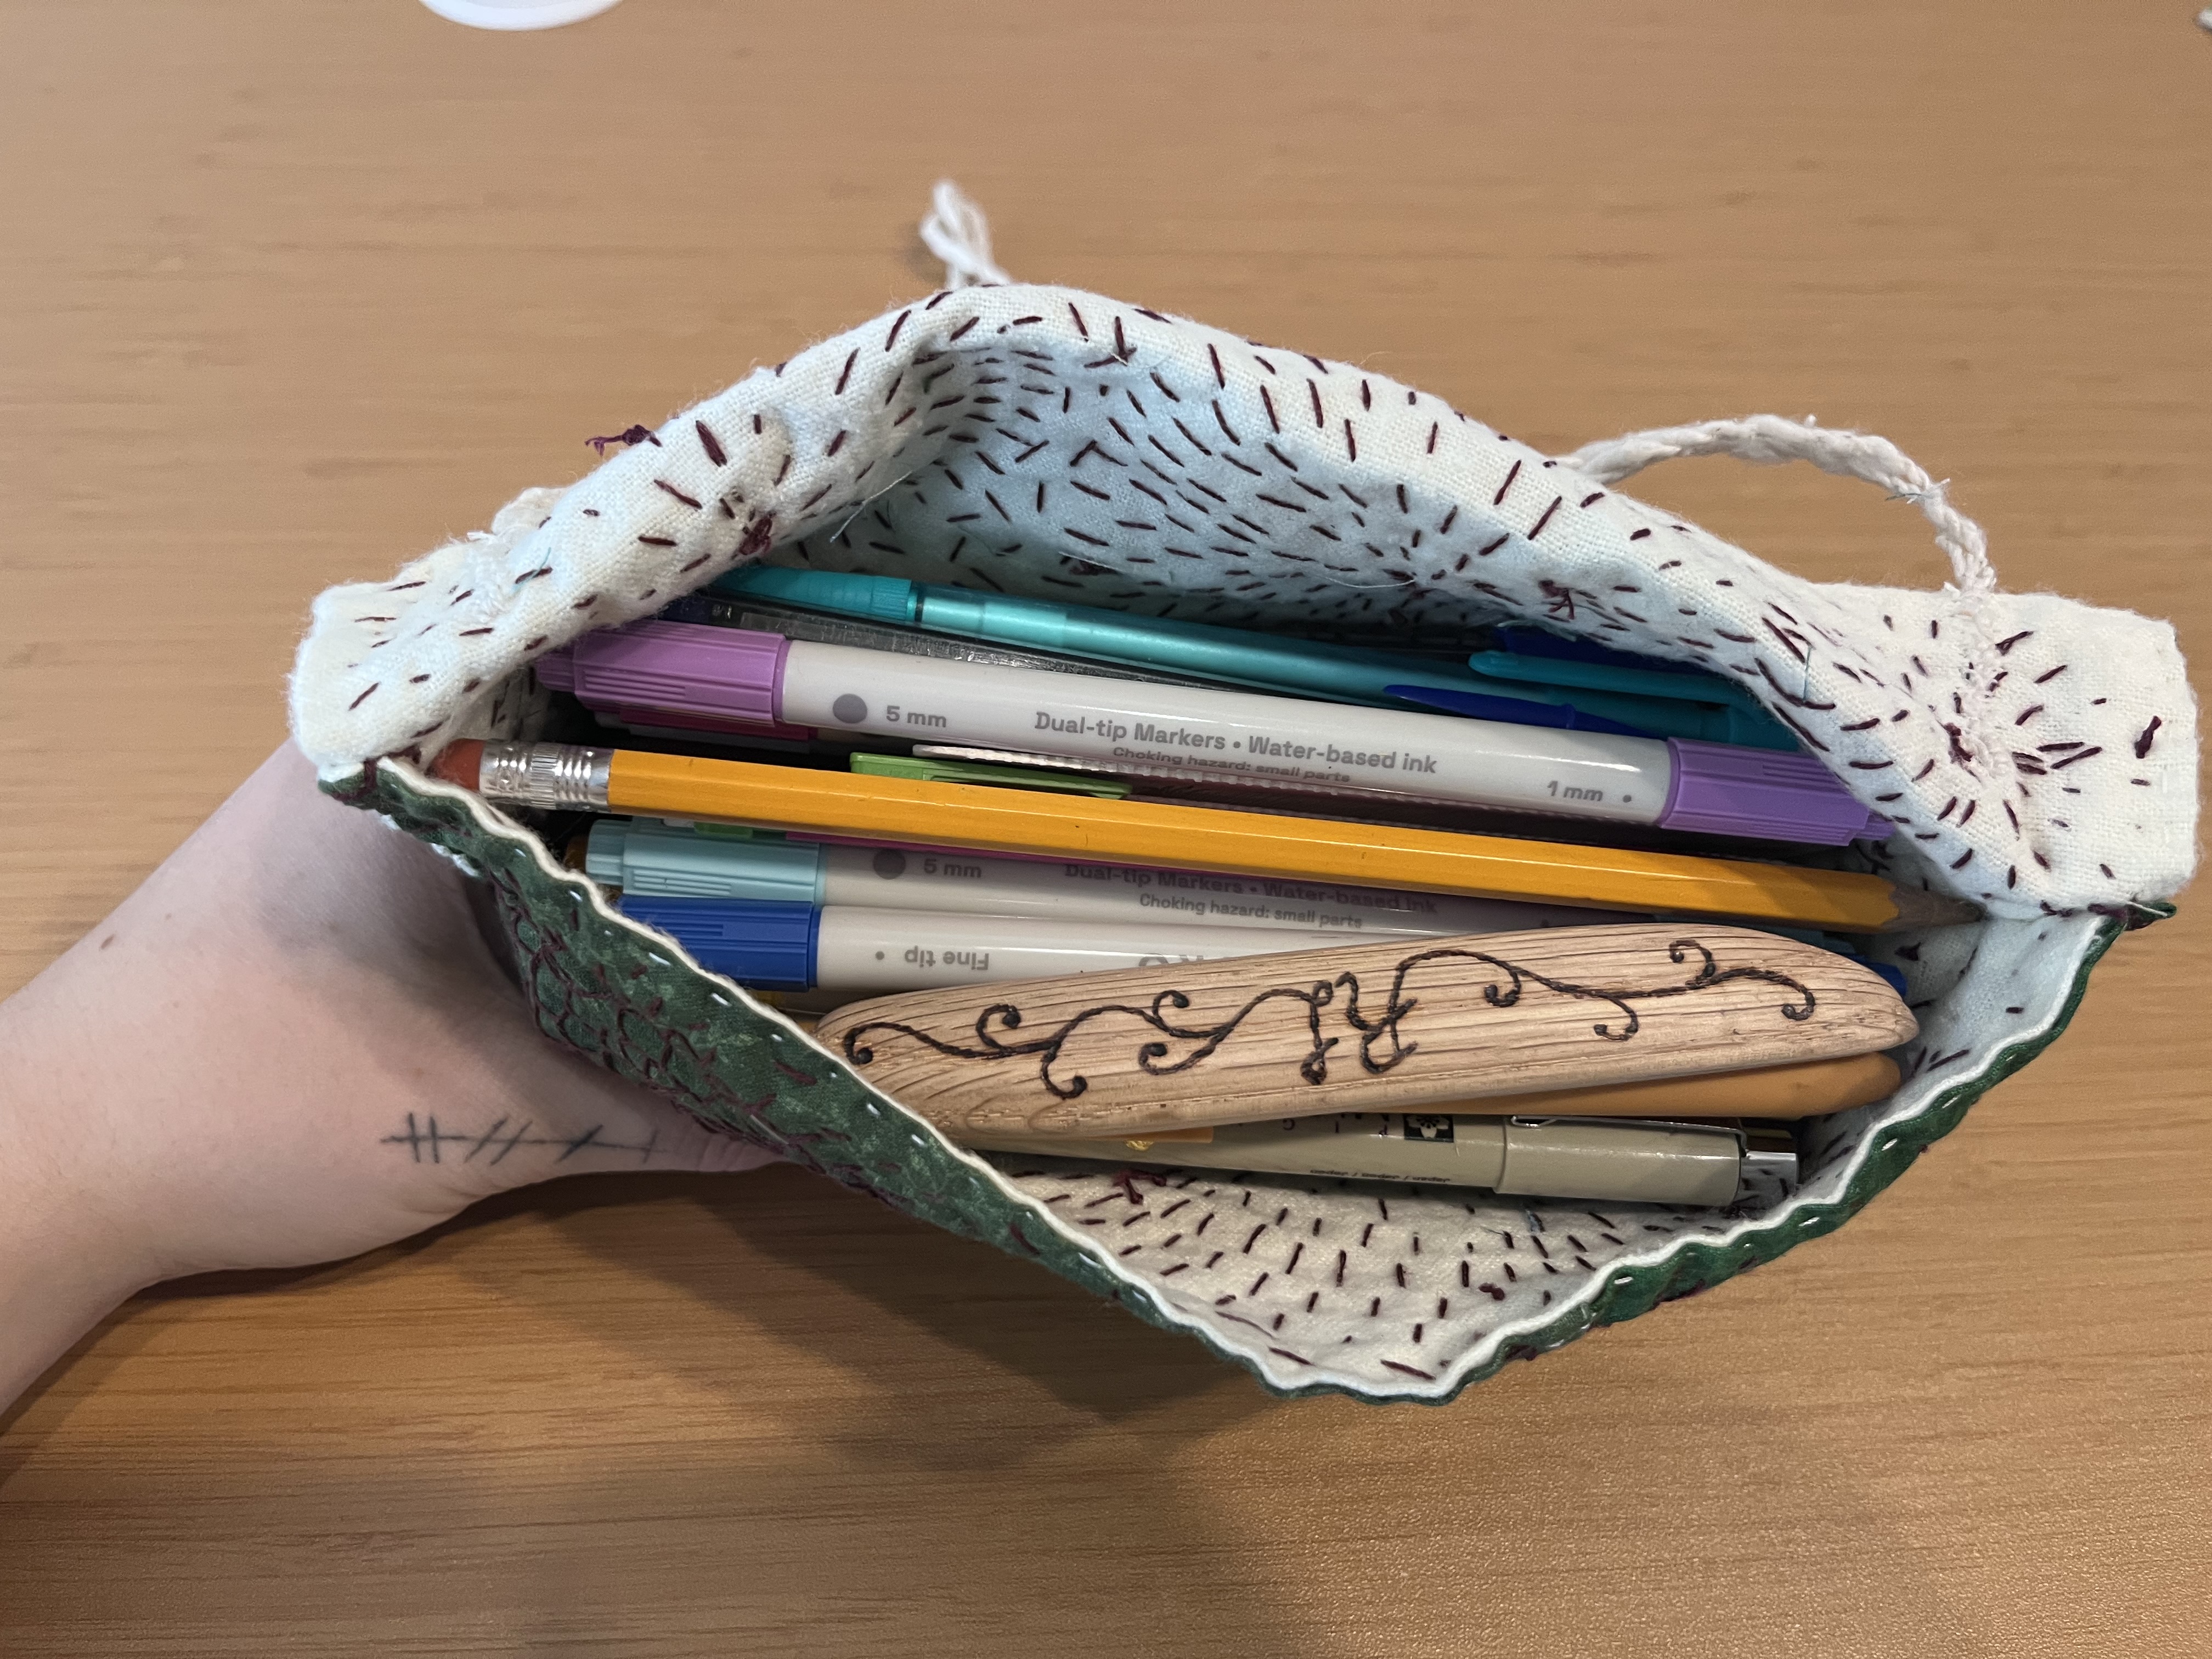
The first bag I made is a small envelope style pouch. This was originally going to be for thread scraps, but it did not turn out large enough for that purpose. Fortunately it is the perfect size to store my writing utensils. The base of the bag is made of a patchwork fabric I had already put together for another project I didn’t end up completing. I cut out a rectangle and closed up all the sides so there wasn’t any exposed seams, then got started on the fun part! For the decorative stitching I used a dark maroon embroidery floss and did a bunch of various sized circle of scotch darning. I recently did scotch darning for the first time and fell in love with it, hence the amount of it on this project. Once no more circles could fit I filled in the blank areas with seeds stitching. For the closure I just attached two lengths of hand-spun bourette silk, I am not completely satisfied with this closure and will likely change it at some point. Overall very happy with the stitching and I have a nice bag to replace the broken plastic pencil box I was using.
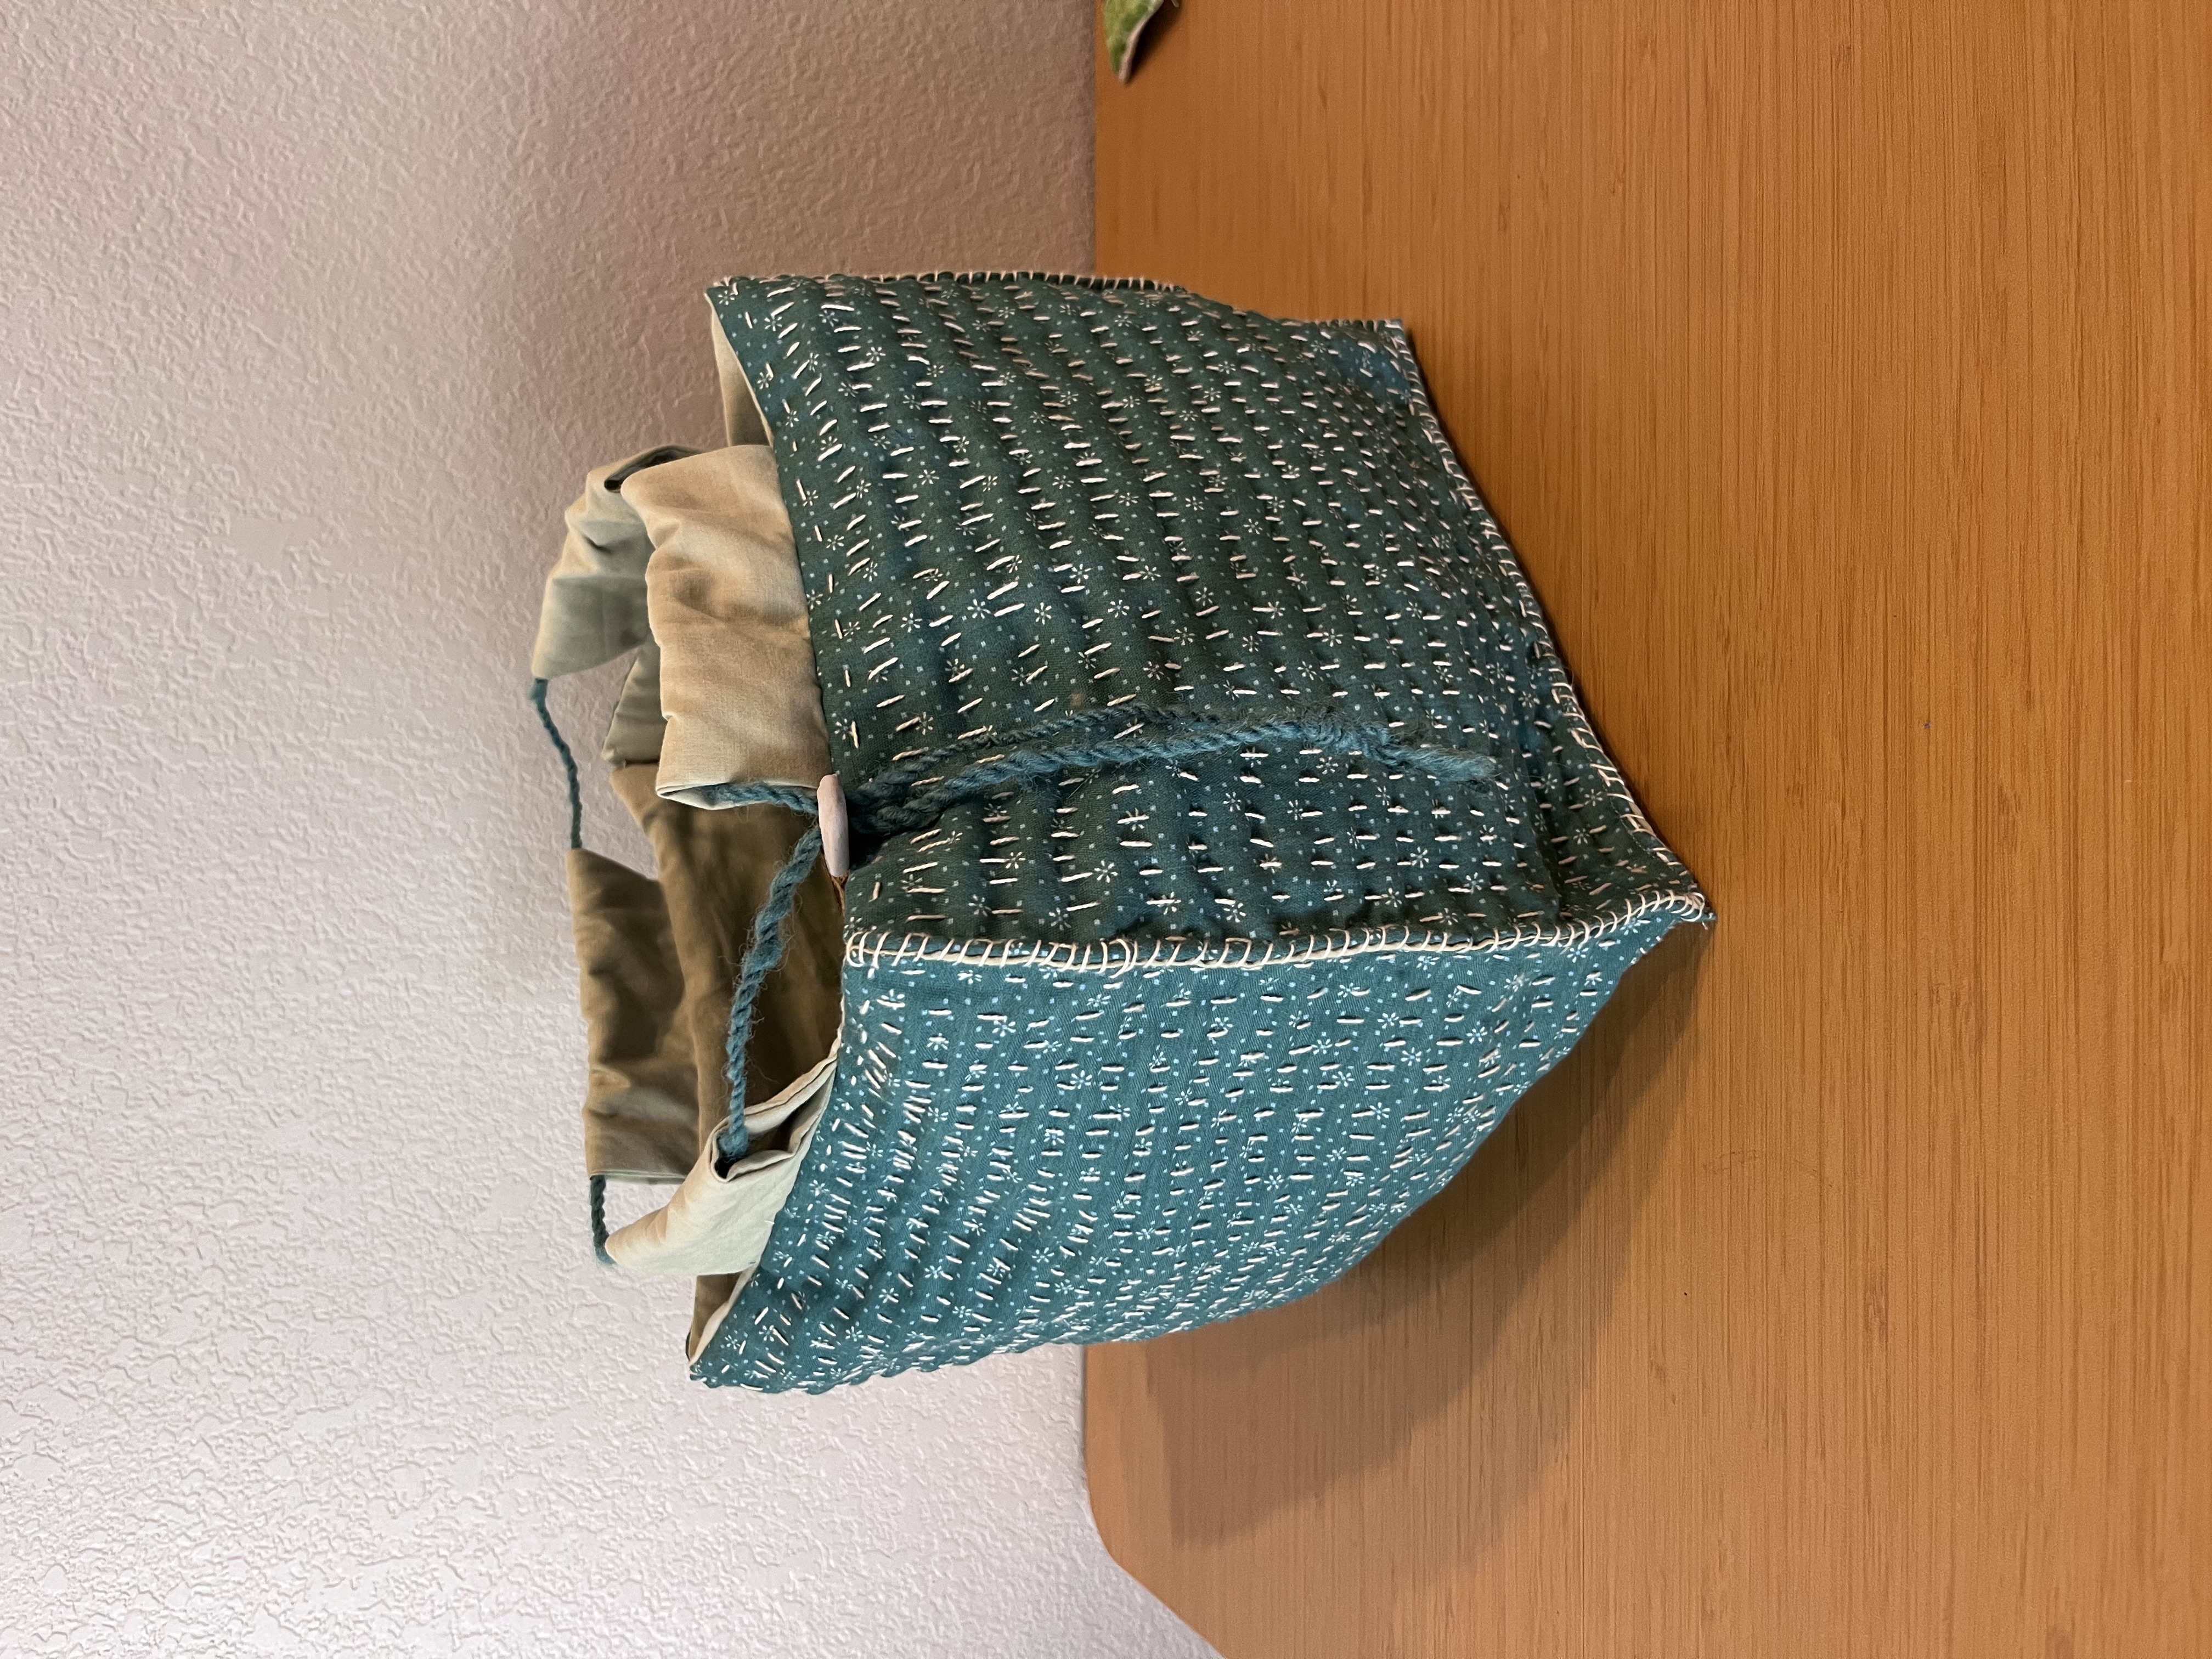
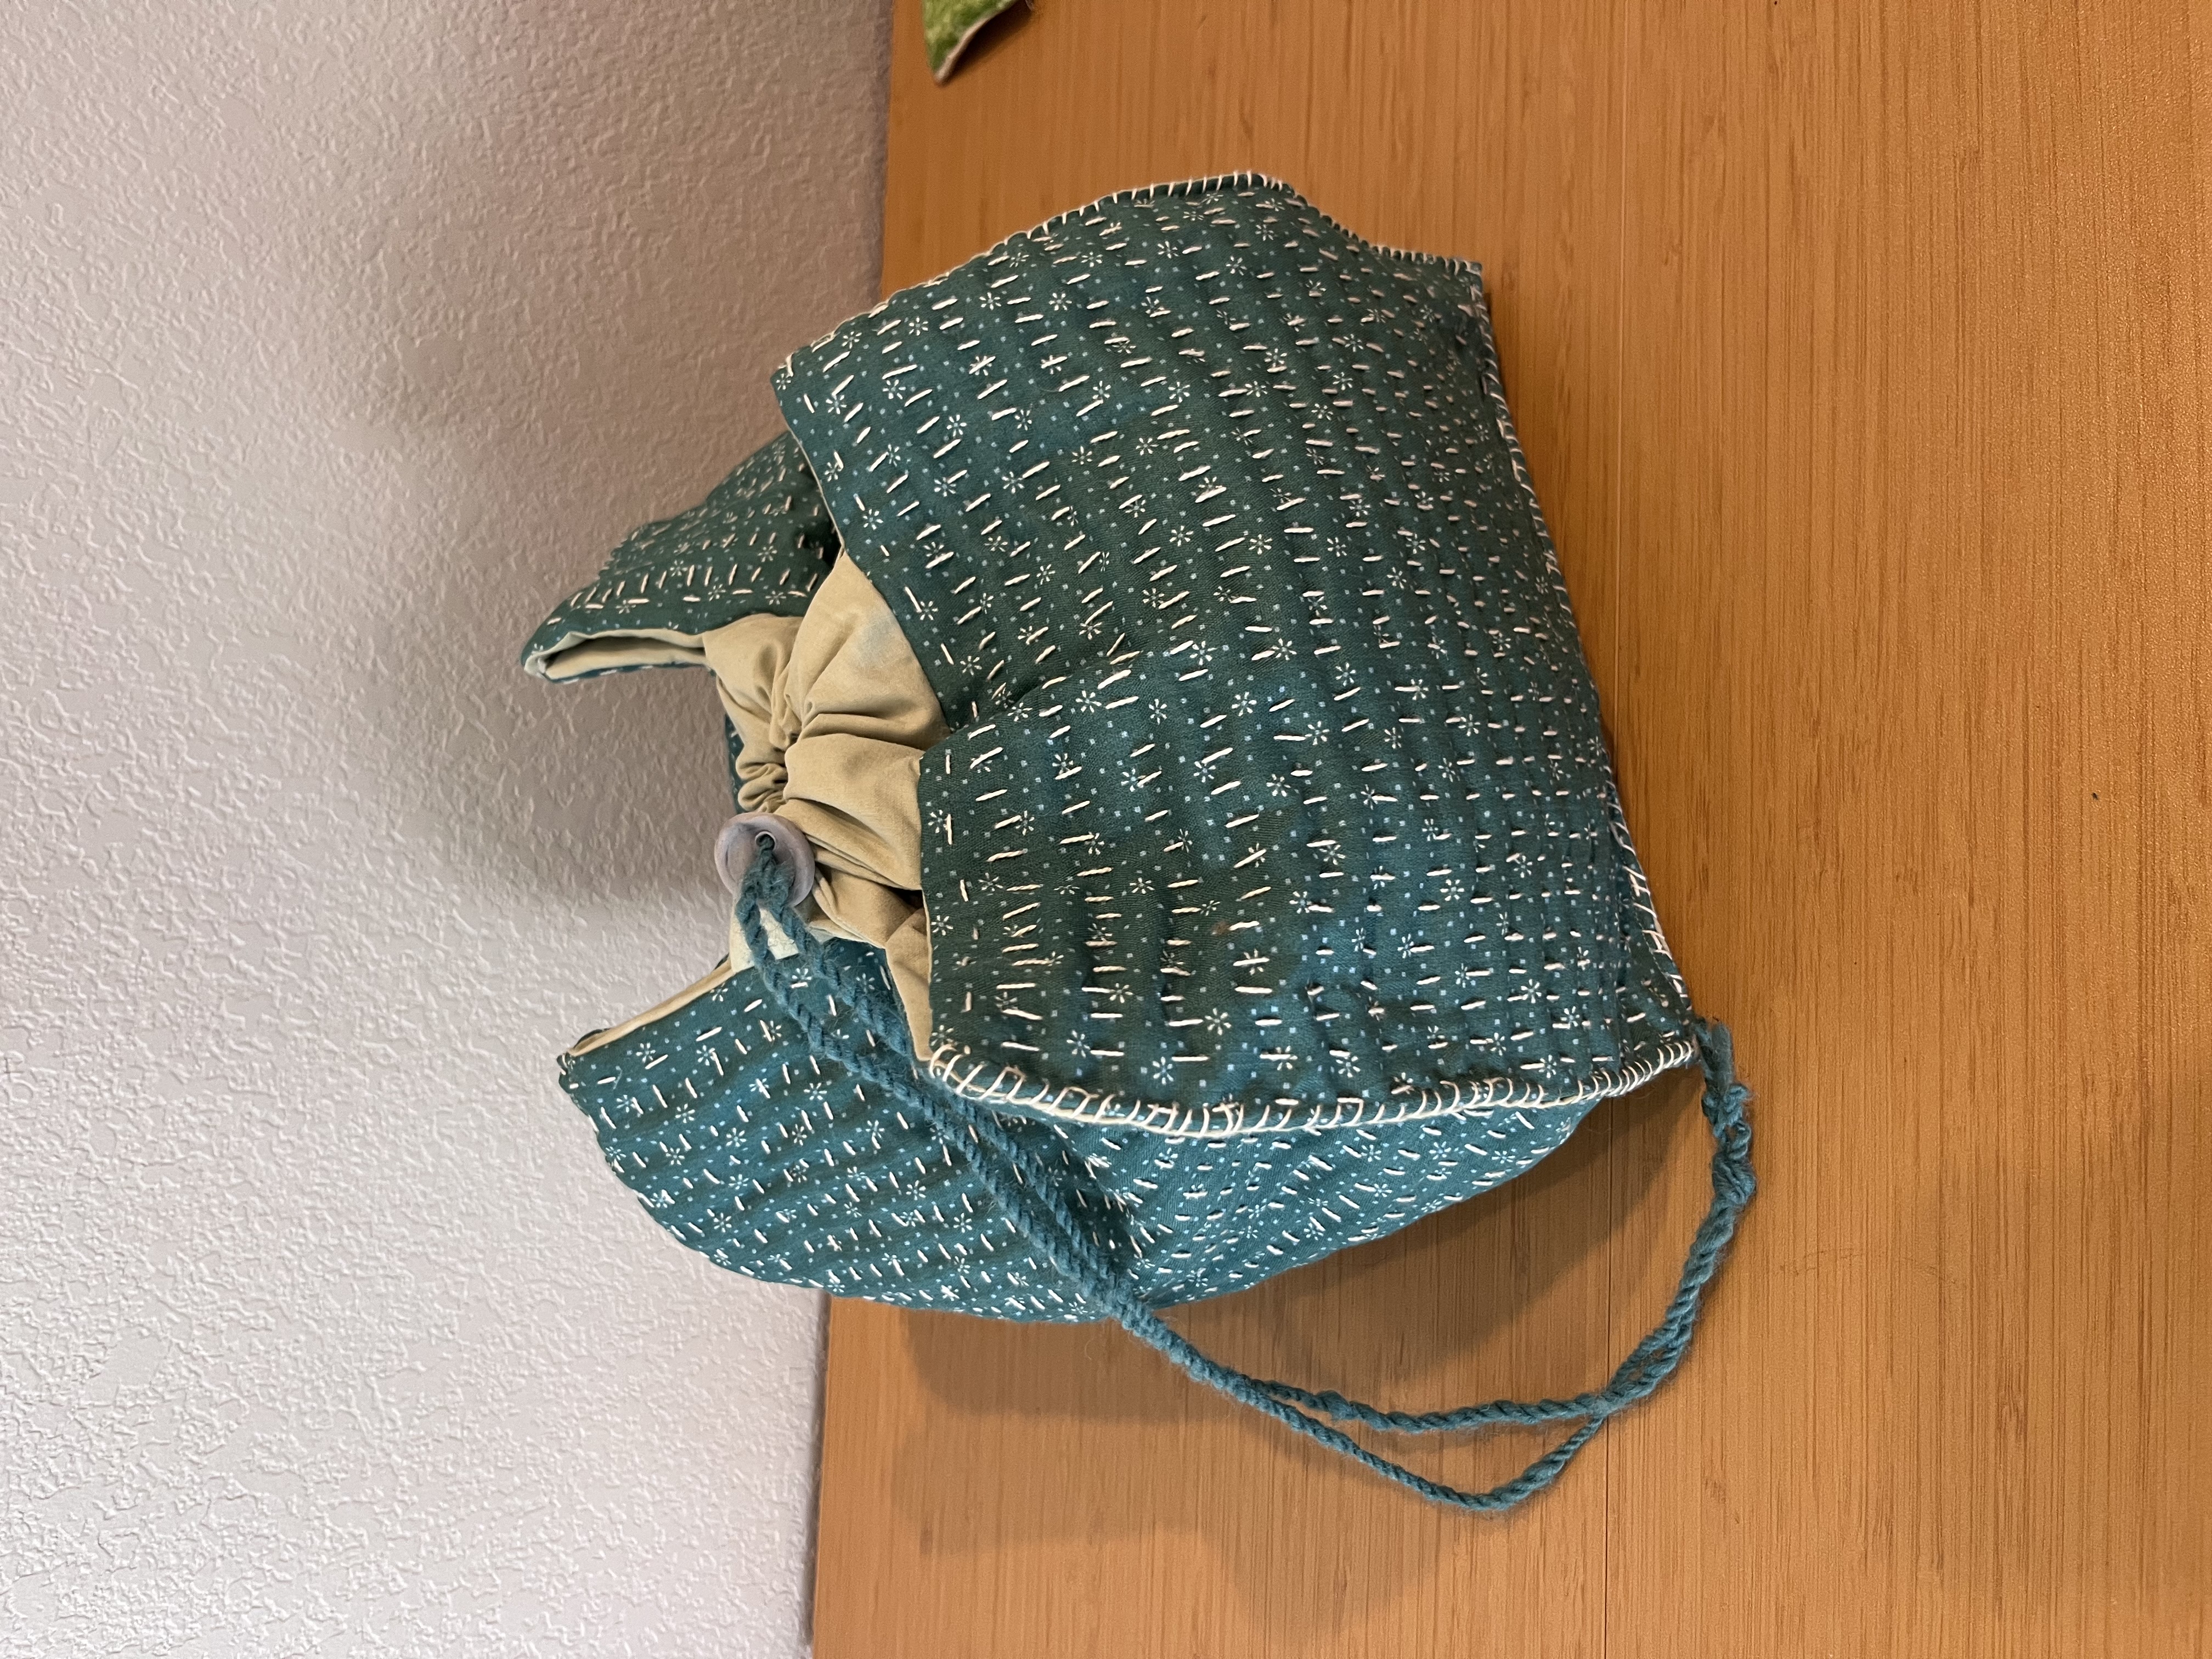
The next bag I worked on was a rice bag style inspired by K3N cloth tales on YouTube. For the outer fabric I used quilting fabric, the liner is some cotton sheet dyed with chrysanthemum, and in better those I used two layers of cotton drop cloth to add some stability. For the pattern I used a sheet of standard letter paper by cutting it square (8.5 inches) this was the template for each of the sides. The leftover rectangle I cut in half (2.5 x 4.25 inches) and used this as the template for the tabs. Then I cut out 5 squares of the outer fabric and lining with a 1/2 inch seam allowance, 10 pieces of the drop cloth with no seam allowance, and 8 tab pieces with 1/2 inch seam allowance. For the tabs you can use any fabric, I used the lining fabric because I had enough of it.
With all my pieces cut apart it was time for more stitching! I decided to do rows of running stitches using a weaving yarn as pearl cotton because thats what I had. I did this through the outer fabric and both pieces of drop cloth. You don’t need o do as much stitching as I have, you could also use a sewing machine, but I strongly recommend doing some stitching because it provides a lot of the structure that keep the bag upright. I used a machine to stitch each piece to the lining before attaching the bottom and sides with a whip stitch. I used some hand spun wool and a button as the closure.
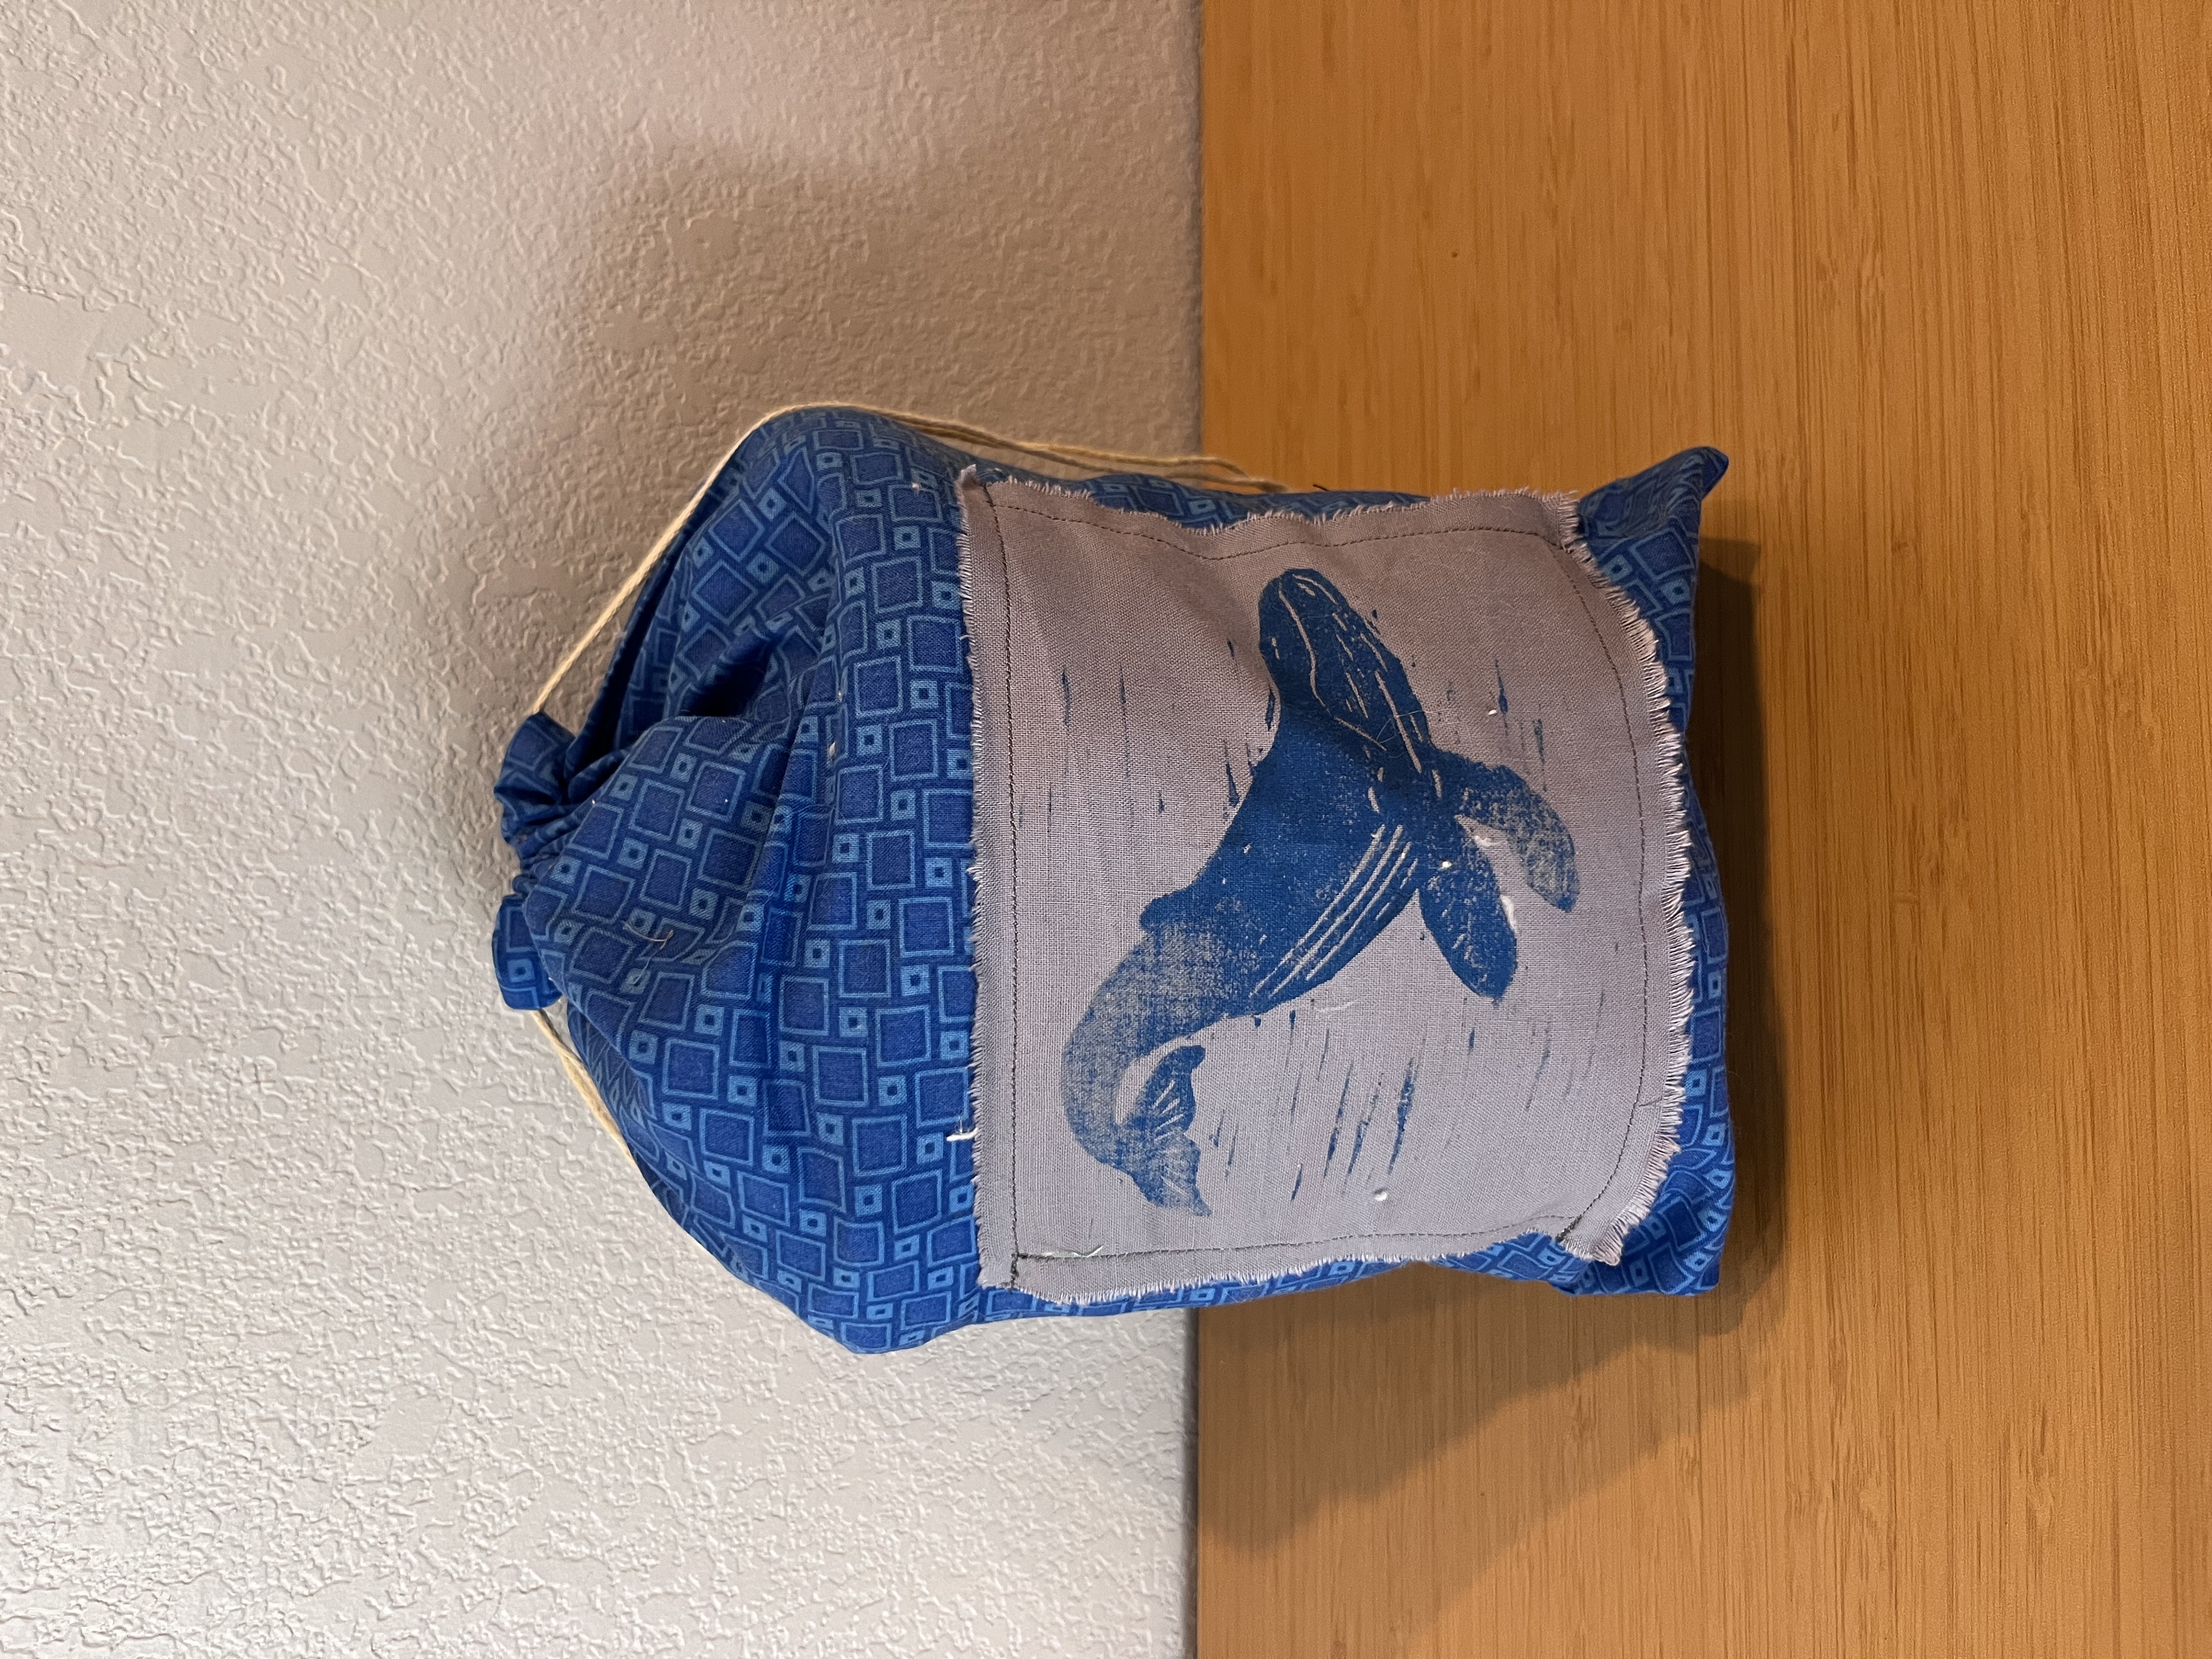
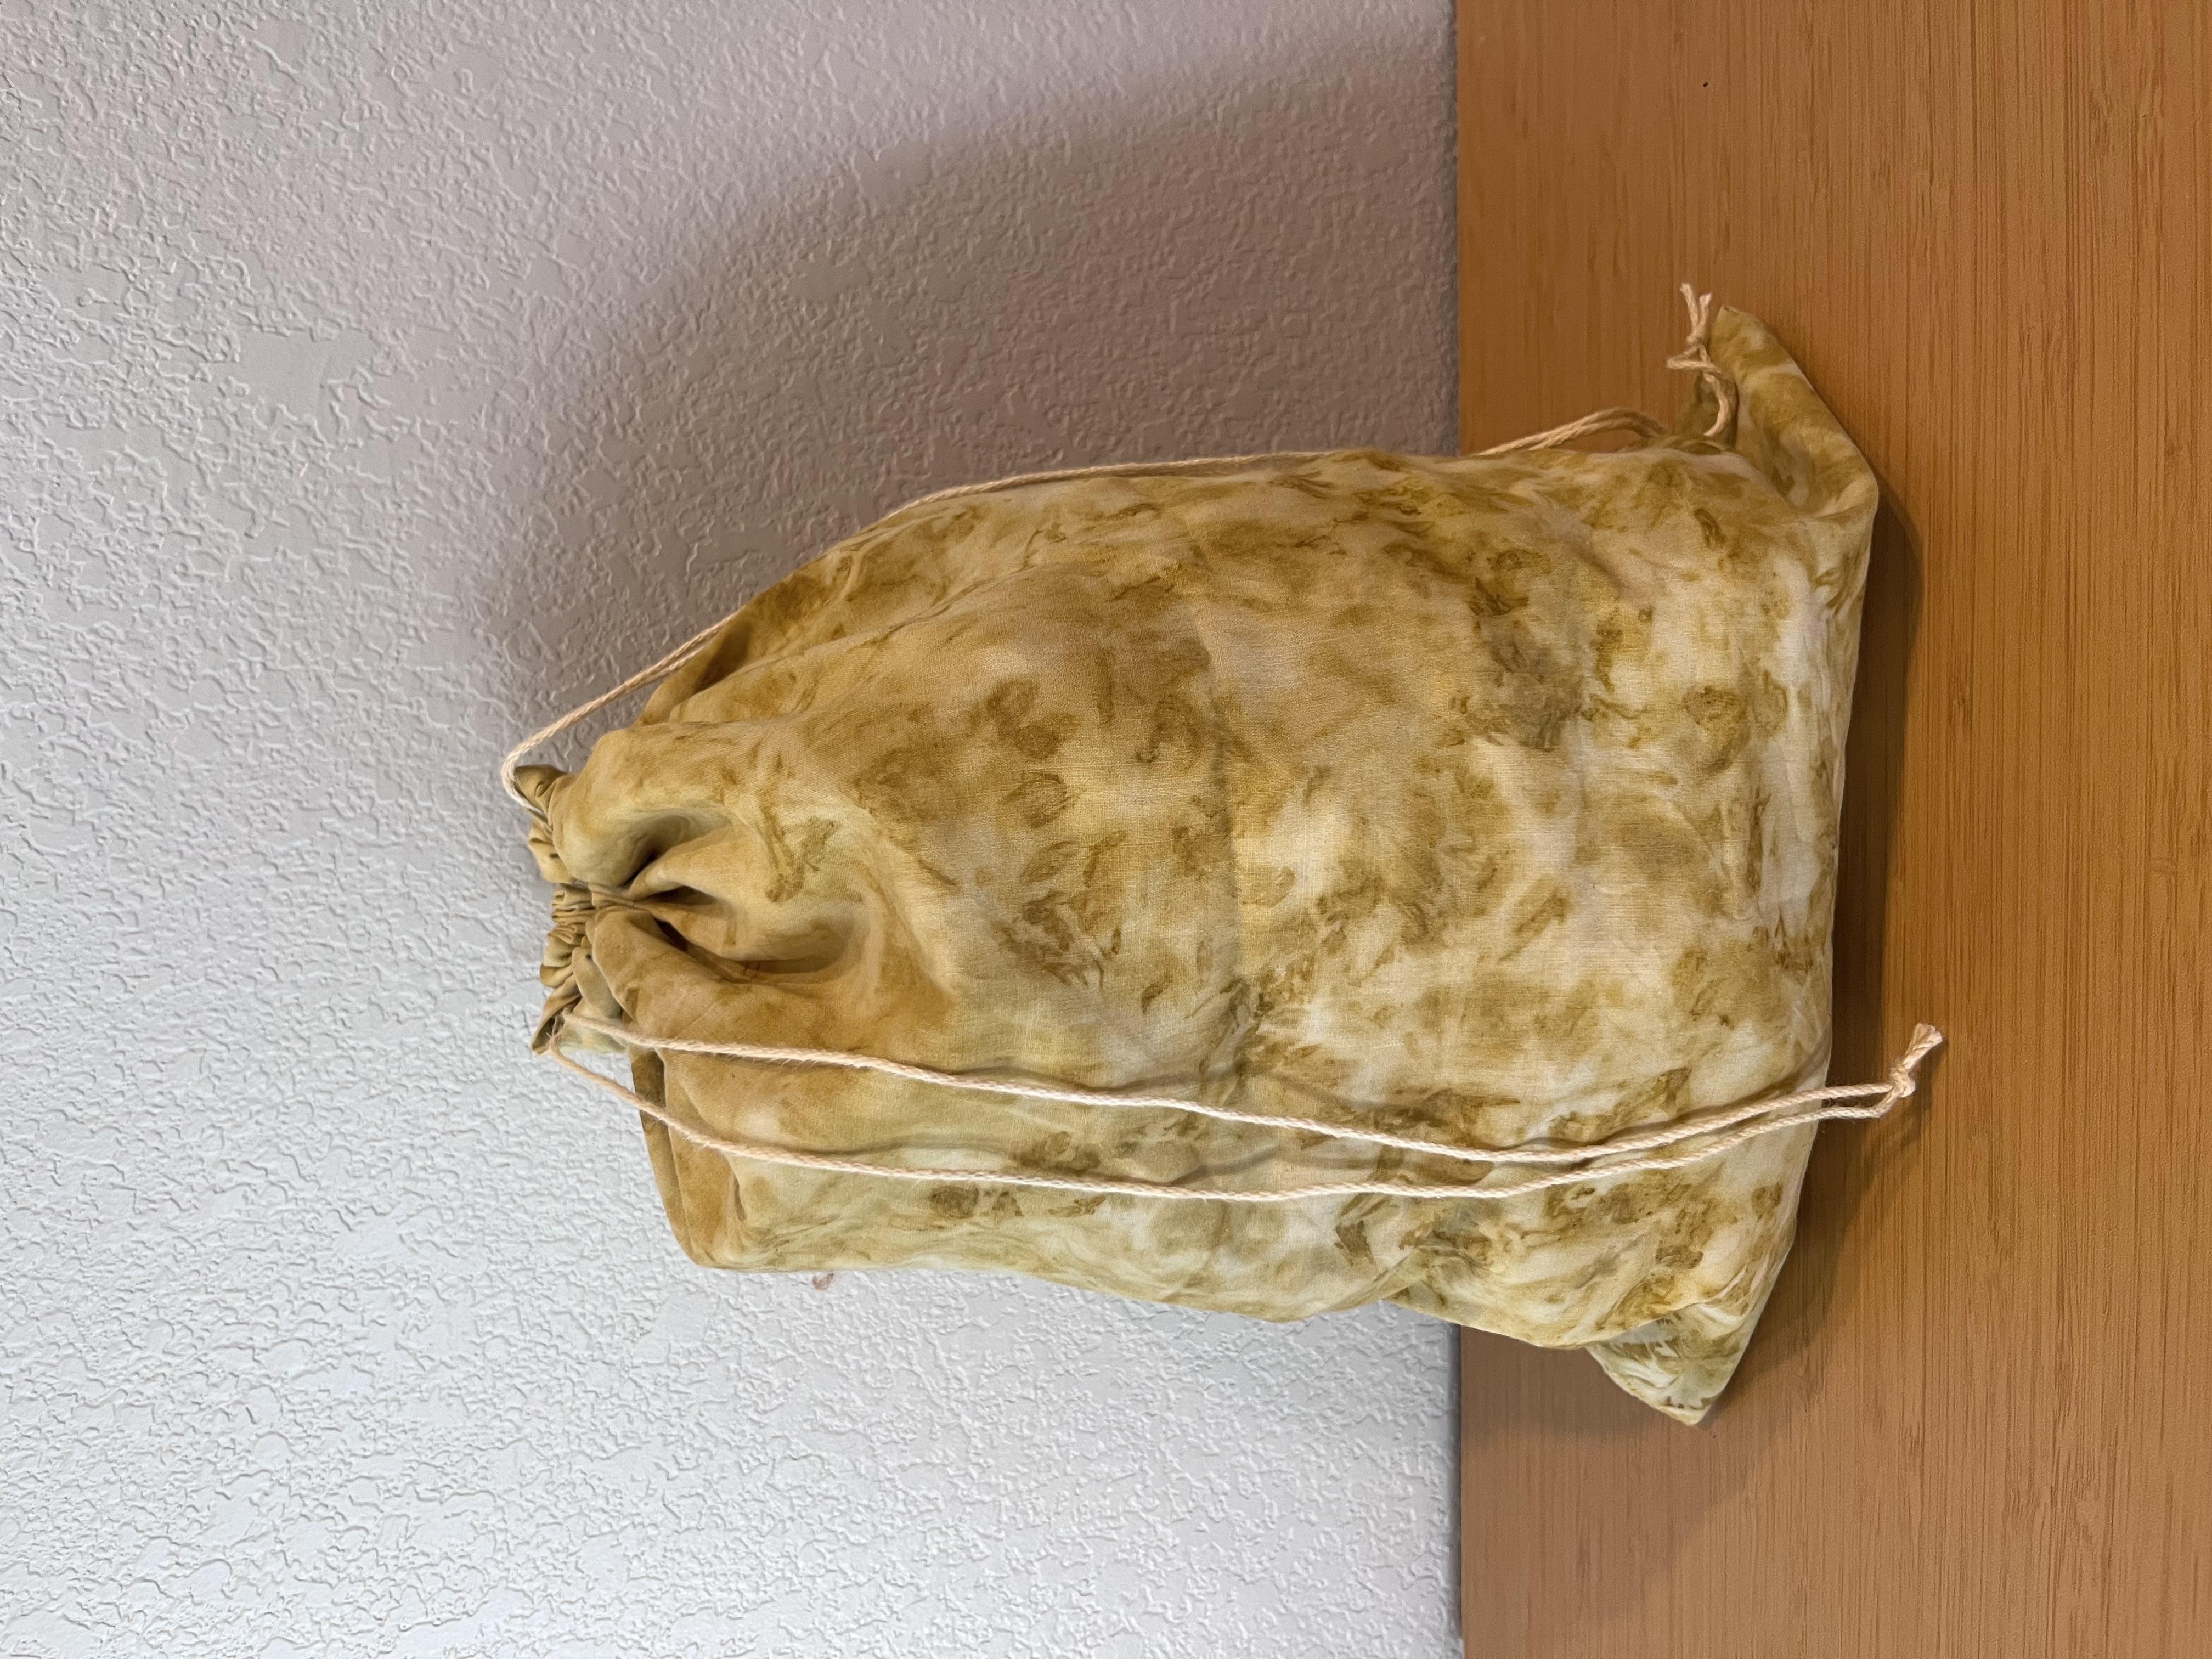
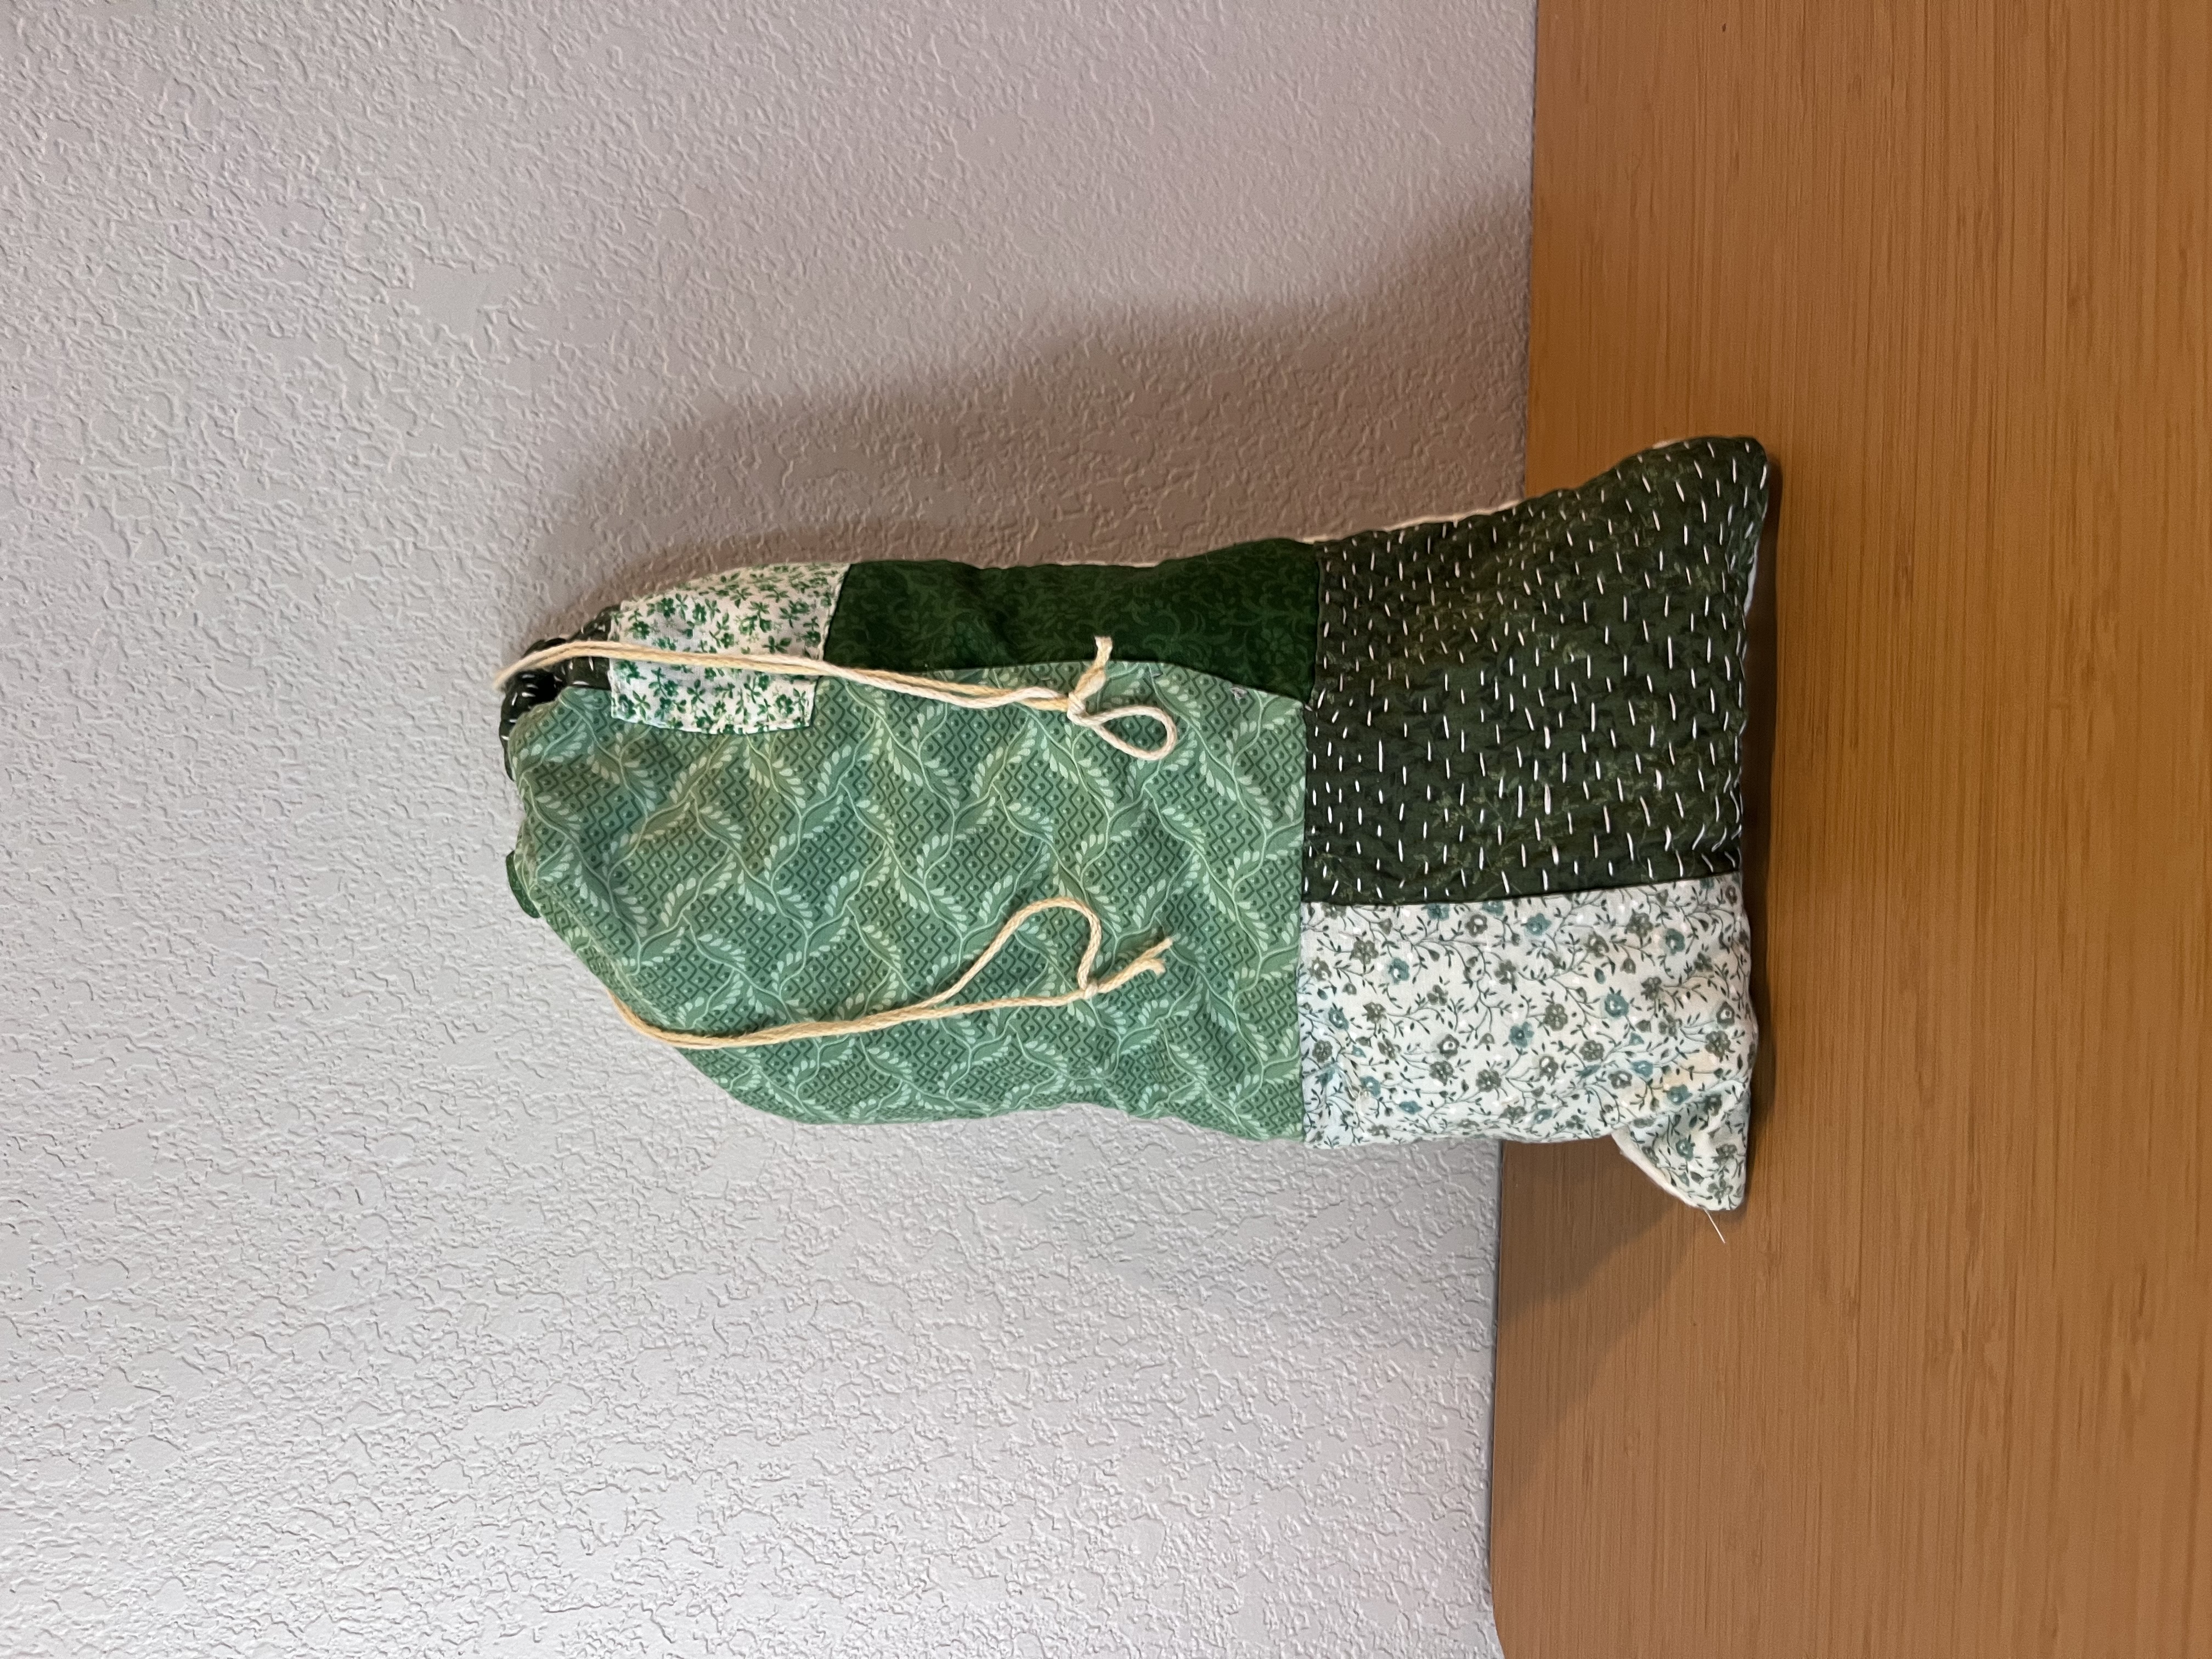
Lastly I made a few simple drawstring bags. On one I used a blue patterned quilting fabric and a patch with a whale print I was sent in a craft exchange. For the next I used fabric I had eco printed with marigold petals last year. And for the final one I used the rest of the unused patchwork from the first bag, which I made a very tall skinny bag to cram all my little thread and yarn scraps in.
Overall I am so happy with how they all turned out, and my craft supplies are much more organized! If you want to see more of the project check out my YouTube channel.